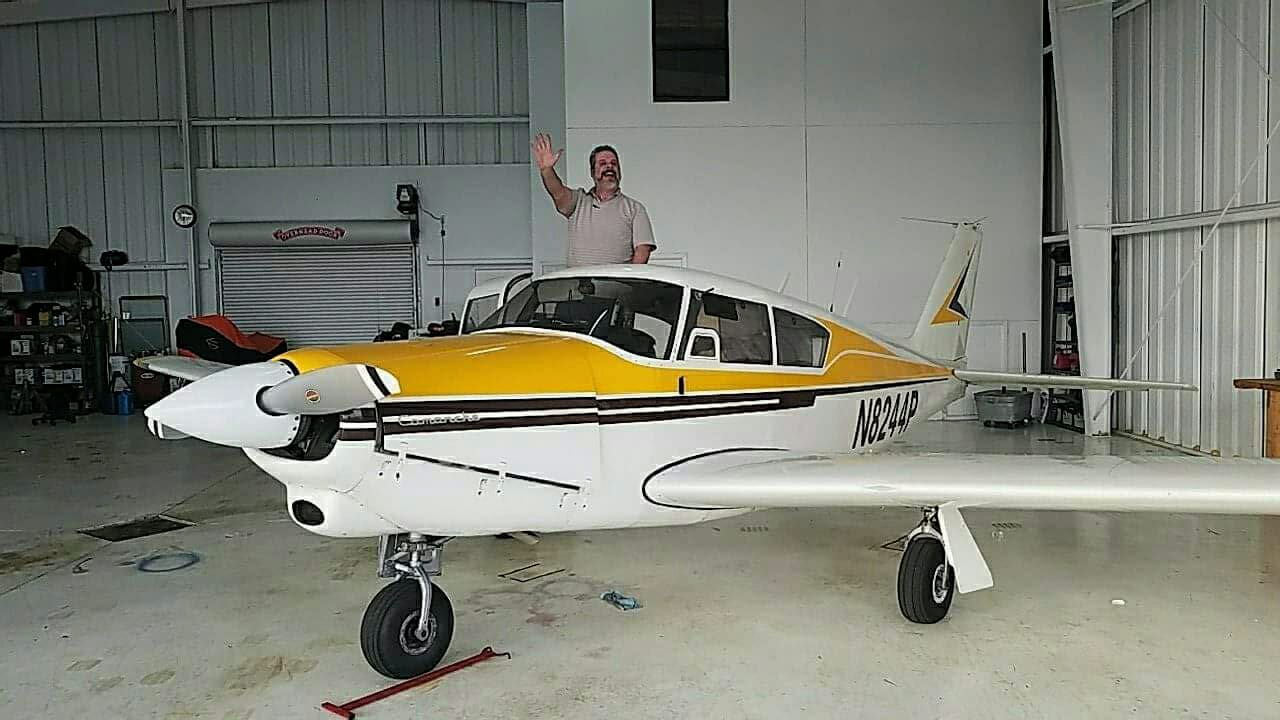
In November of 2017 my wife’s grandmother passed away. So we had to make last minute travel arrangements or take the Comanche to Staten Island New York. We opted to fly ourselves. On the trip up it became chillingly clear that the heater was dumping deadly carbon monoxide into our cockpit. We had to fly in a very cold airplane all the way up and back. My wife made it very clear that I was to fix this problem.
One option was to purchase the same system from one of many places that sells the standard parts. This option had merits of price and ease of replacement. The downside was I might be right back in the same situation too soon. There are also Airworthiness Directives (ADs) on the exhaust for failed baffling inside the muffler. The pipes also have a tendency to crack right by the muffler because of vibration.
Instead I opted for a dual exhaust system which eliminated several problems with the old one. The dual exhaust is an STC’d option from Aviation Performance Products. They offered a stainless steel dual exhaust option.
Pic of the exhaust system
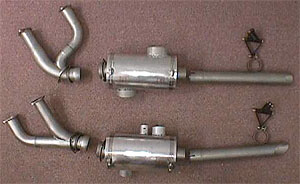
180 exhaust system
The product took a week from order to delivery. I picked up the product from the Melbourne shop and took the kit to my mechanic.
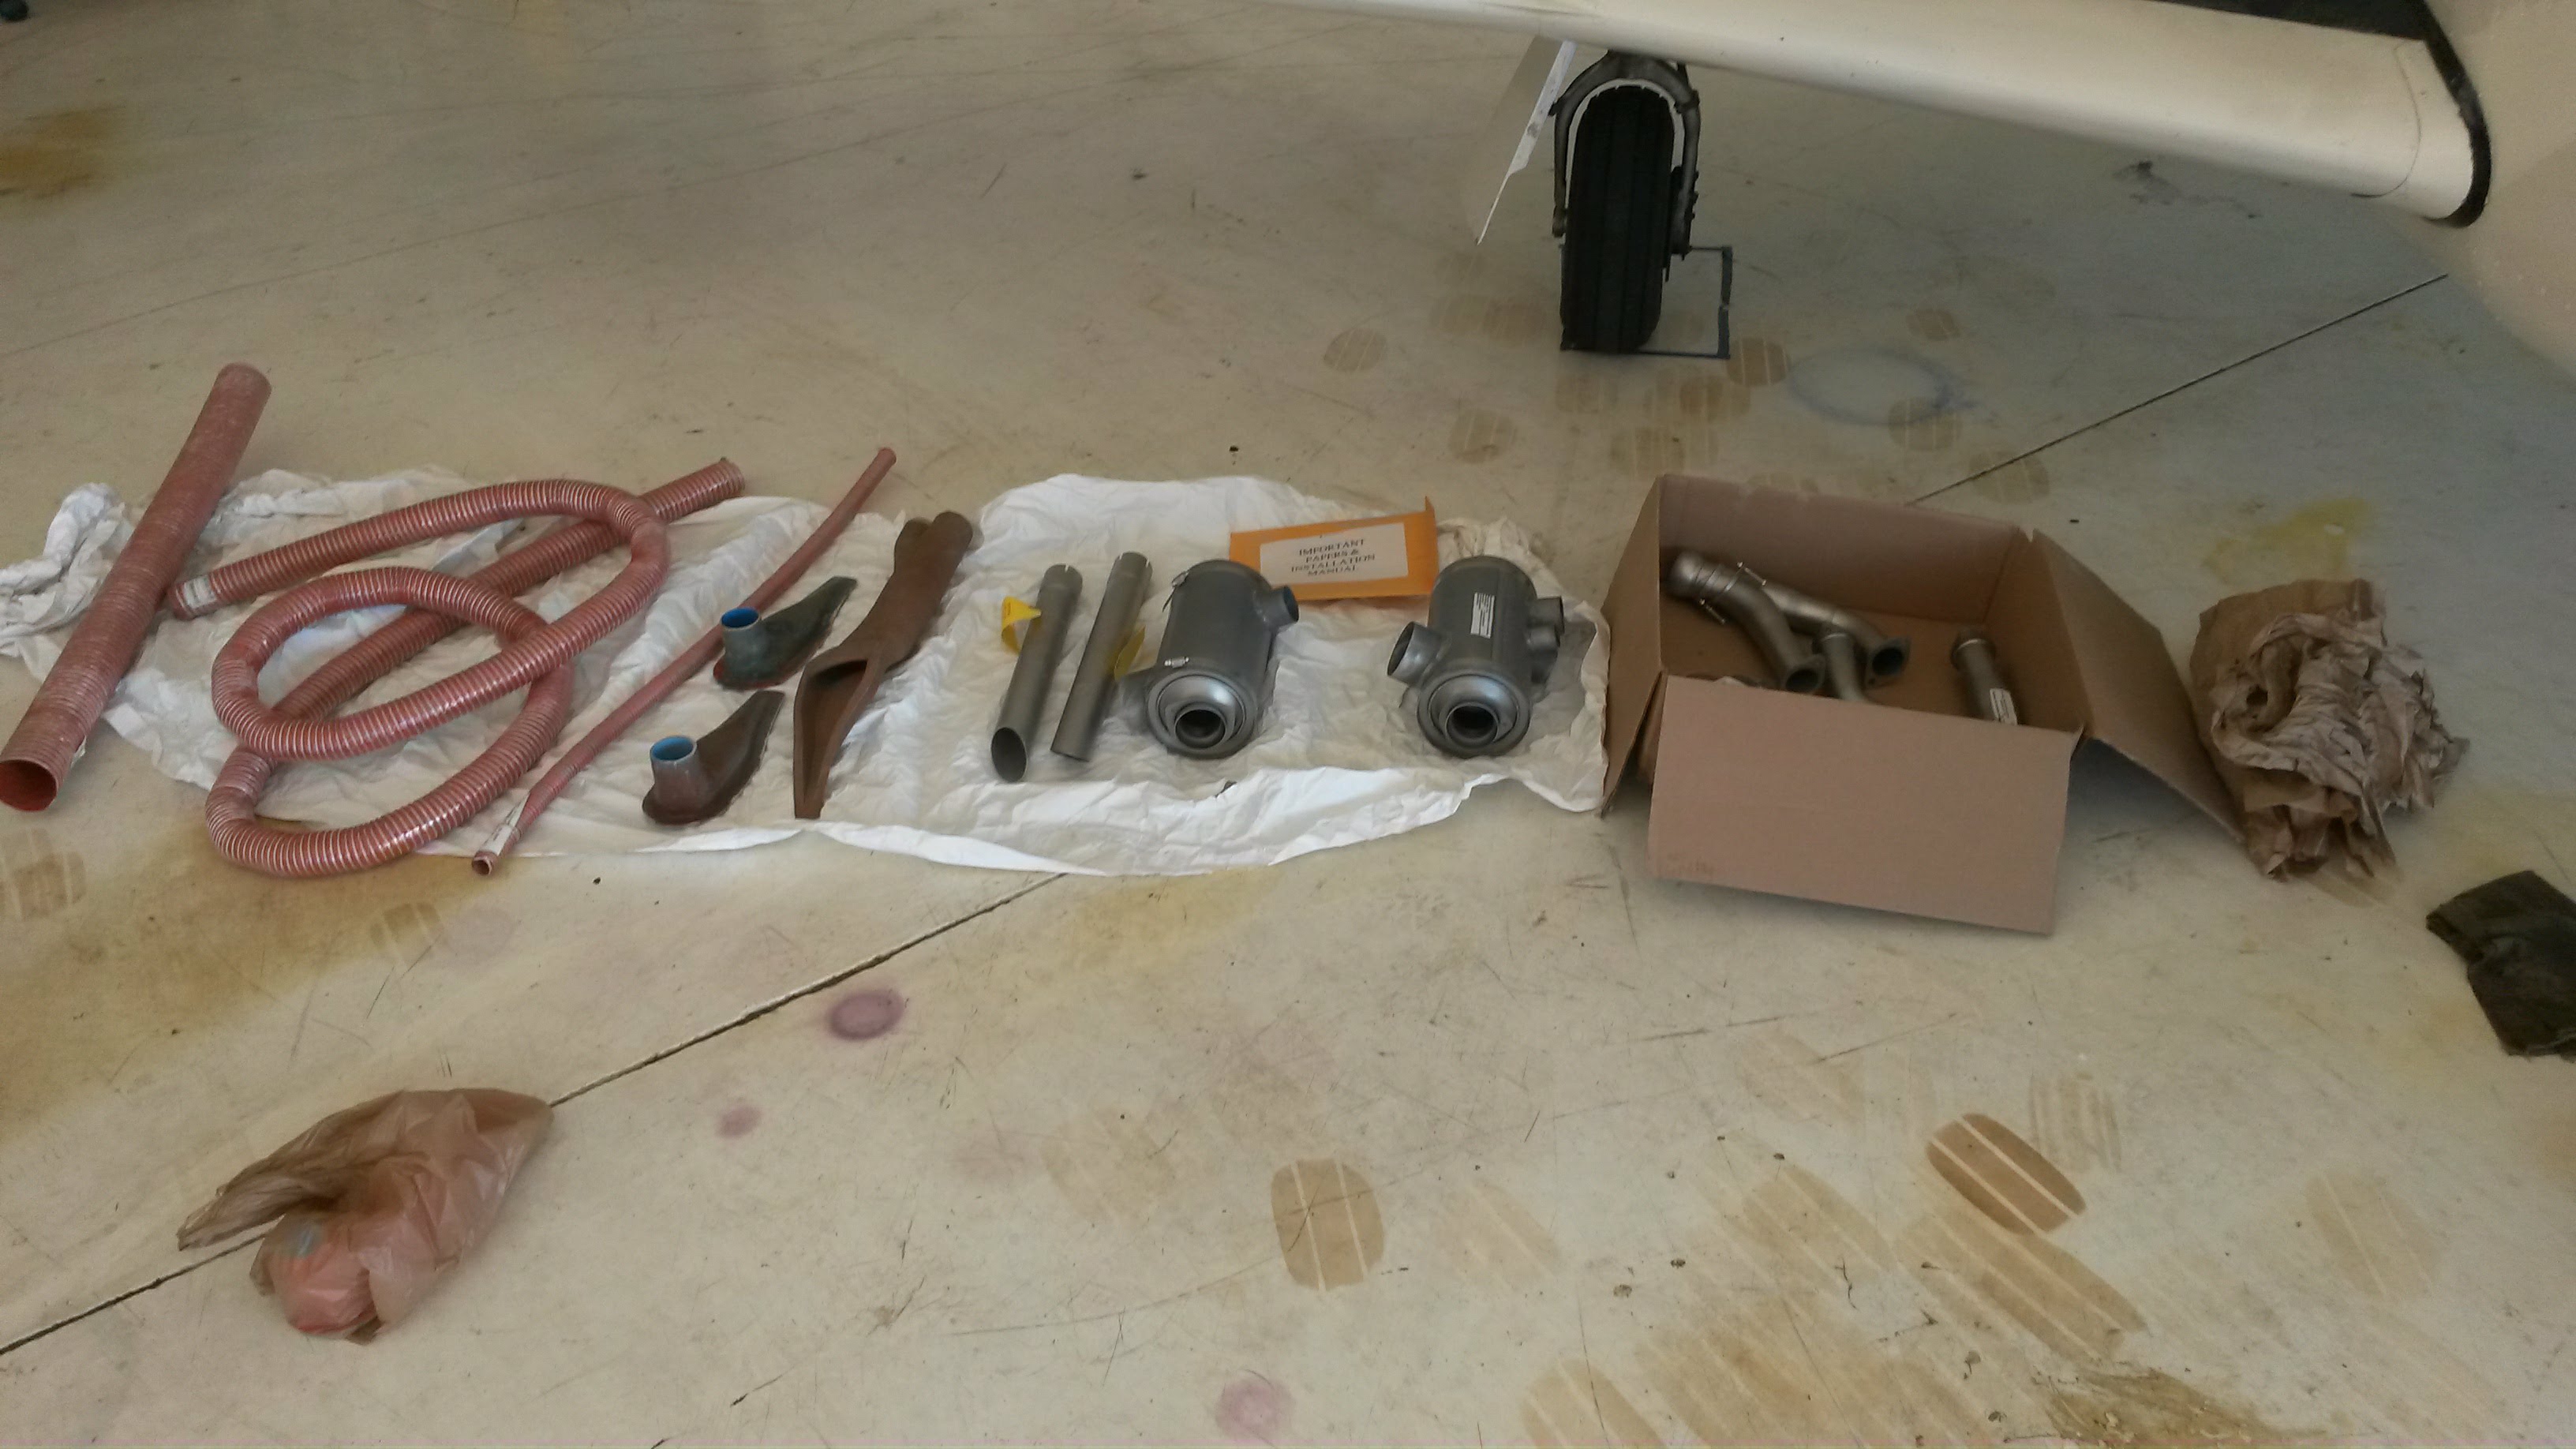
The Entire Dual exhaust kit
My mechanic and I spoke at length about the install process and what would need to be done. A couple of items came up. I had to order new exhaust gaskets as the kit does not come with them. Also all the SCAT hose would need to be replaced with all new lengths and whole new runs of hose. Also I would need to make considerable modifications to my cowling, including cutting away some on the bottom edge to allow the new dual pipes to be low enough below the plane’s belly and not contact the cowling itself. Also I would need to add new air intake ports for the fresh air vents. Lastly I needed an adapter for the left side heat muff so that the 2 inch intake port from the back of the engine baffles would fit on the 3 inch port on the heat muff.
With all the pieces figured out the installation began. We took off the cowling and took stock of the old exhaust system
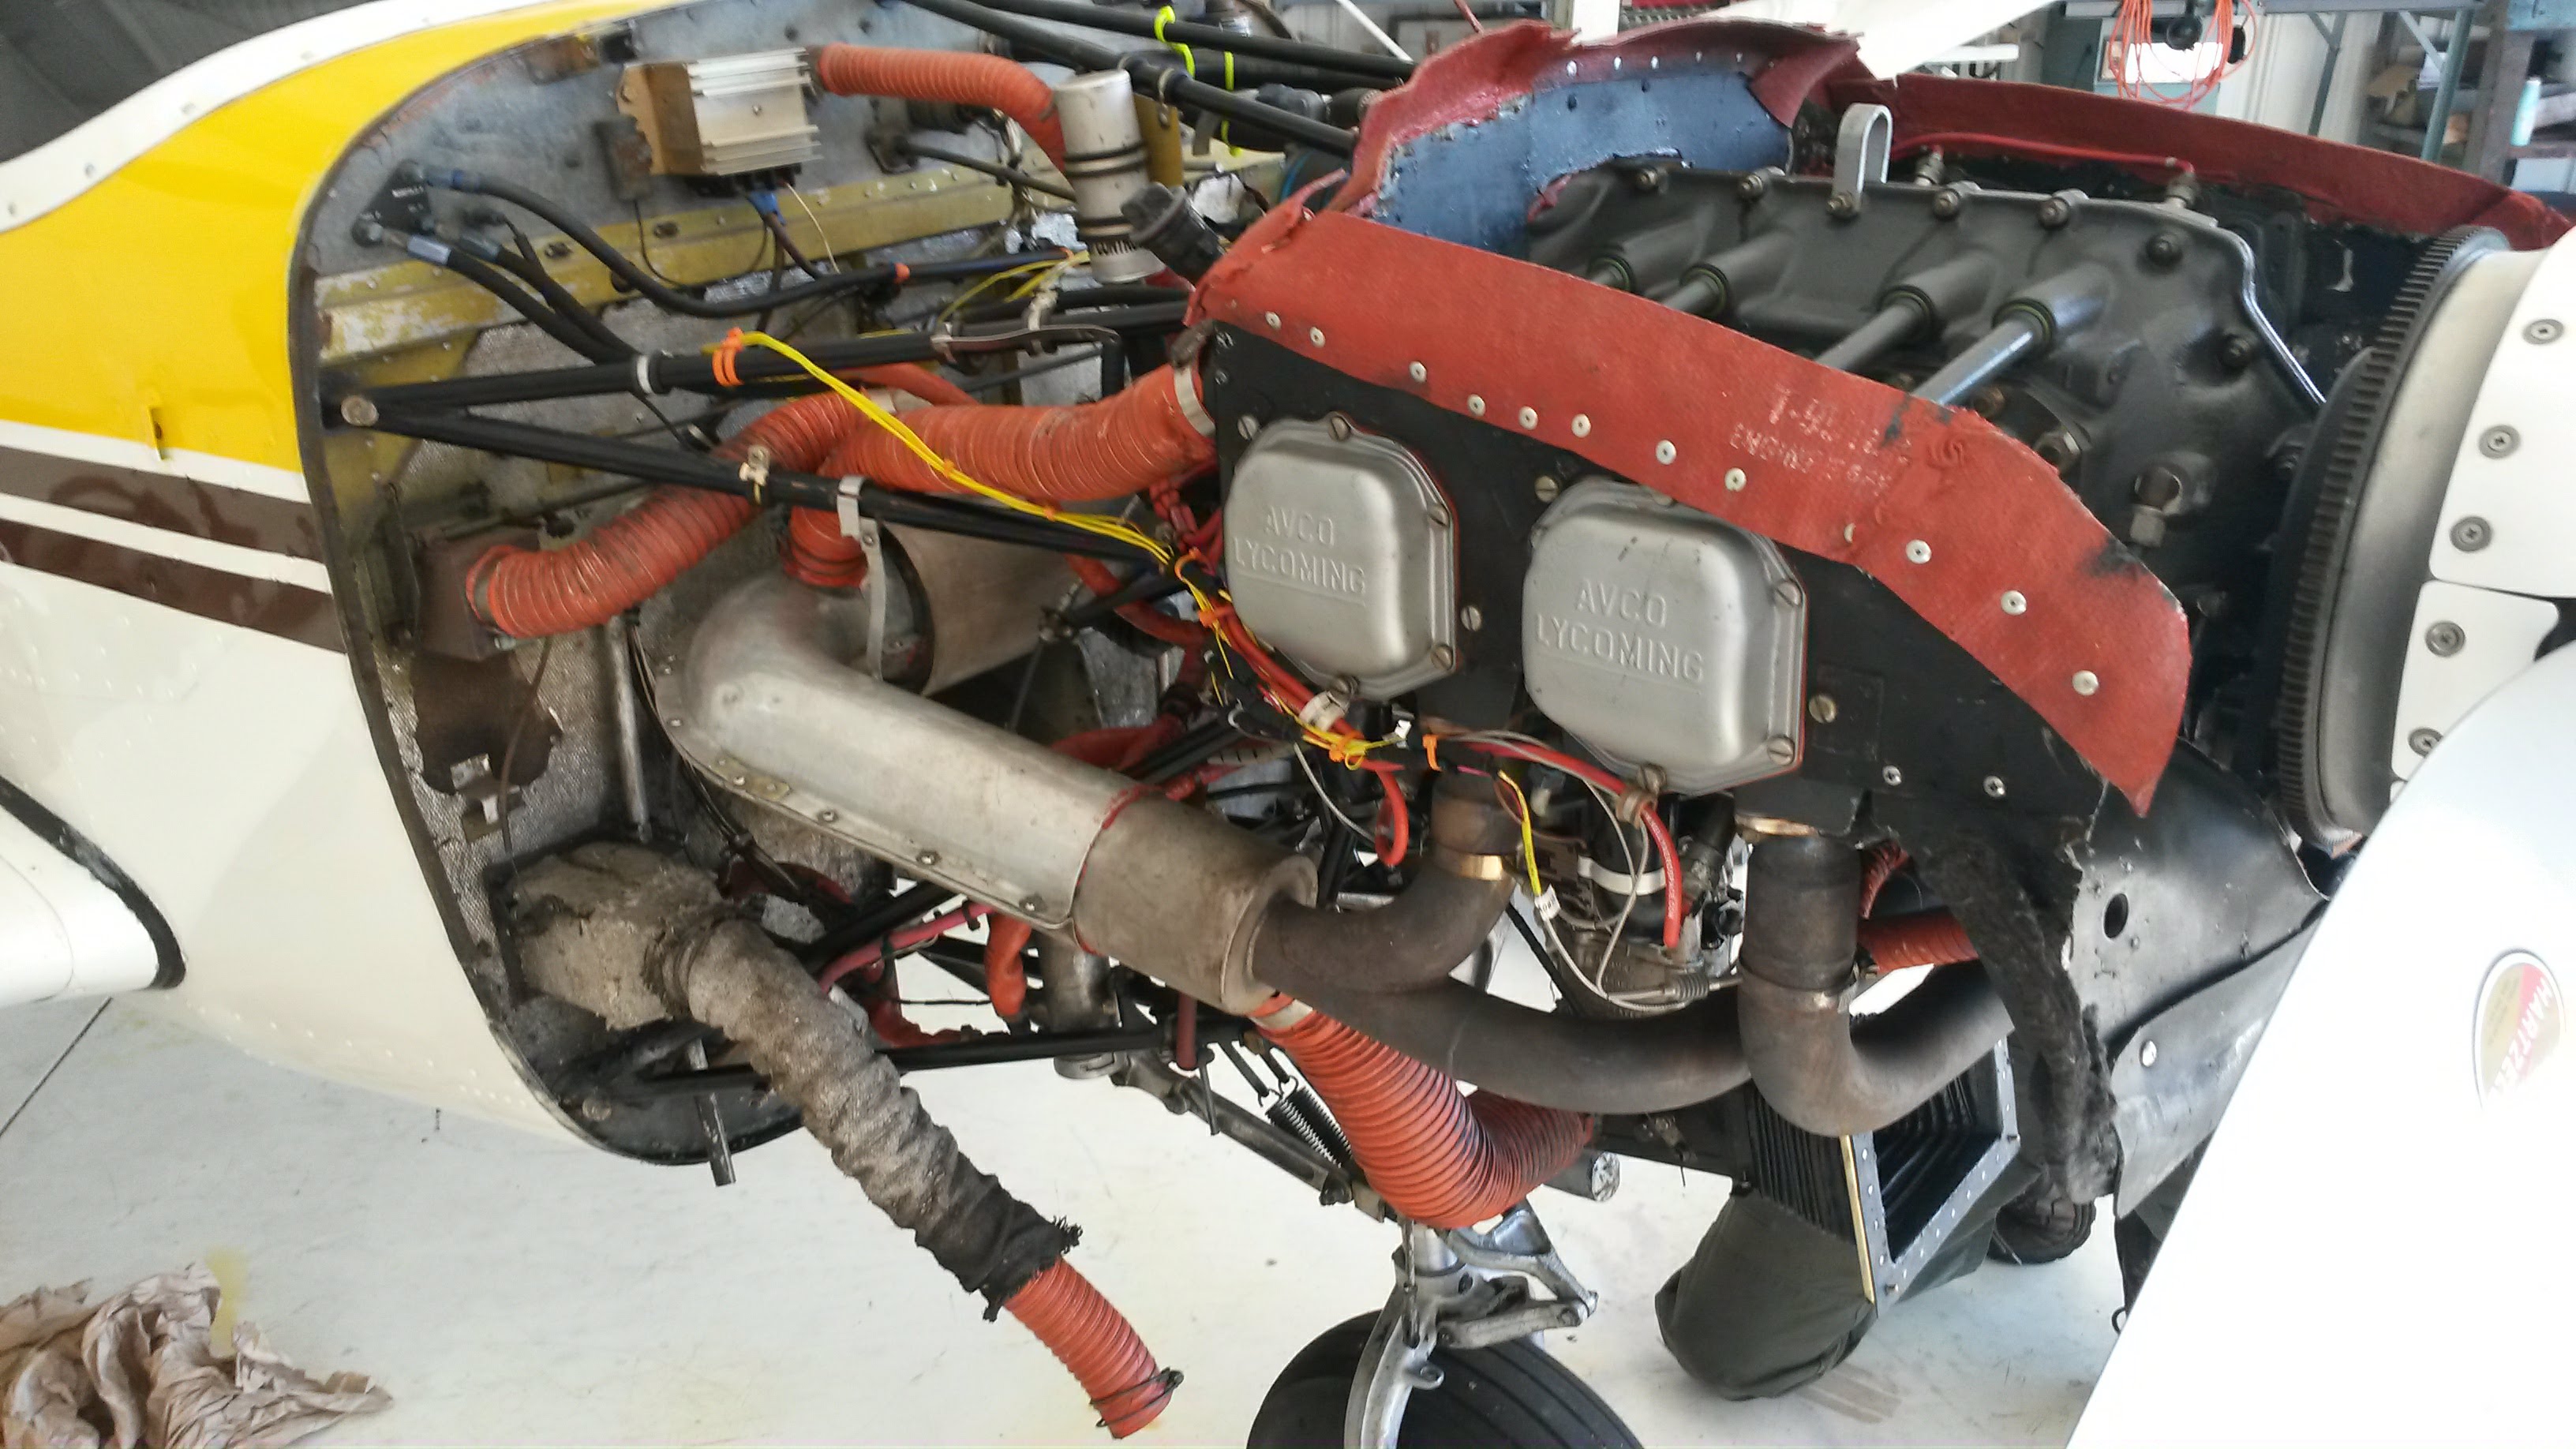
Old Exhaust Right Side
The old exhaust system is big and bulky the pipes cross over underneath and then go to the back of the engine and include a giant muffler, which takes up the entire back of the compartment from the engine to the firewall. The heat muff for the carburetor heat was held on by ten screws and nuts and I had to seal it with high temperature RTV so that it worked sufficiently.
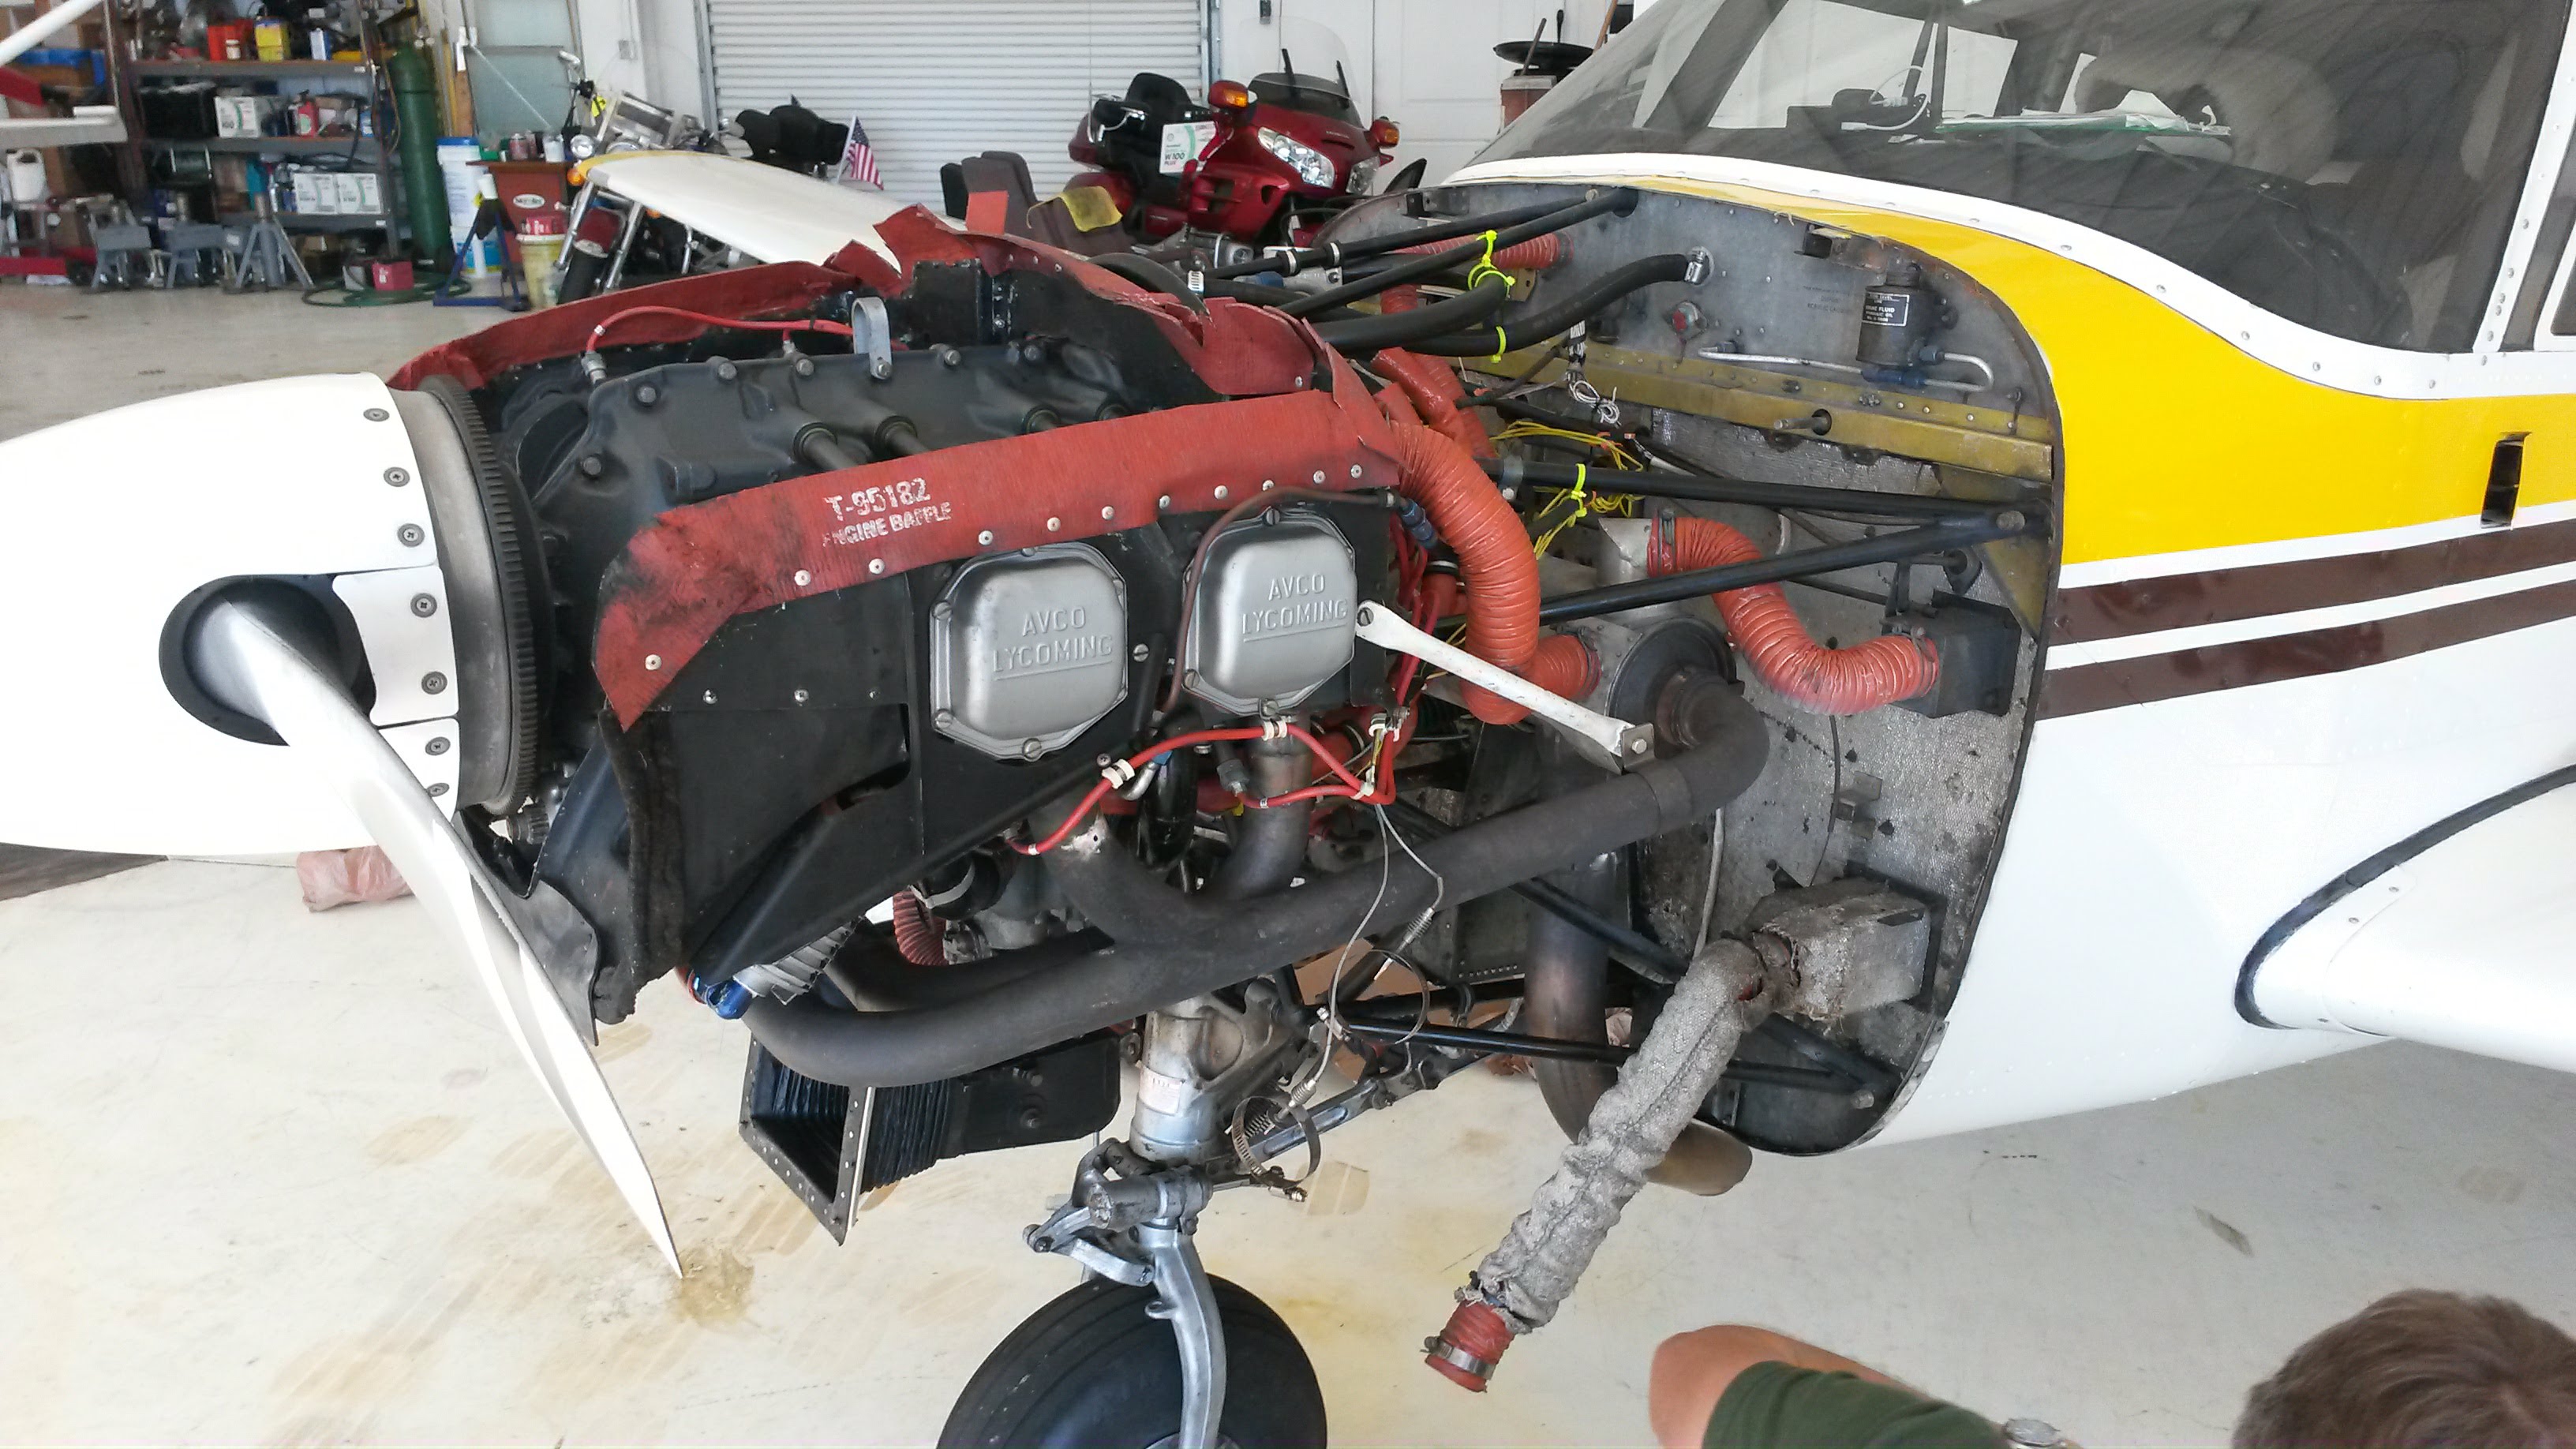
Old Exhaust Left Side
The left side of the exhaust was much the same, I added a support to help with the vibration that often caused the exhaust to crack and fail right at the muffler on this side. I was hopeful that all these problems would go away with the new installation.
We set to work removing the old exhaust and ended up with quite a collection of parts.
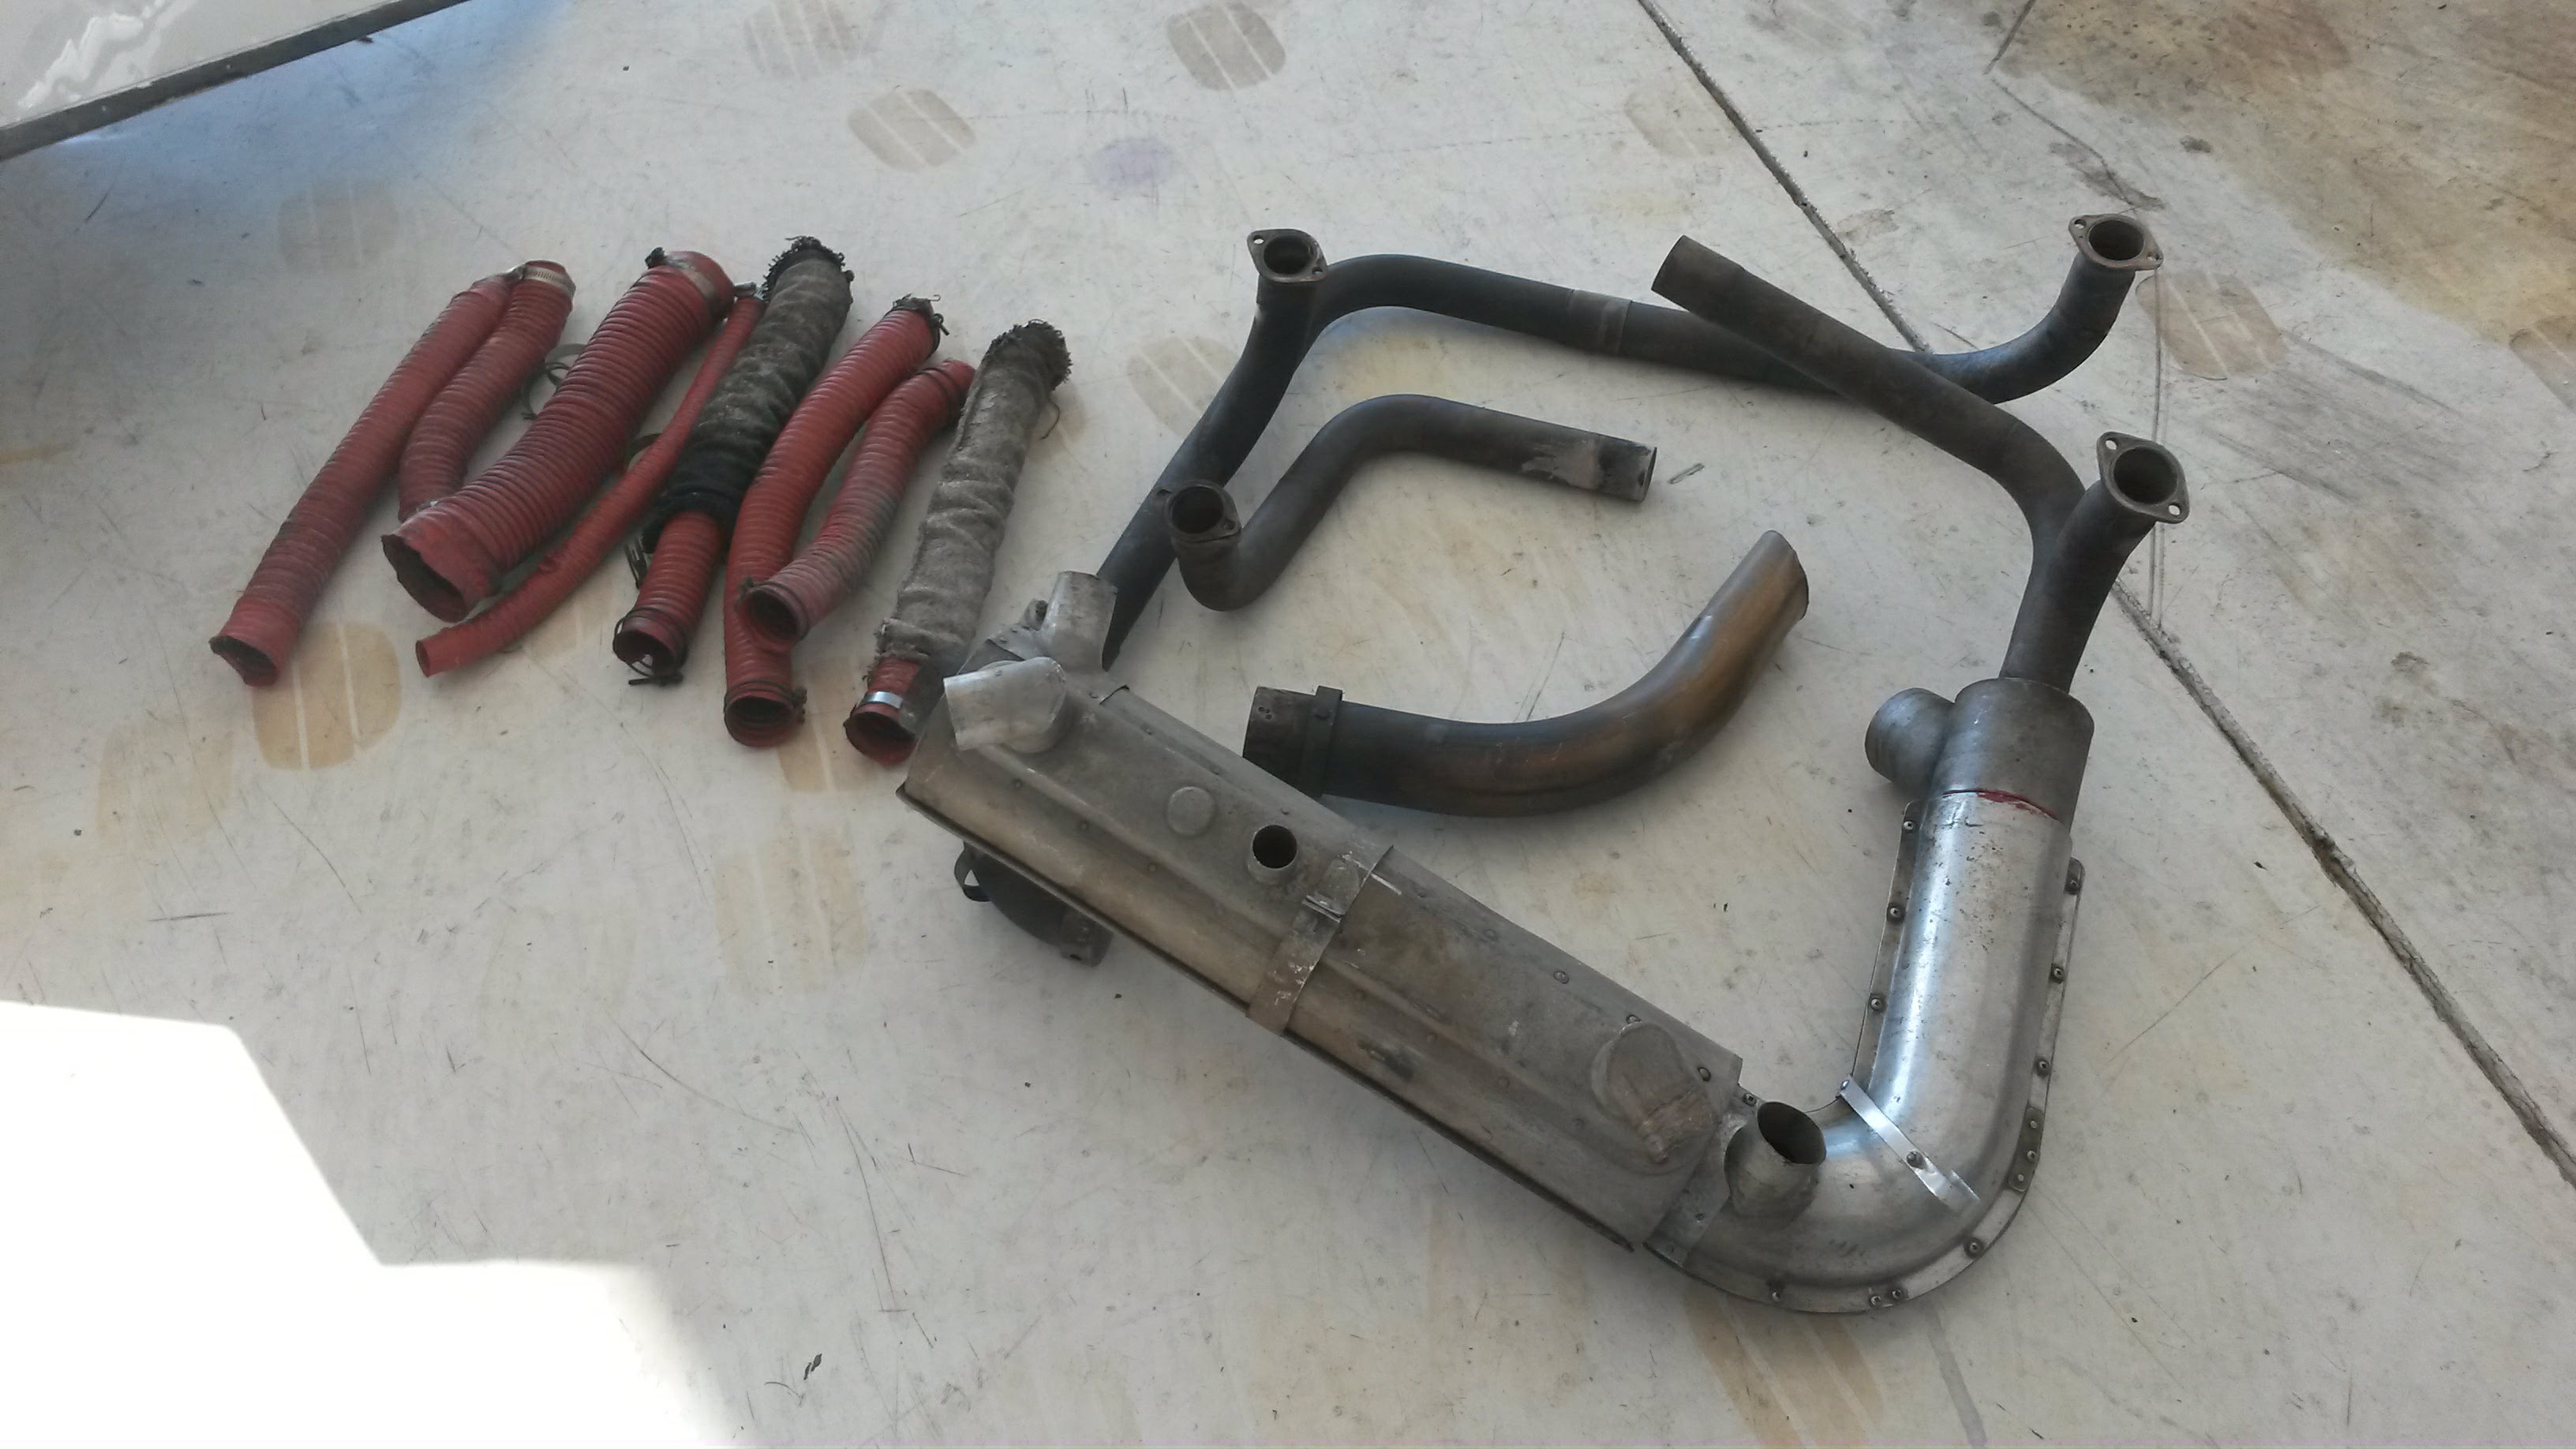
The Old Exhaust
The old exhaust system was pretty easy to remove, but took a bit of coordination as we had to disconnect both sides before it could be removed. With the exhaust removed it became clear just how much space that system used in the engine compartment.
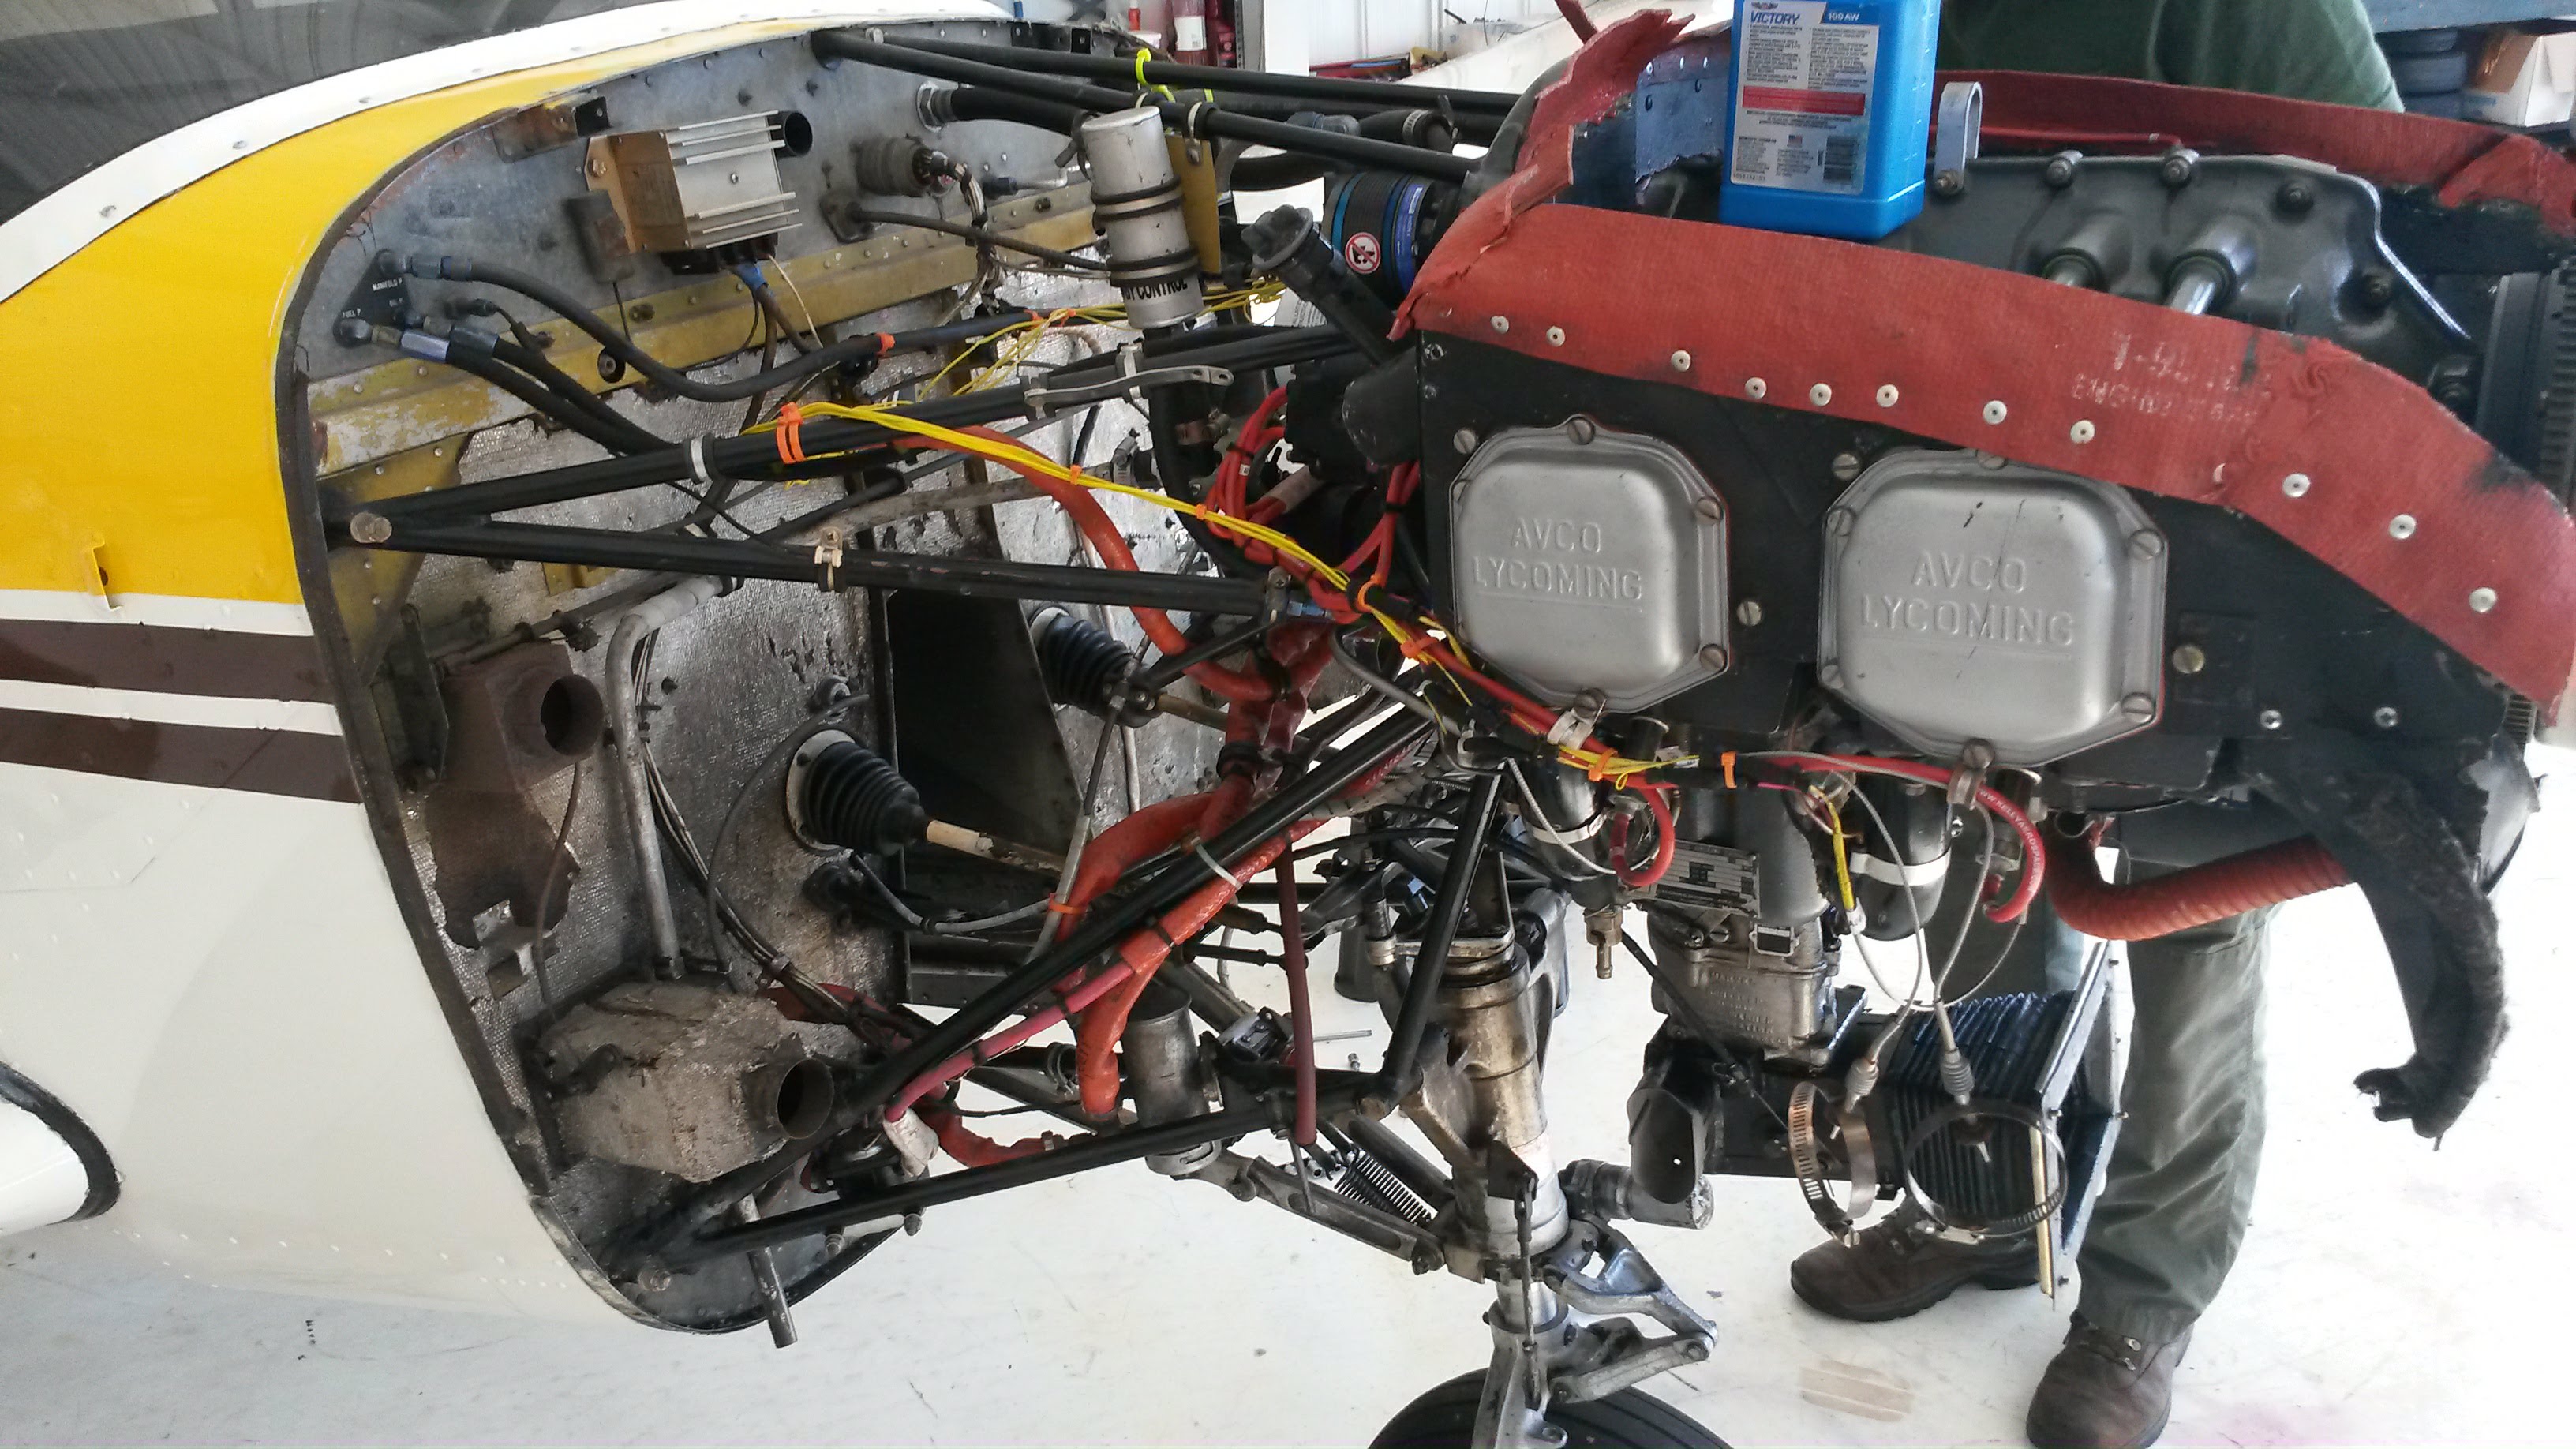
Old Exhaust Removed
With the old exhaust off we started the modifications to the fuel pump. The new muffler comes very close to the pump. So it had to be raised up with an extension plate so that it was further away from the heat of the exhaust pipe.
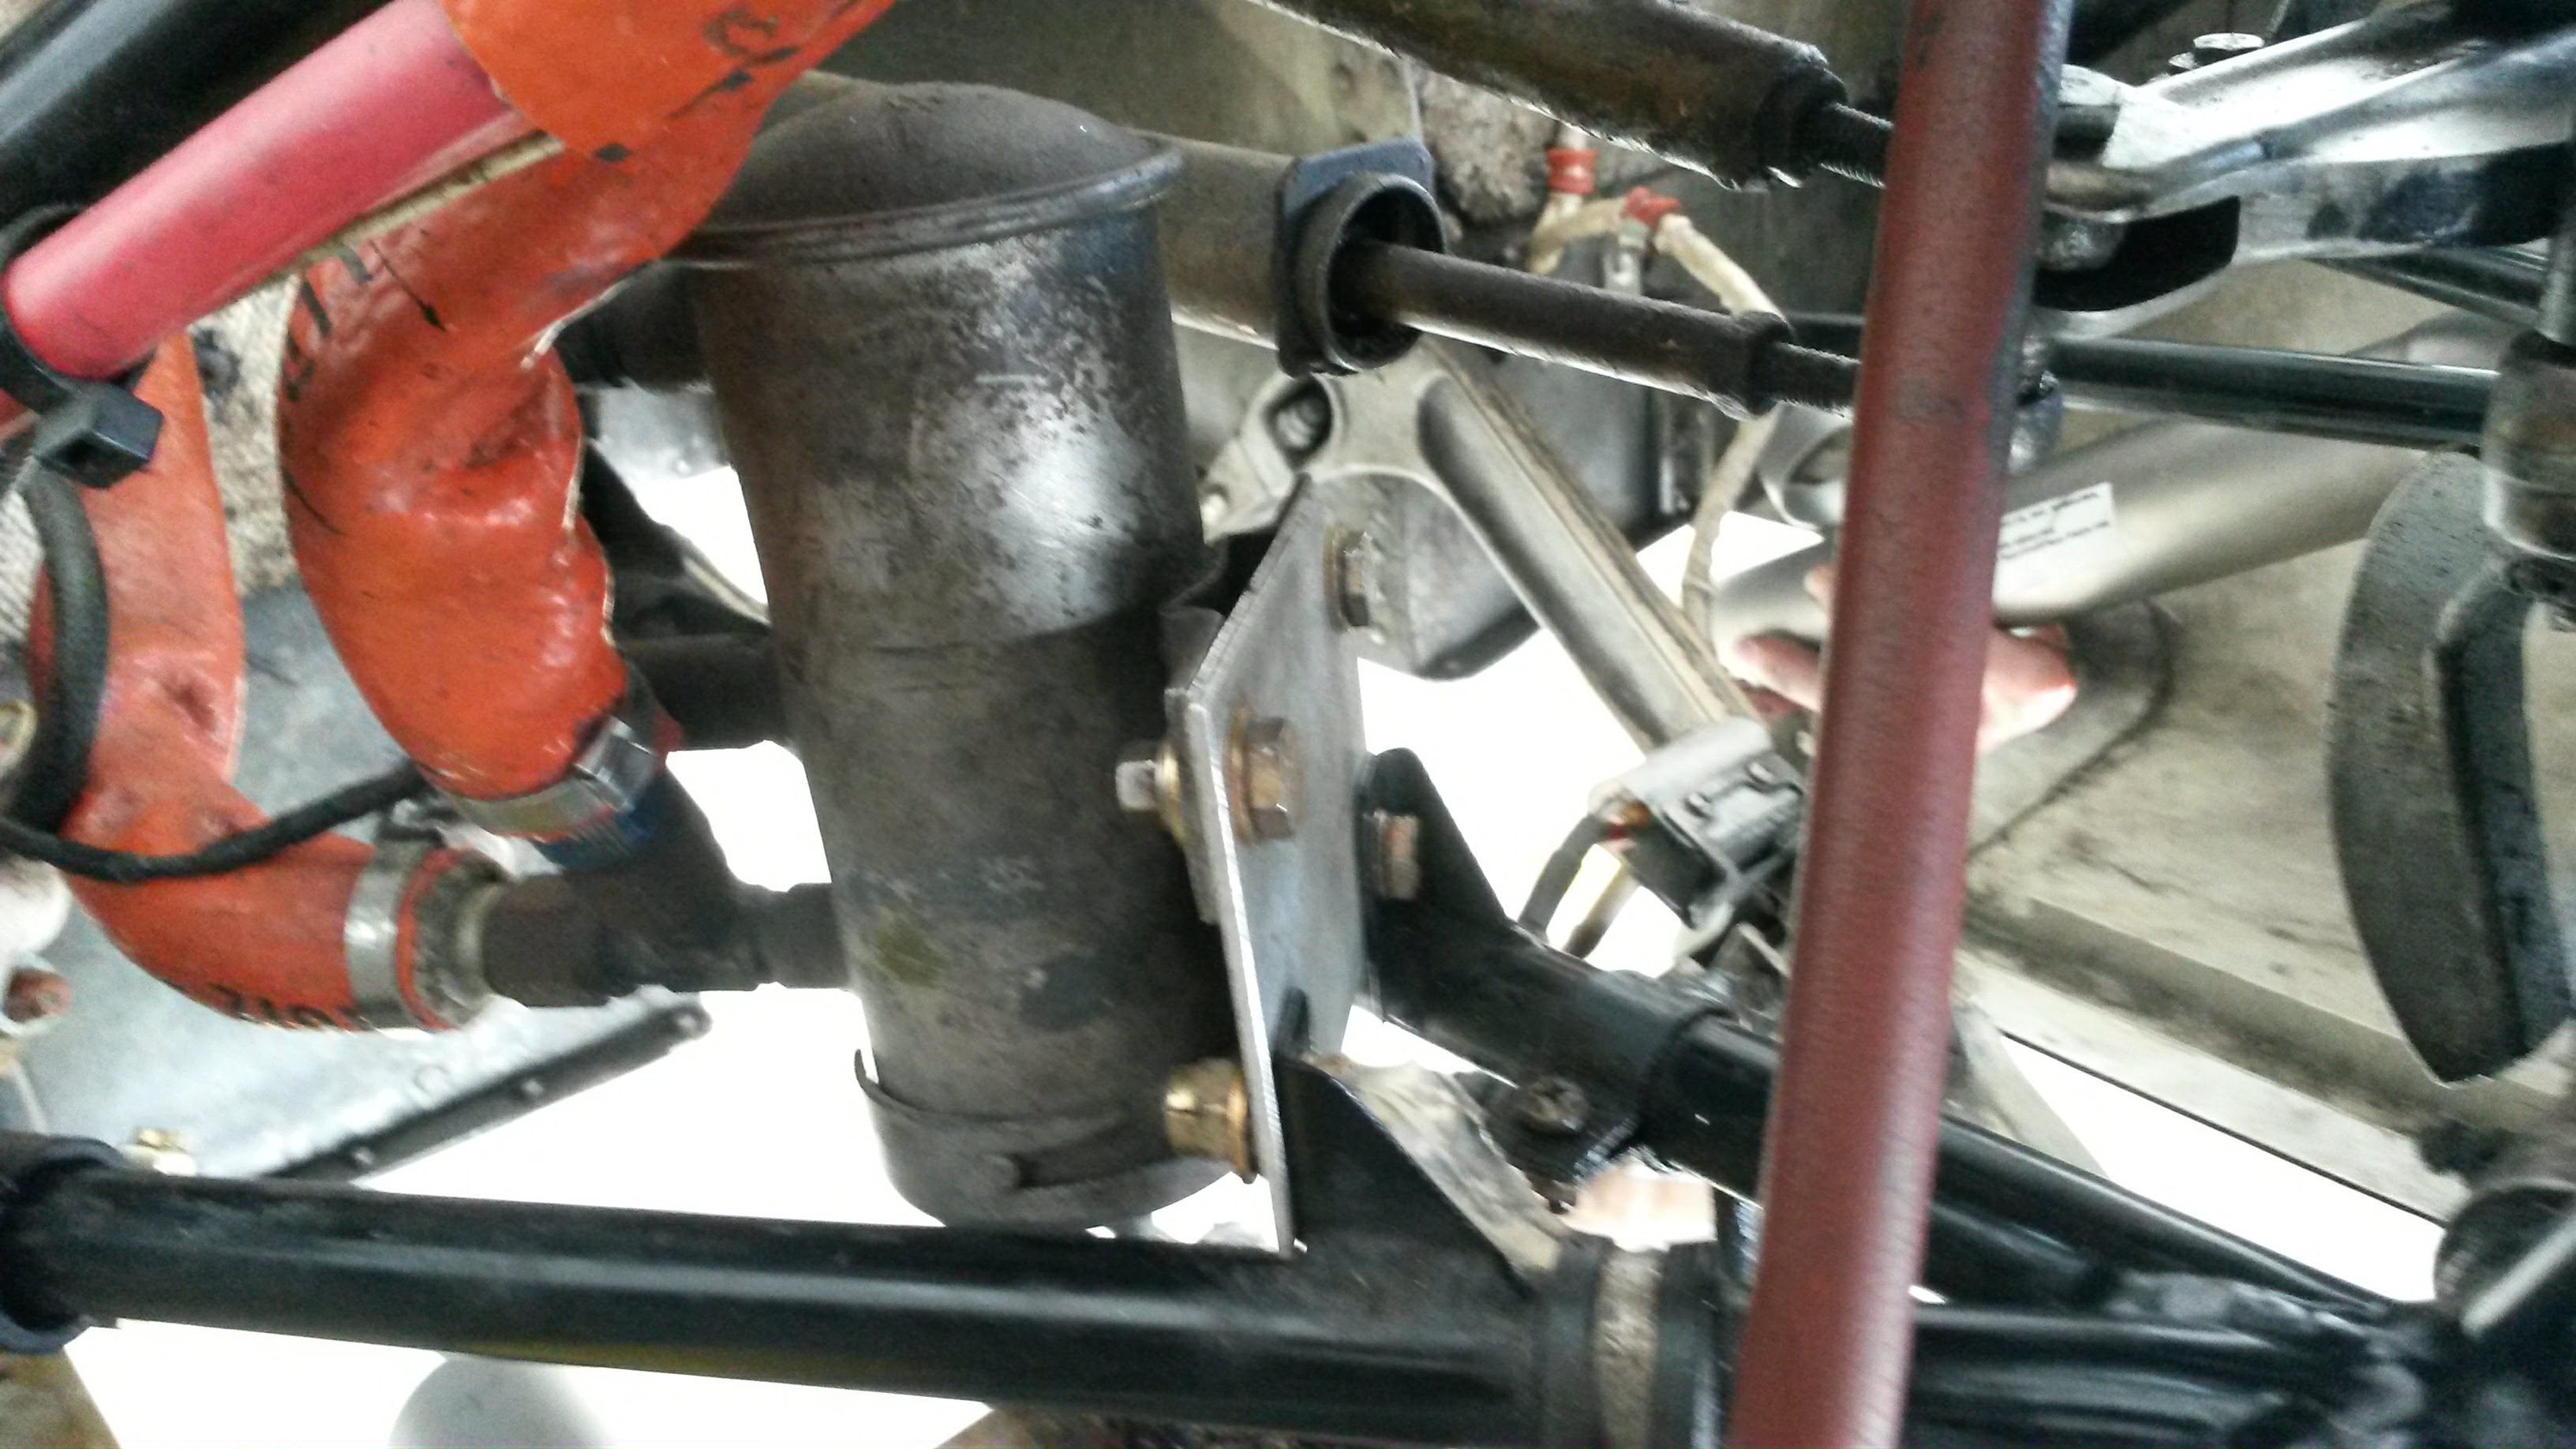
Modified Fuel Boost Pump
After we made a trial fit of the system, it was time to start the modifications on the bottom Cowl. The plans come with some templates that can be cut out and placed upon the cowling. from there you can make your own adjustments, as the template is only a rough guide and more modifications might be needed.
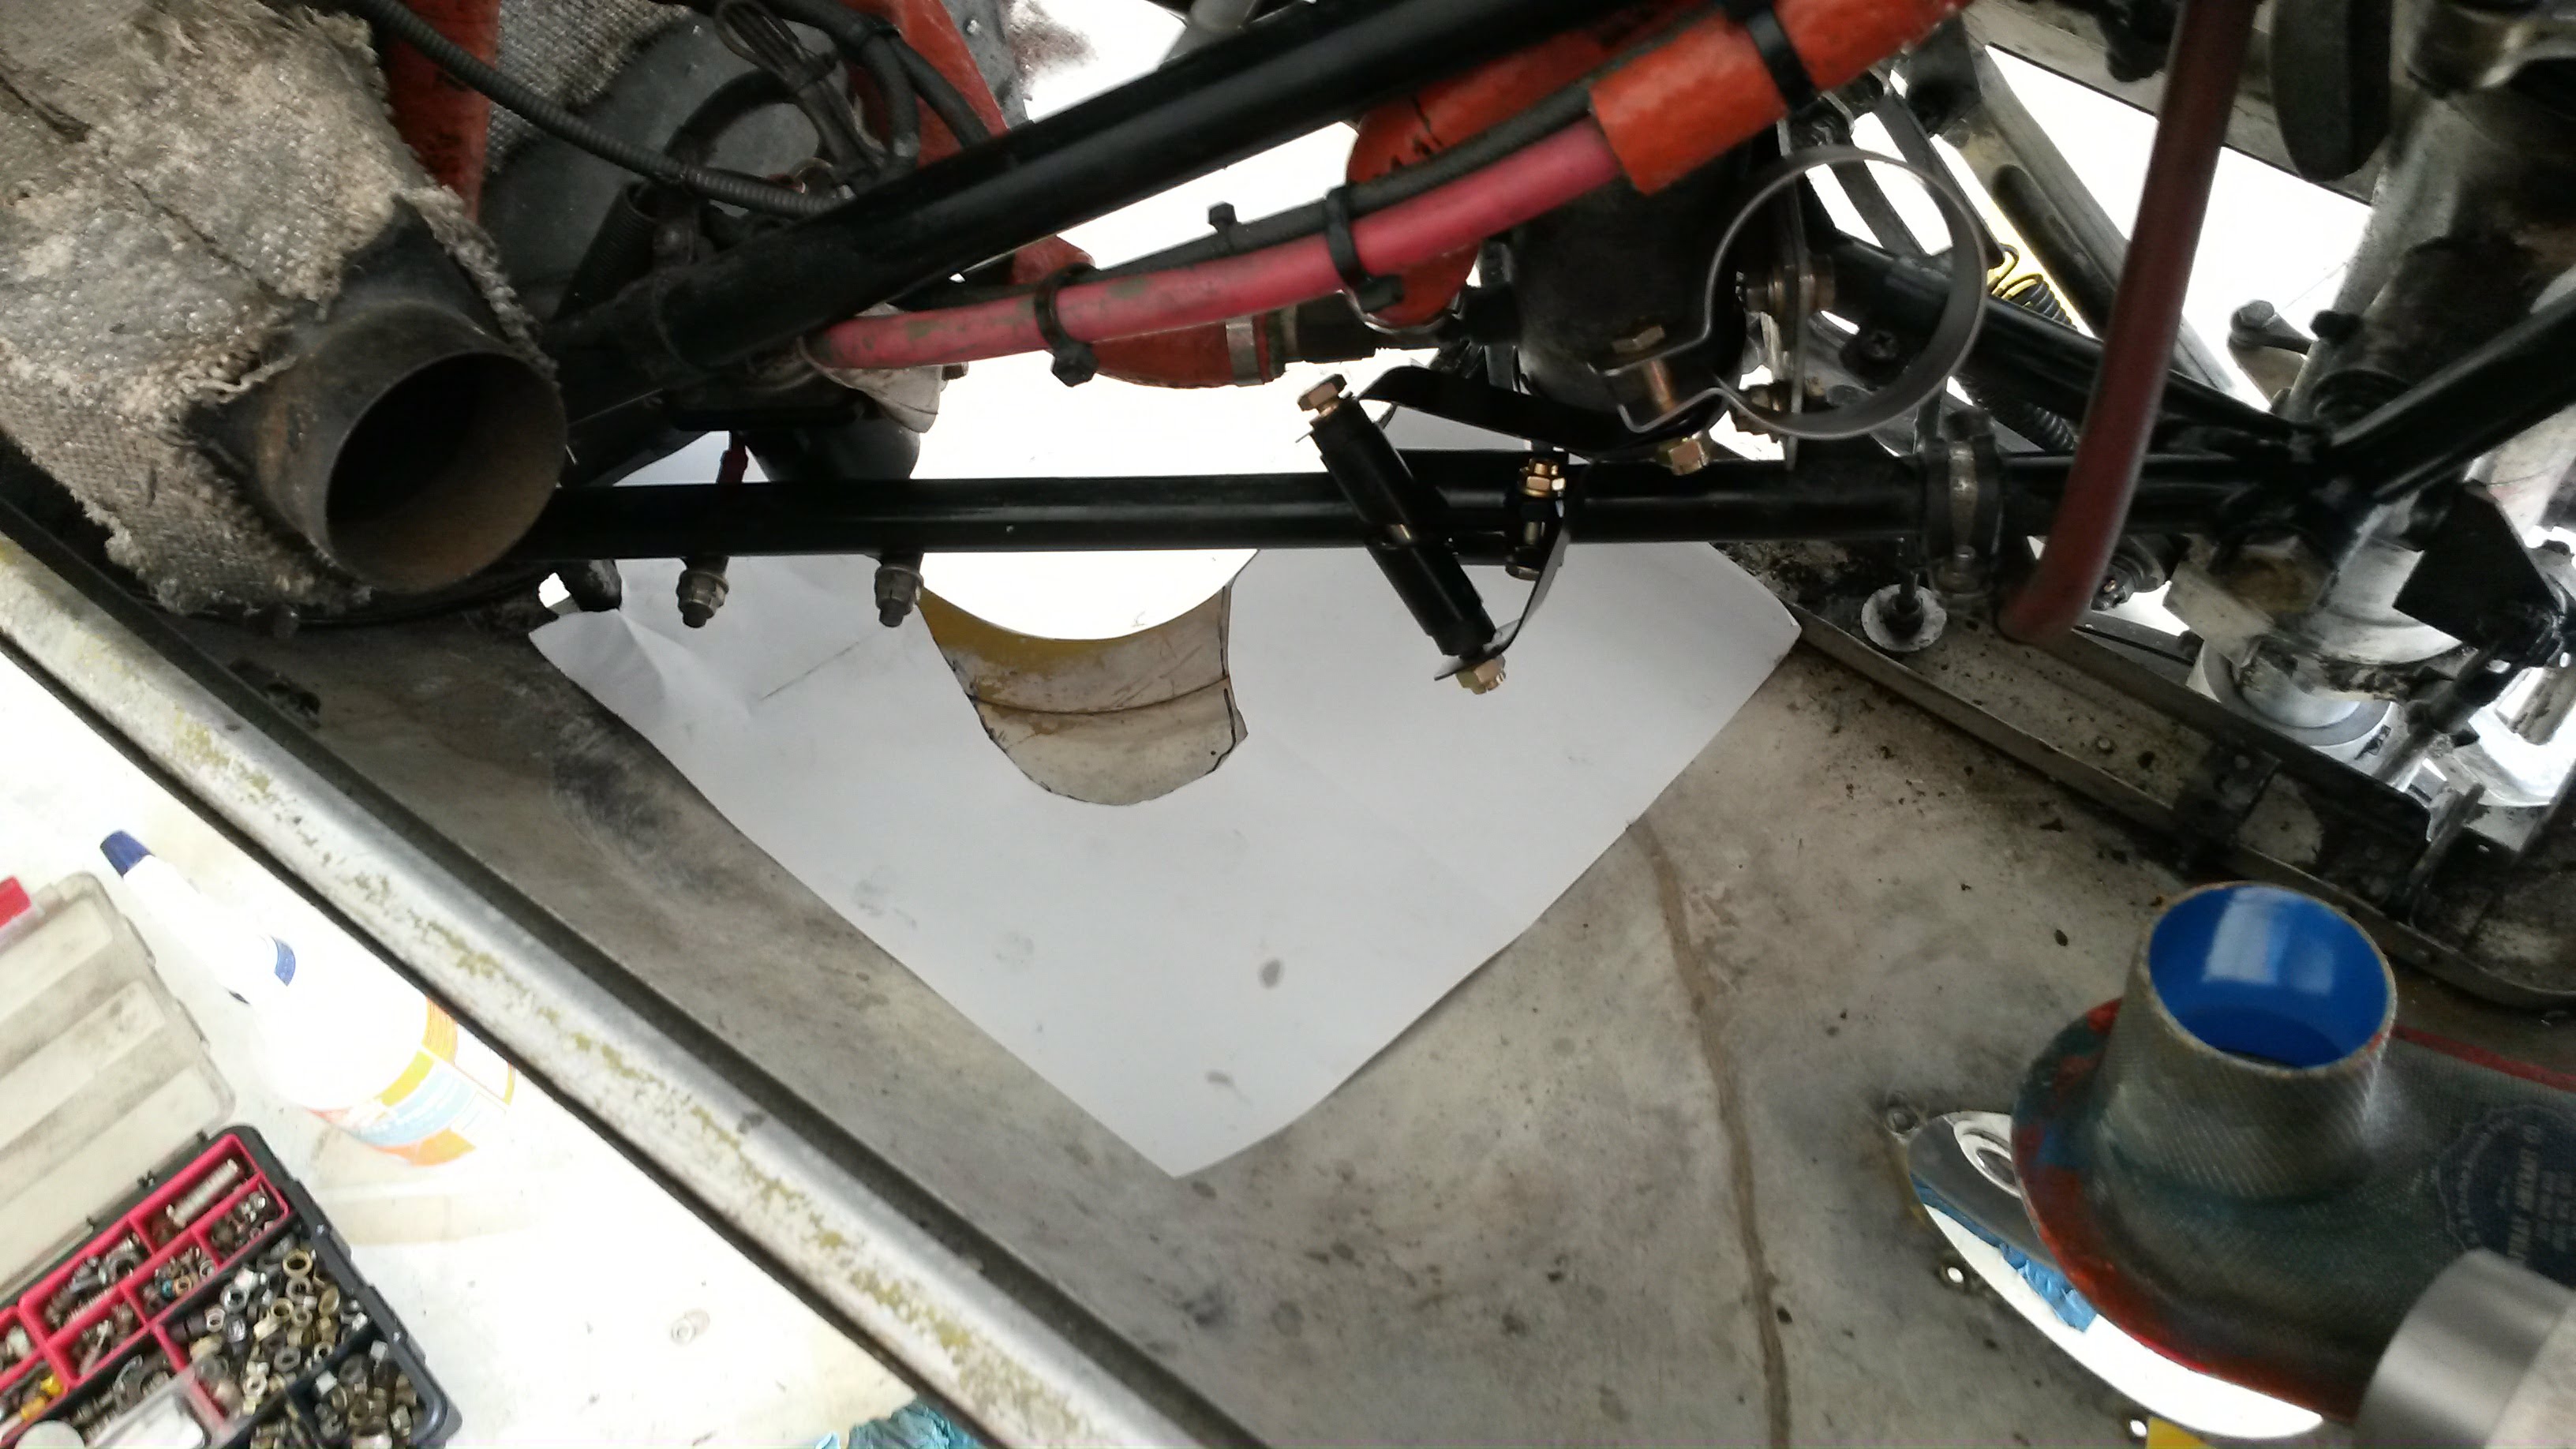
Template for Cowl Trim
This modification was nerve wracking. Take too much and we wreck the cowl. Take too little and the mufflers don’t fit. We had to do this process two or three times before we were sure it was right. On top of all this cutting we than had to make new doubler plates and rivet them on. We originally intended to replace the fresh air intake ports on the bottom of the cowling with NACA ducts. However this option would not work as the new mufflers were in the way.

Bottom Cowl Modification
As part of the STC old parts from the existing system were incorporated. In order to provide fresh air, two new intake ports had to be added to the cowl. These ports were to be cut off the muffler heat muff and attached to the front of the cowling on top of the airbox.
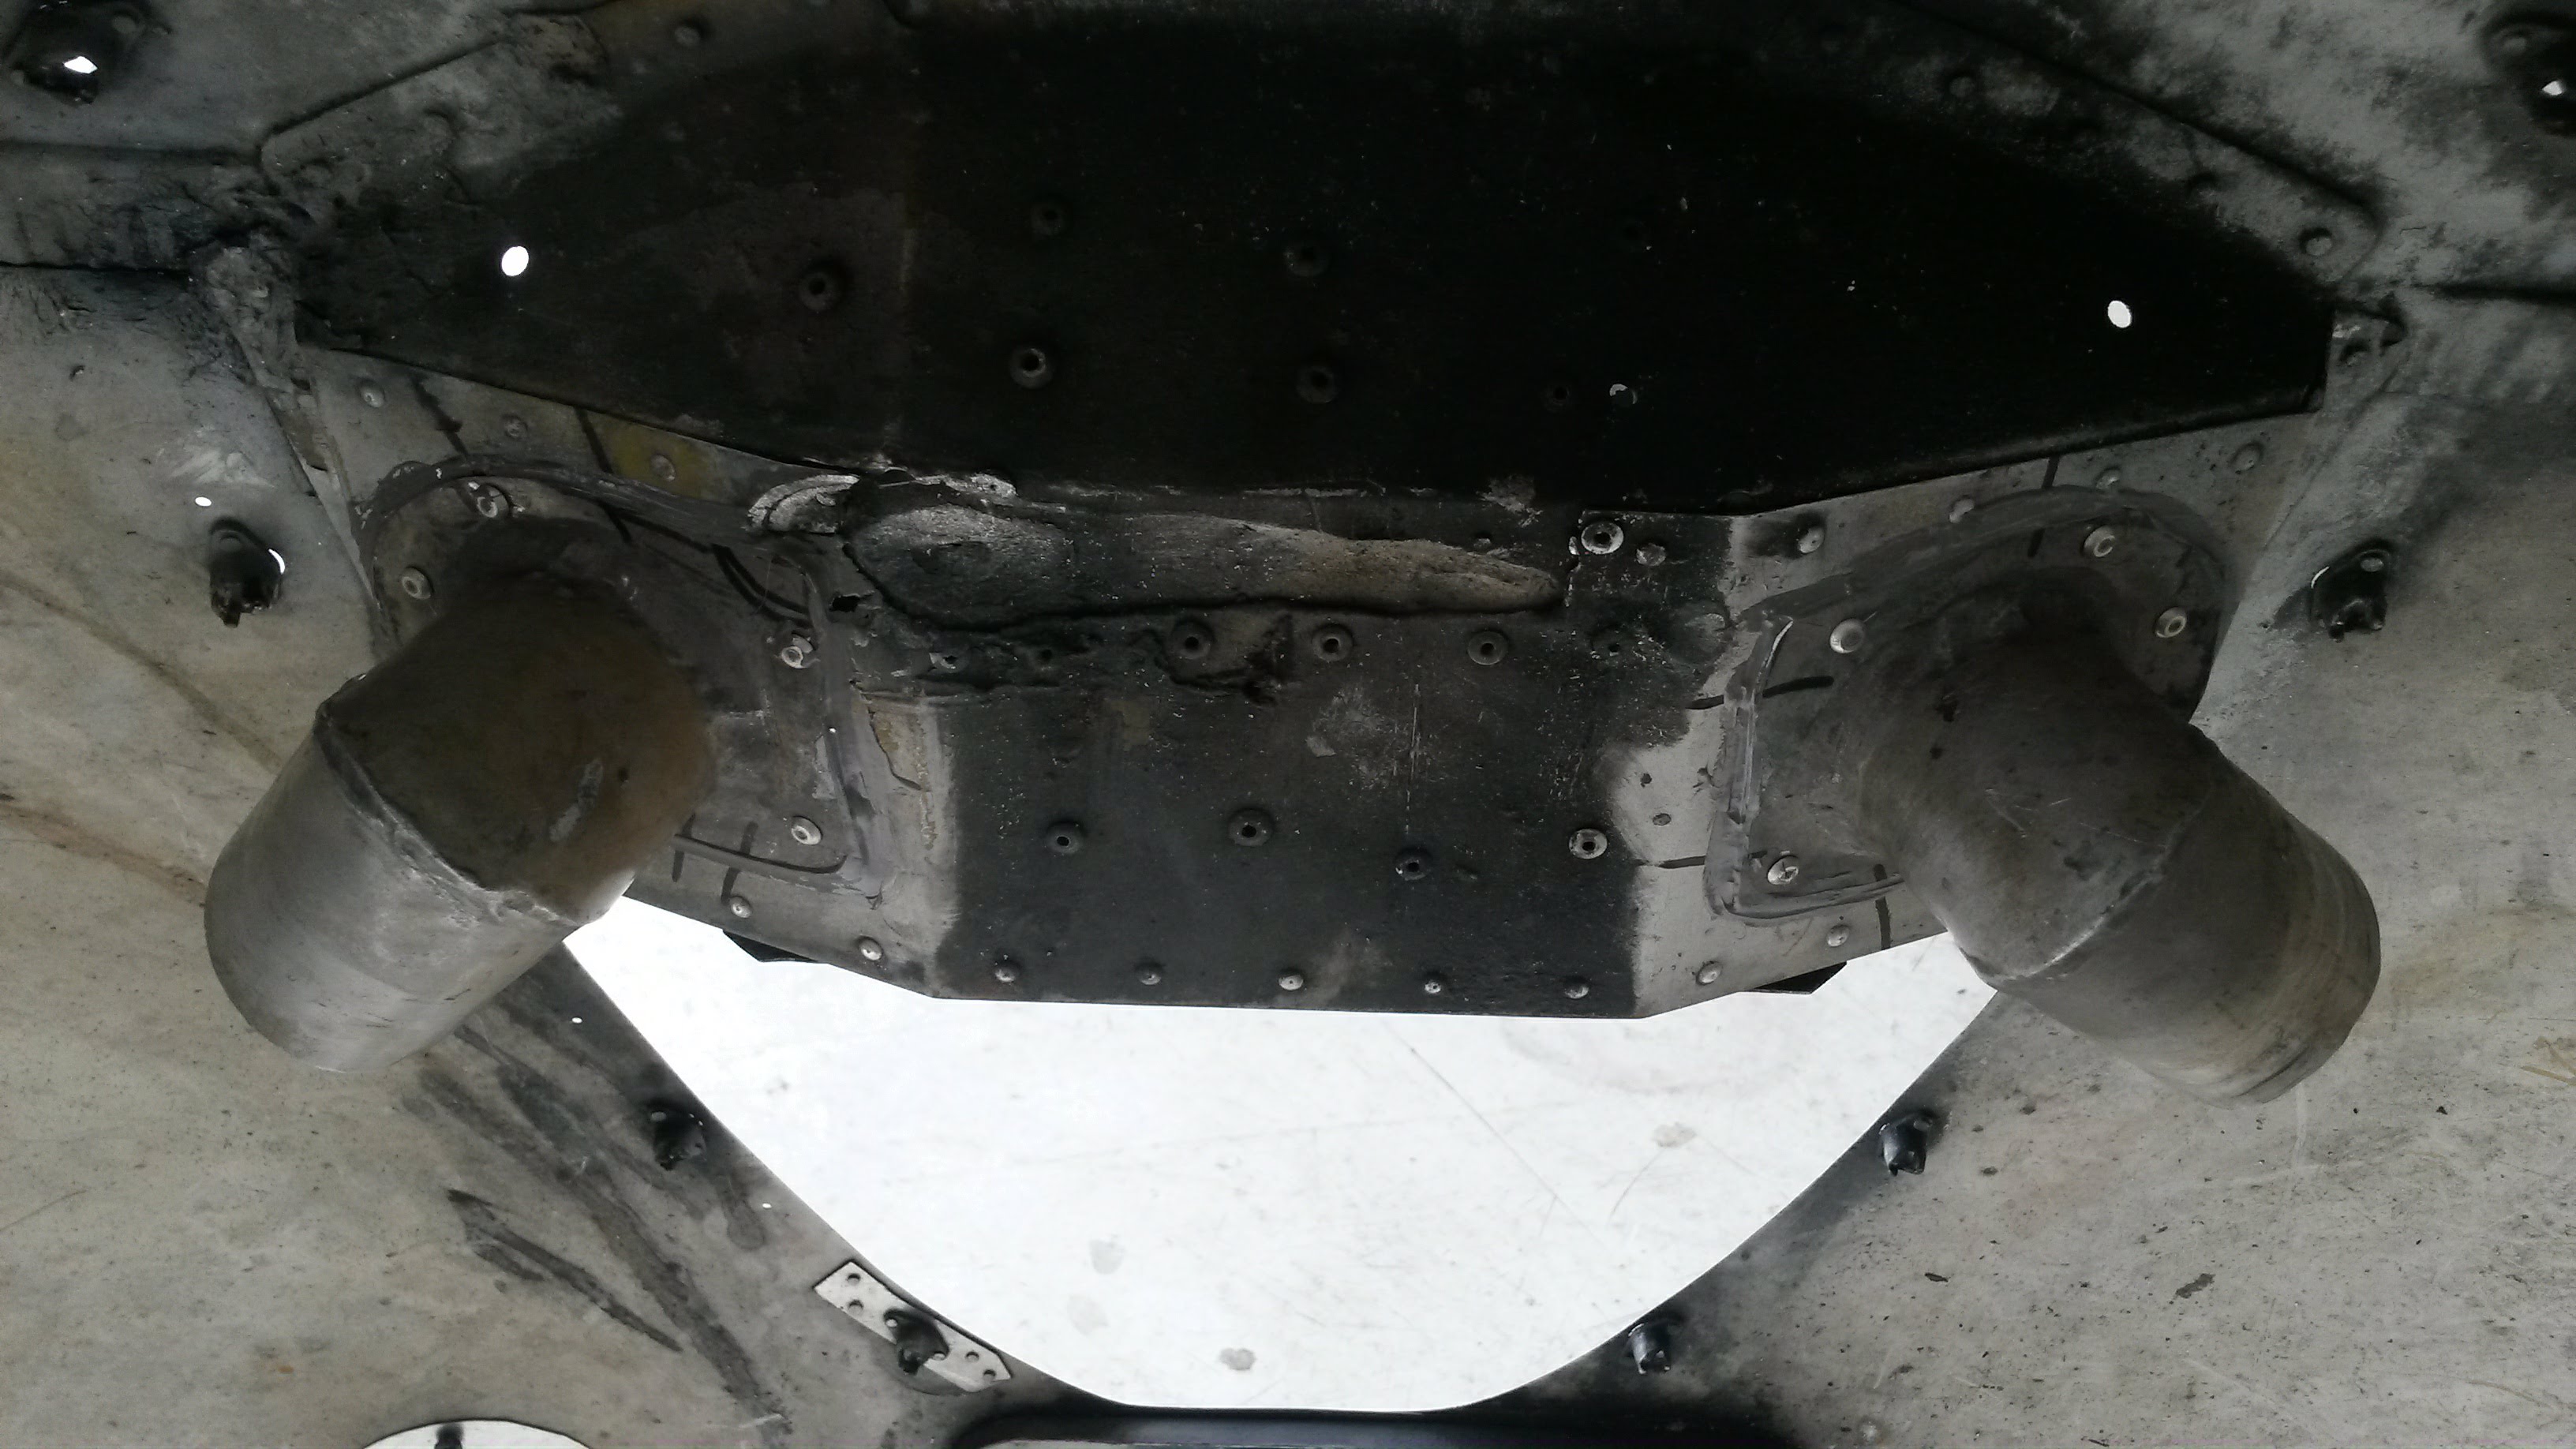
New Fresh Air Ports
My Comanche has dual heat ports and dual fresh air ports on each side of the firewall. New SCAT hose had to be run for both fresh air and heat. The right side muffler handles the carburetor heat air. So the air intake off the back of the baffle puts hot air into the carb box. We also drilled out holes for the exhaust gas temperature (EGT) probes. I decided to try them on the inside, so they were tucked out of the way. This worked okay on the right side, but we had to do something slightly different on the left.
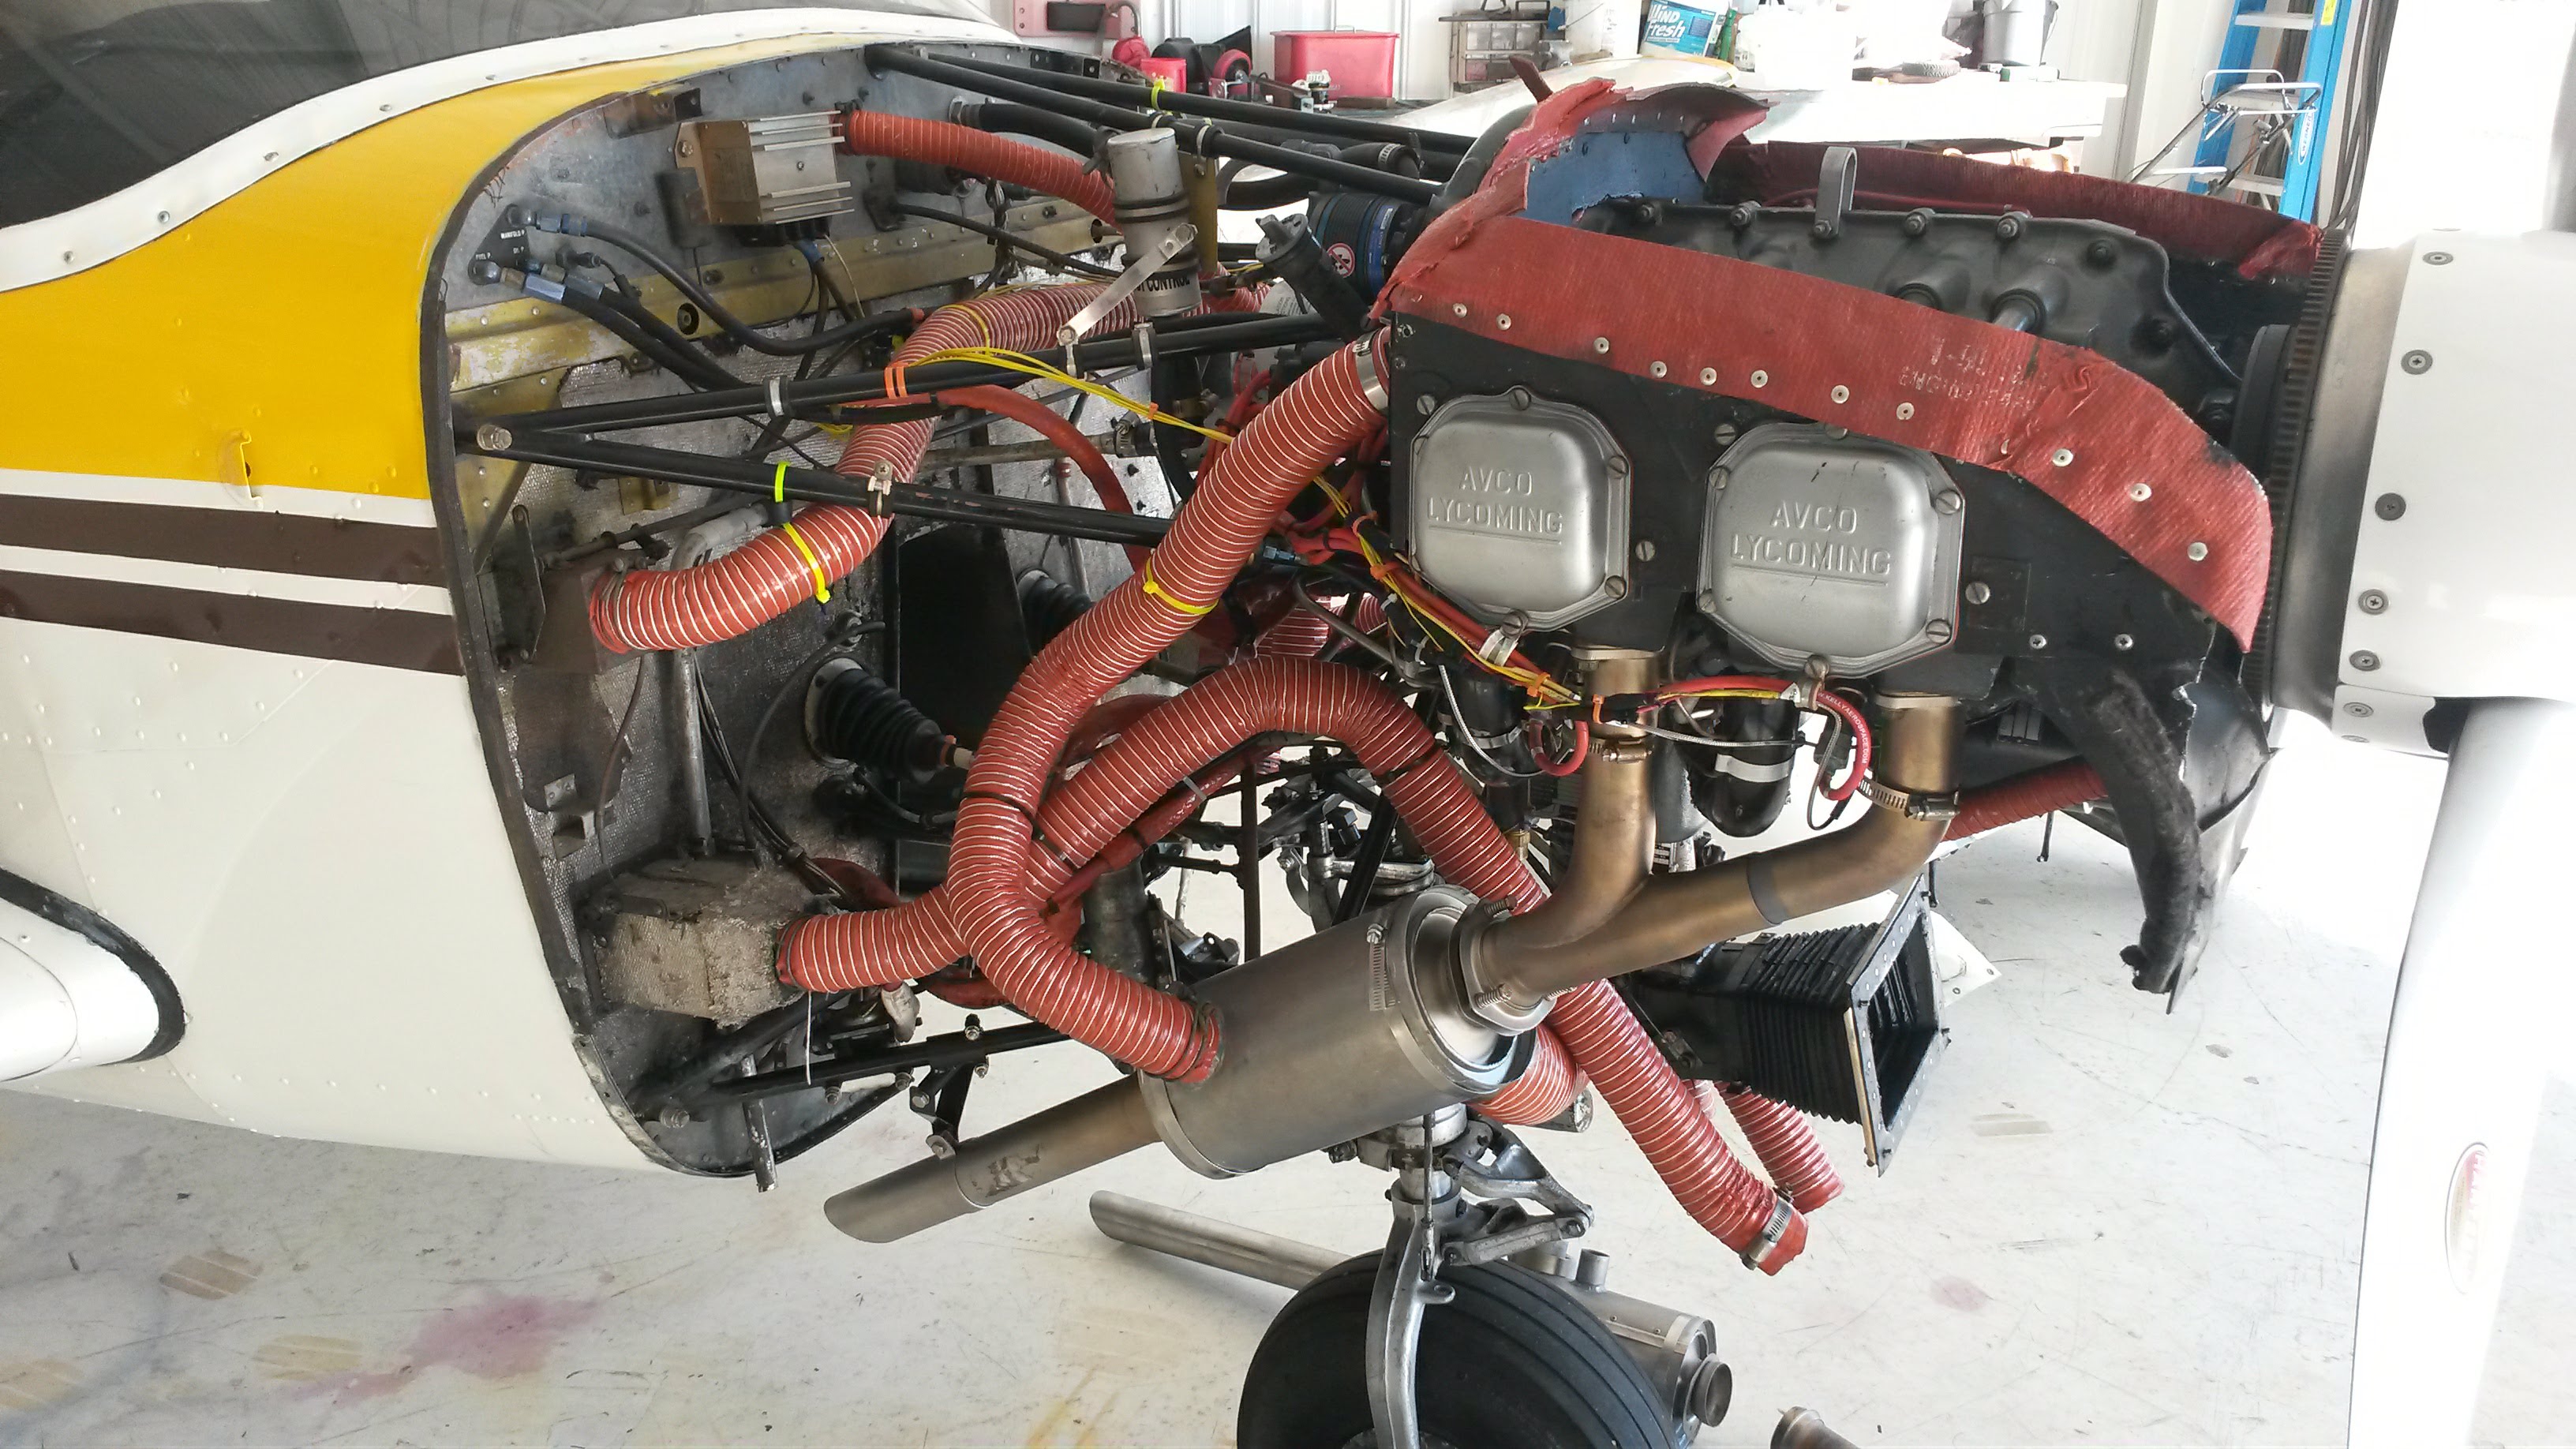
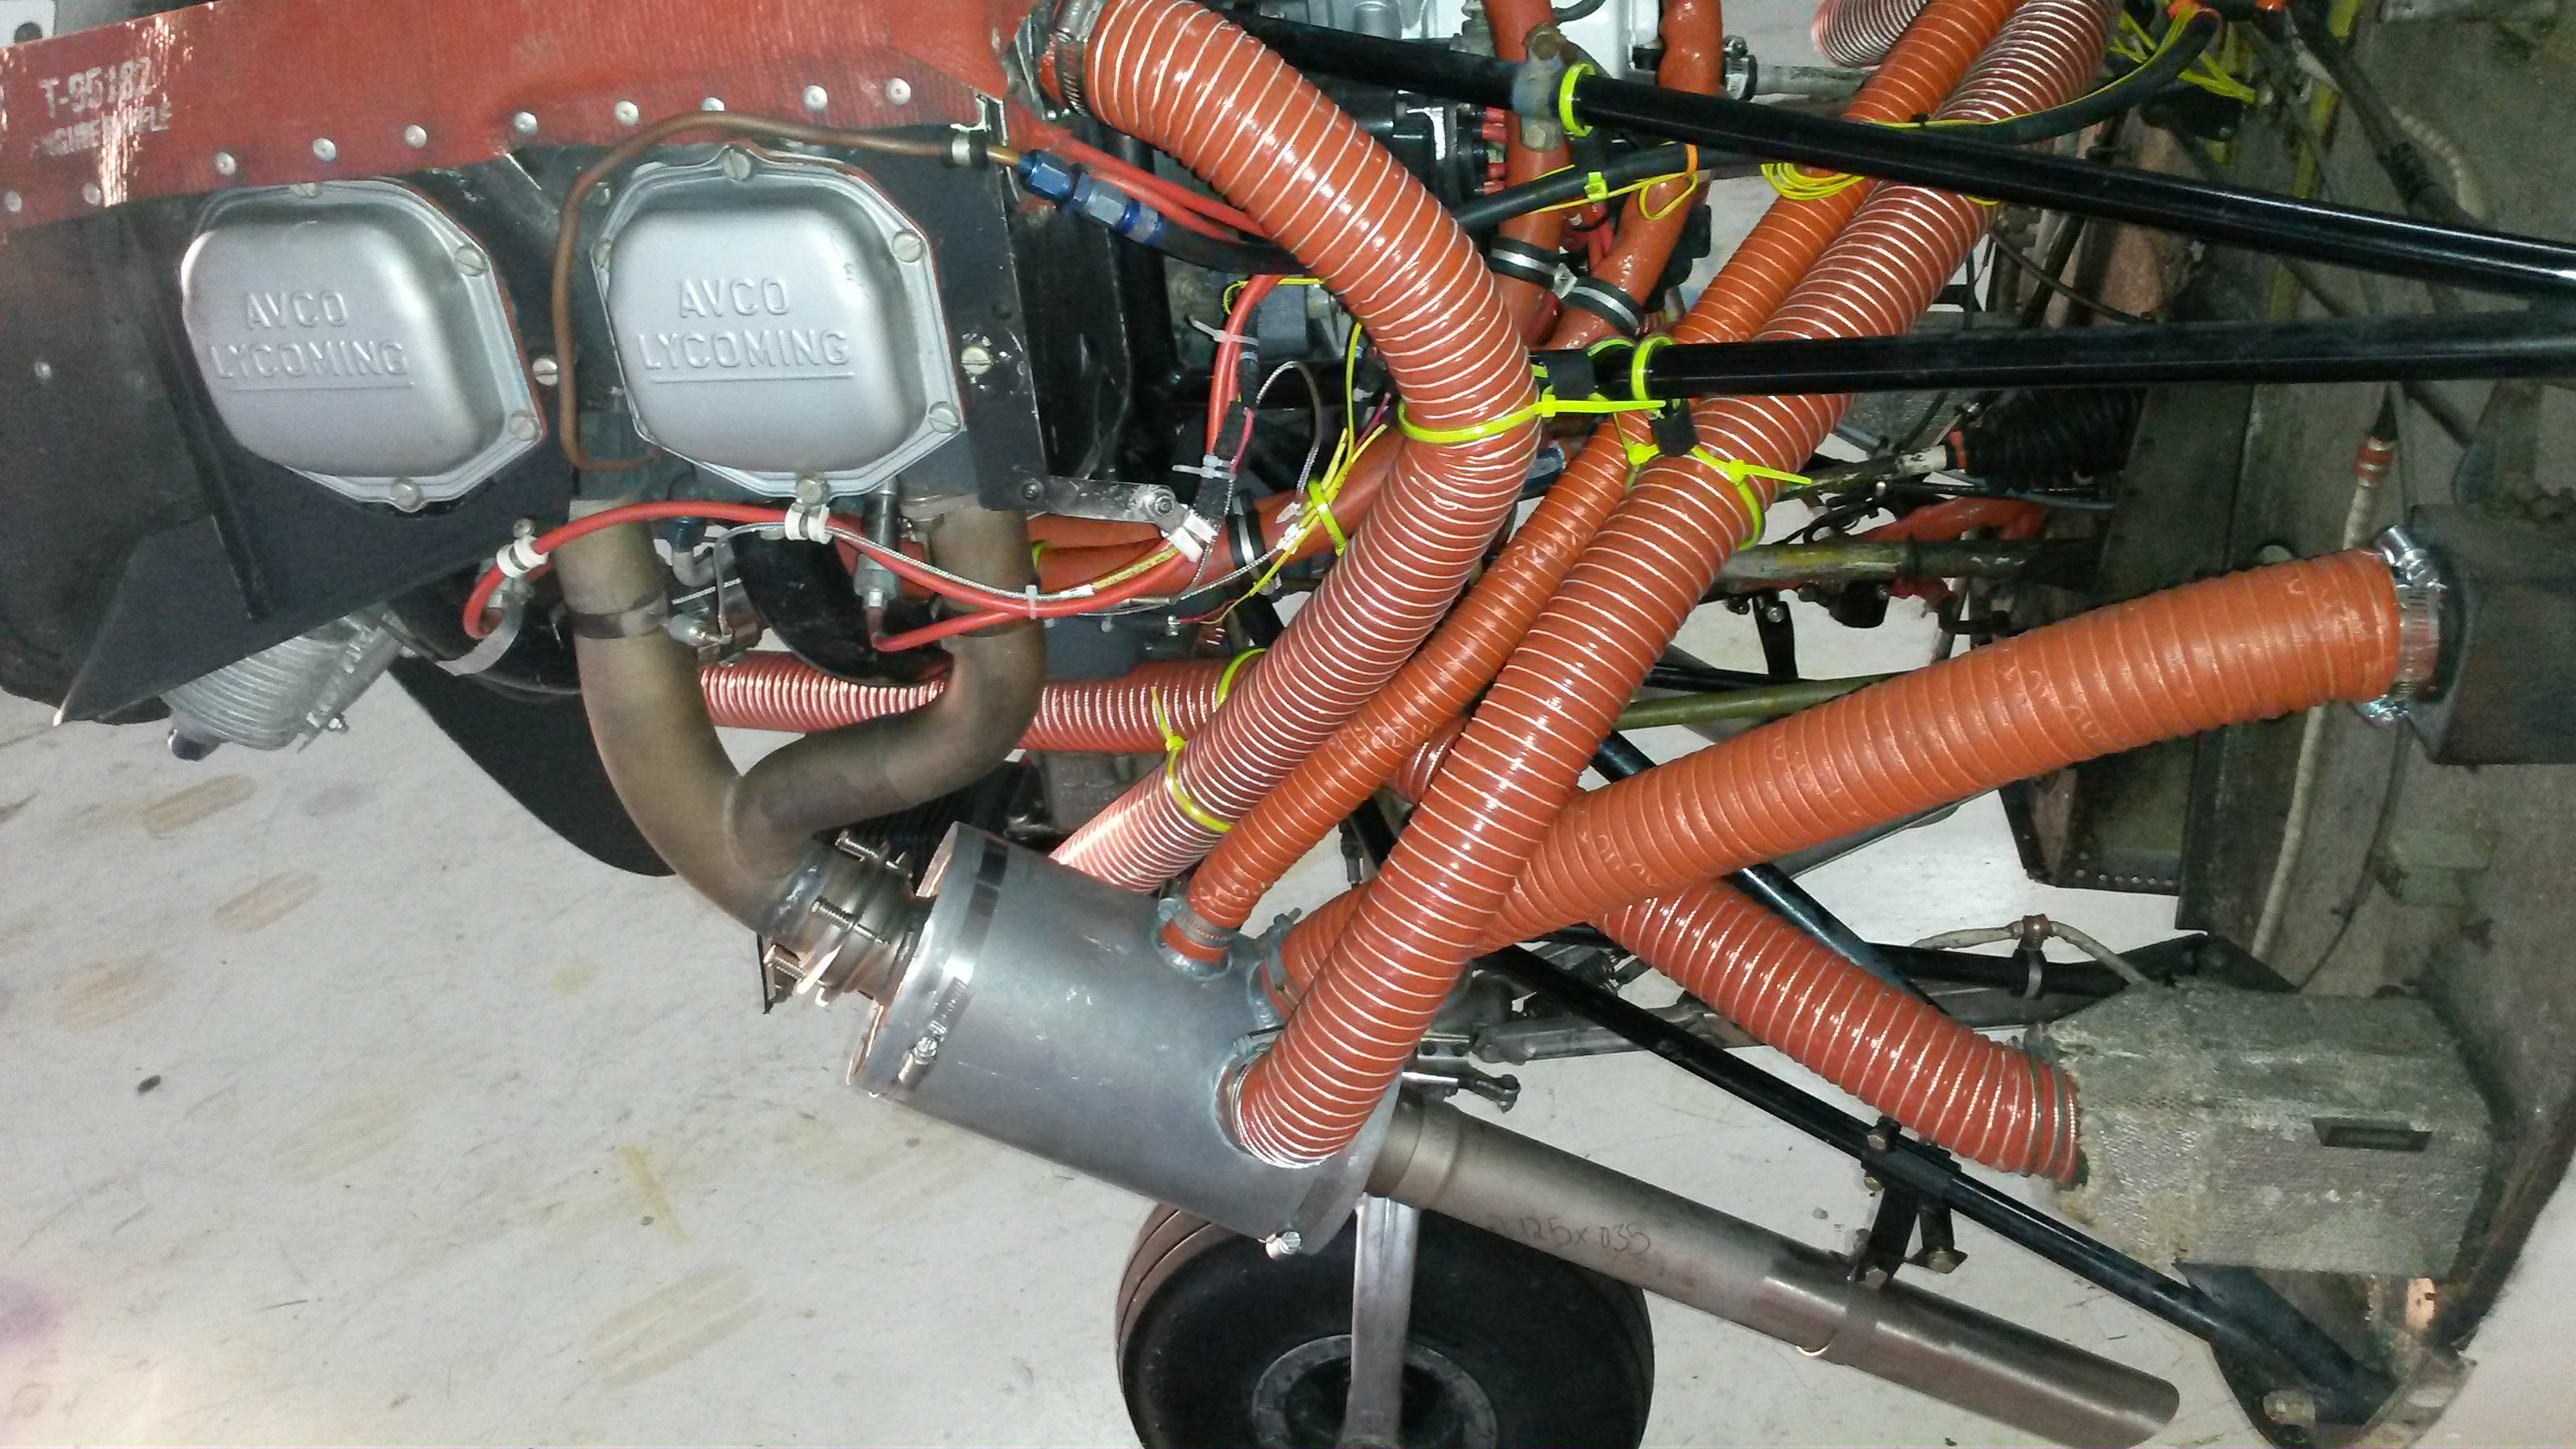
Right Side of Dual Exhaust Installed
The left side was a real challenge. The heat probes would not fit under the baffling so they ended up more on the back of the pipes than on the inside our outside. Also as the picture shows, we had to run many new lengths of SCAT tubing from the left muffler to all the heat ports. Both the left and right heat and windshield defrost all come off this muffler.
Left Side Exhaust
A note on securing the SCAT tubing. I did not use adel clamps. My mechanic and I talked about how to secure them and we decided together that some zip ties would work. I used some high temp clear plastic hose over the zip tie to prevent wearing and then a small piece of rubber tubing to create a stand off. Now the pipe would be secure and protected against vibration wear. Once these ties were tightened, they held the pipes in place.
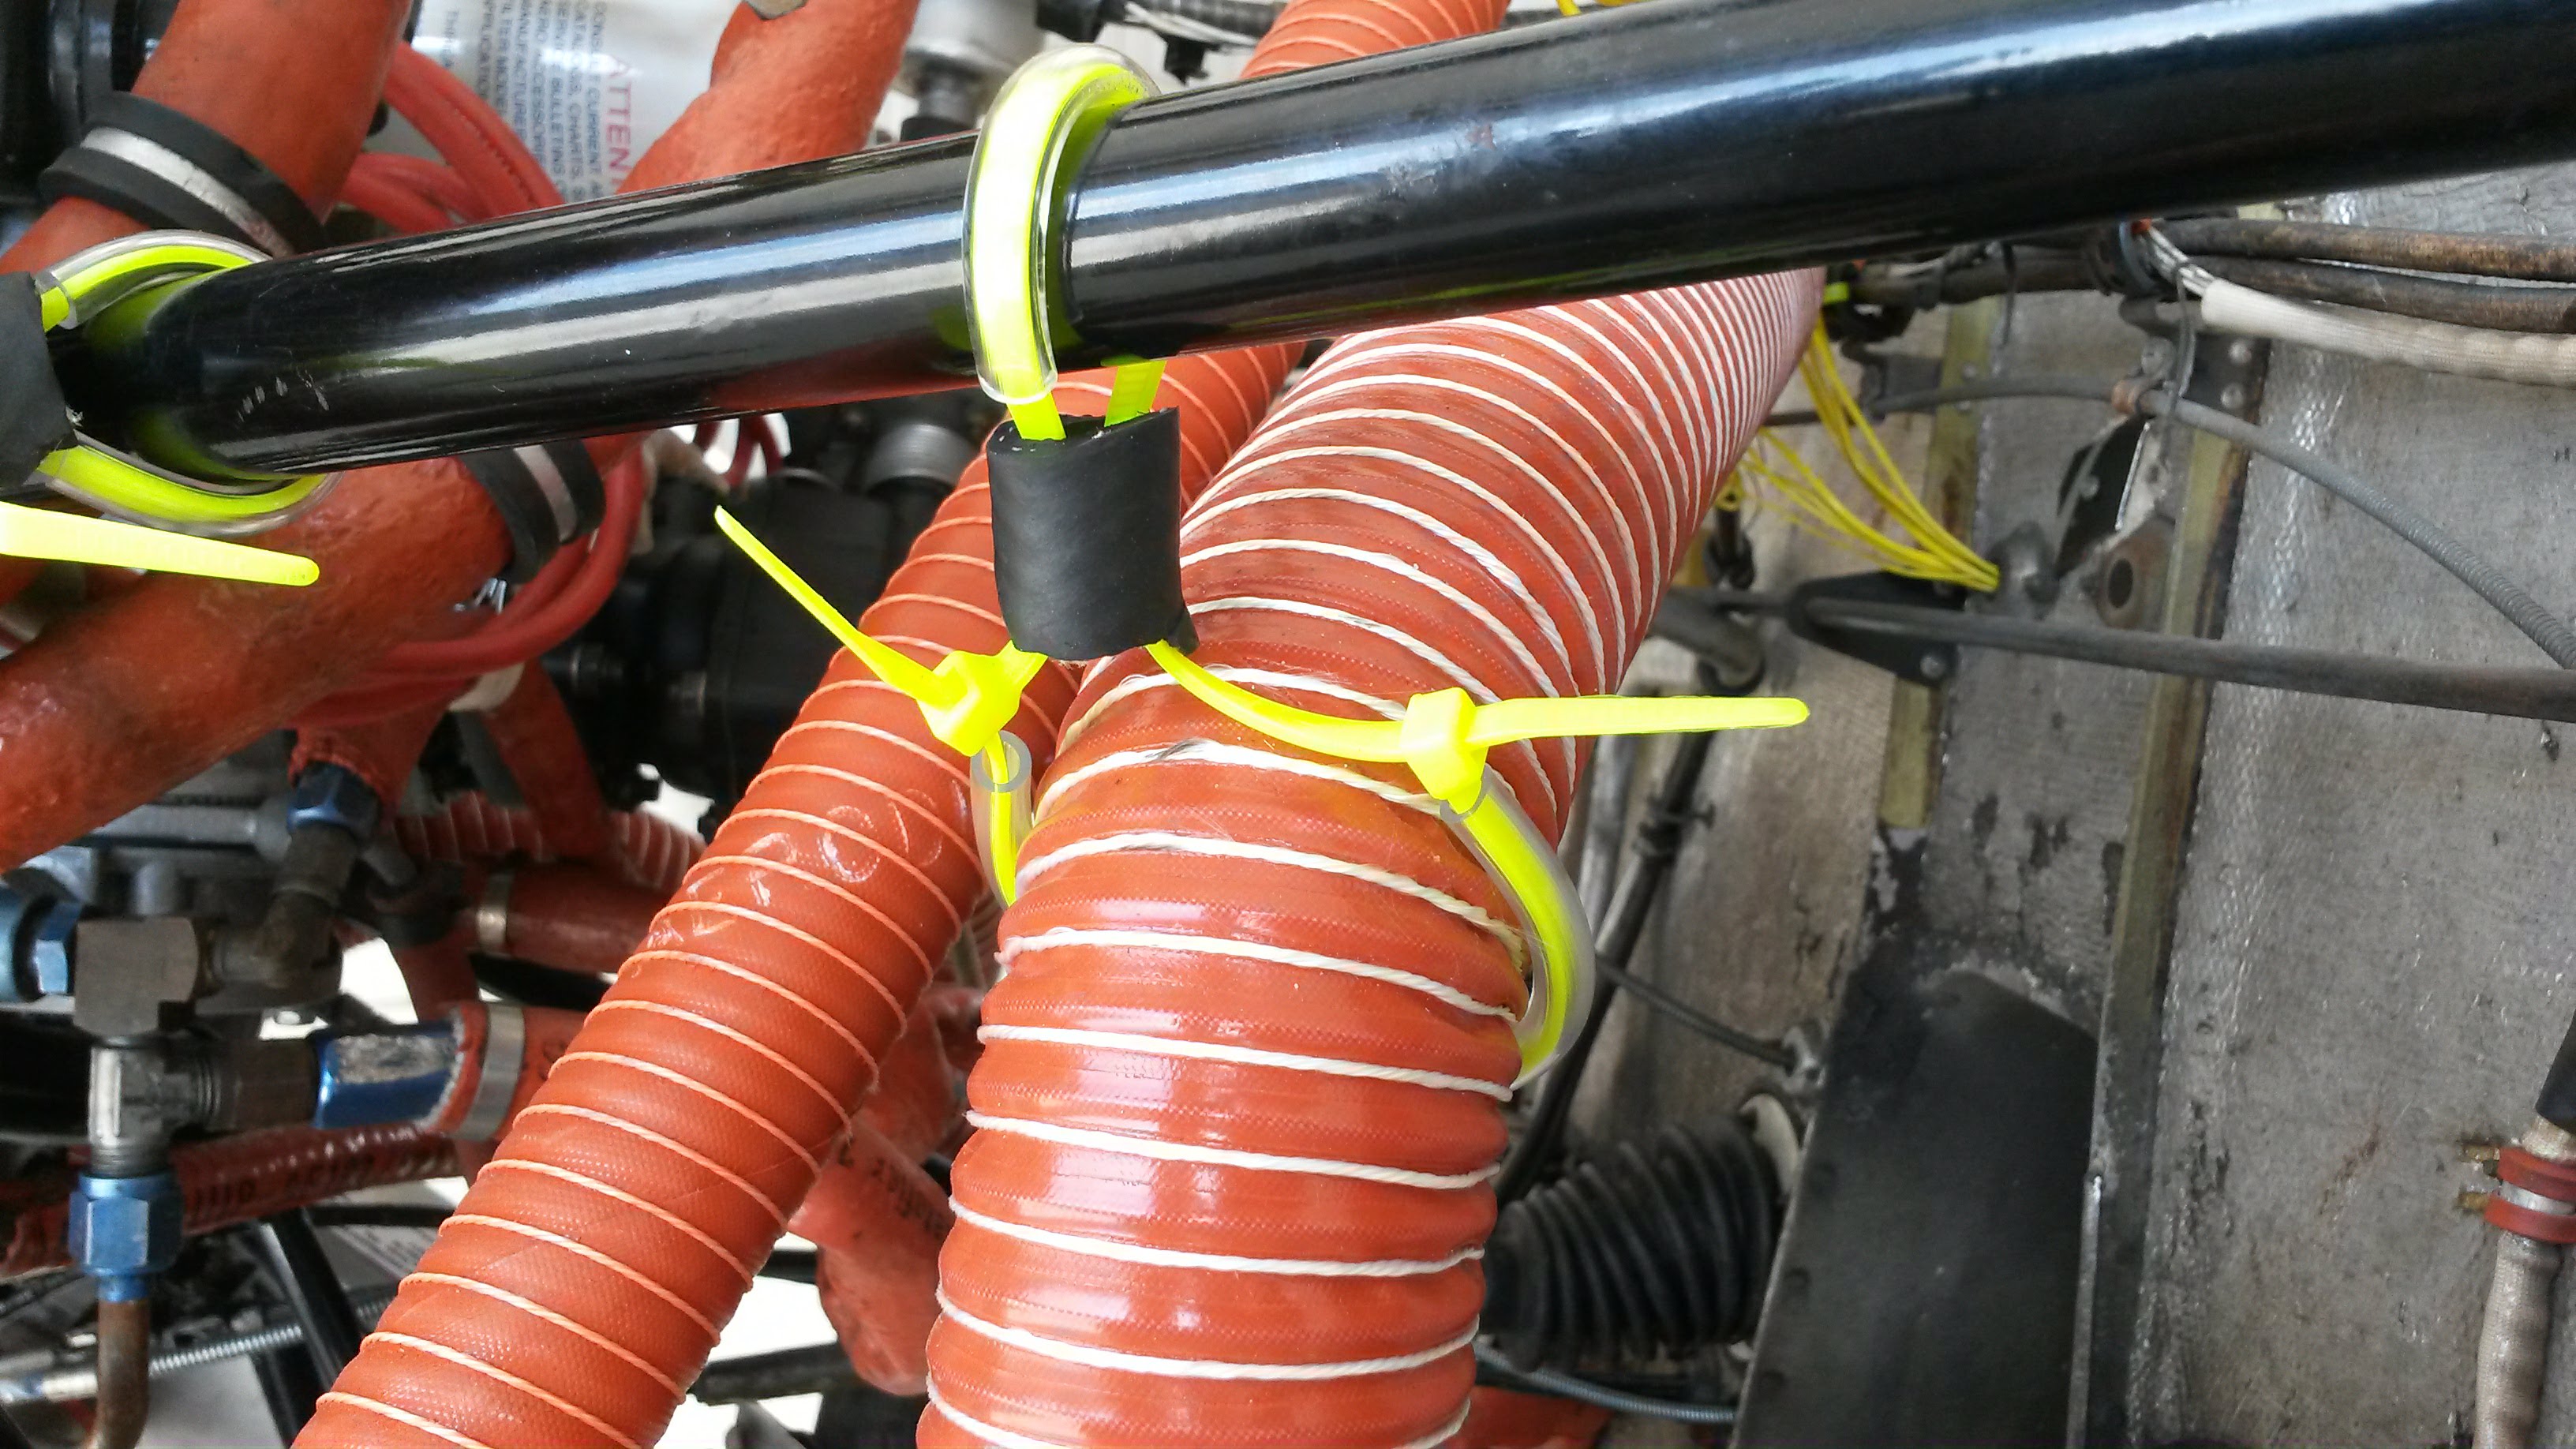
Zip Tied Hoses
There are several perks to this new exhaust. The heat now works fantastically and no more carbon monoxide in the cabin. The engine sounds different as the exhaust has a deeper more rumbling tone to it. Also much less heat transfer from through the firewall making the dashboard hot. Overall this project was a good change. I now have a much better exhaust system. I am not yet sure if it was worth all the troubles, but it does work as advertised and does seem to improve the situation quite a bit.