Turkey Vulture vs Comanche
The particulars:
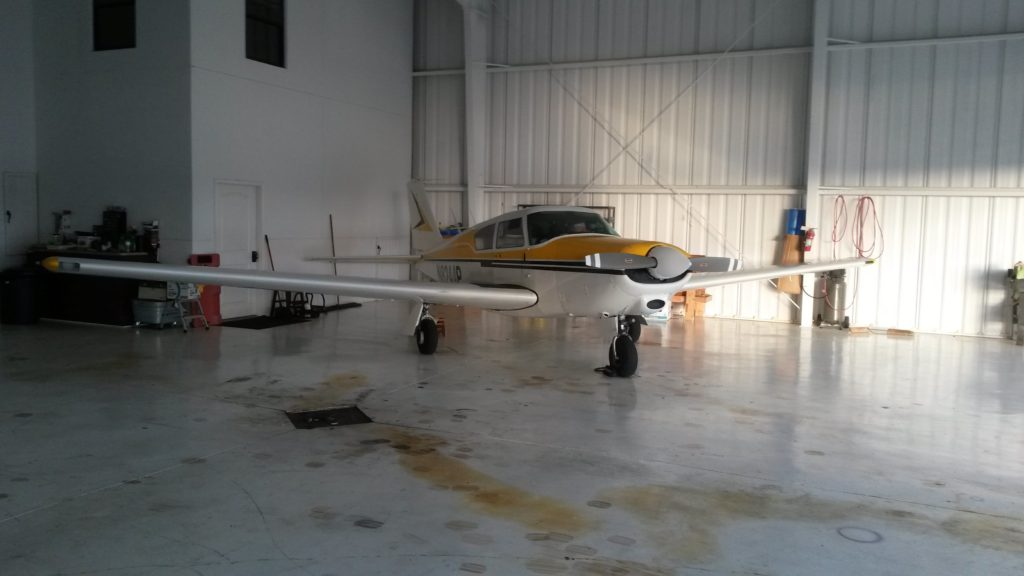
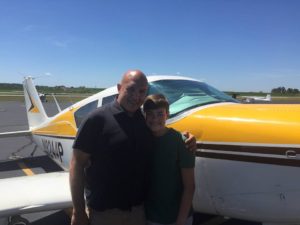
- N8244P: 1964 Comanche 180.
- TTAF: ~3200
- SMOH ~900
- STOH ~60
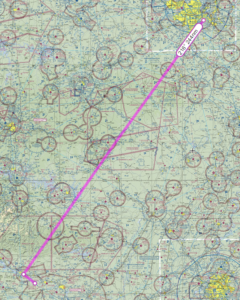
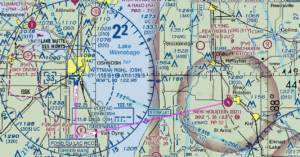
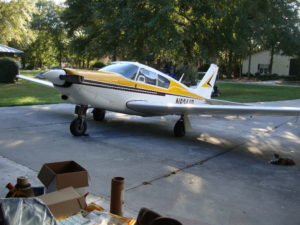 I was descending out of 4000 about 12 miles south of KOCF, setting up for the ILS 36 approach, when a big black turkey vulture dove into my path and I chopped it up with the prop. Blood and guts everywhere. The right wing suffered some minor damage from the chunks hitting the leading edge. I think the worst part was when I realized I could not avoid the bird. I had just a split second to yank the yoke to the left and the bird hit the prop at about the 2 o’clock position. I think that saved me as the prop chewed it up and threw most of it down and to the right, away from the cockpit. The insurance company wants a tear down and inspection. The craft is now with my trusted mechanic Don and getting a tear down and inspection.
I guess the silver lining is that I did not die. Things could have gone way worse on this one. I was at 24 square in a descent at about 160 kts. That bird could have blasted through my windshield and disabled me with a much worse outcome. Another silver lining, and perhaps the best one, is that a mechanic I really trust is doing the repairs. Some days I think someone is looking out for me. I have done so many foolish things that I should have long ago won a Darwin award. Yet here I am.
Converting to a Major Overhaul
I was really worried that my stabilator was damaged but none found. After a few conversations with Don, I am going to pay the extra and turn this into a major overhaul. The prop is going out for inspection and repair, possibly overhaul. I will have to ask Don which is happening. It has maybe 100 hours on it. There was no visible damage I could see but always better safe than sorry.
Engine parts OK – somewhat
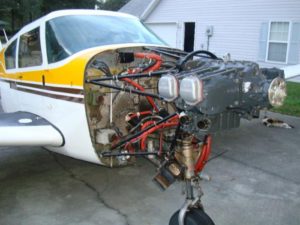
The engine is all apart. The good news is that the bottom end of the engine, factory new in 1975 ish, containing the crank and cam all looks good. The top end, which was recently overhauled – the cylinders, pistons, and rods etc, seems to be less than stellar workmanship.
AD needs to be done
While Don was tearing through the engine he also looked at the logs and discovered an AD – Airworthiness Directive that had not been done.
DATE: January 30, 2003 Service Bulletin No. 475C
(Supersedes Service Bulletin No. 475B)
Engineering Aspects are
FAA Approved
SUBJECT: Crankshaft Gear Modification and Assembly Procedures
MODELS AFFECTED: All Lycoming direct drive piston aircraft engines (including VO-360 and
IVO-360; excepting O-320-H, O-360-E, LO-360-E, TO-360-E, LTO-360-E,
and TIO-541 series engines).
TIME OF COMPLIANCE: During overhaul, after a propeller strike, or whenever crankshaft gear removal is required.
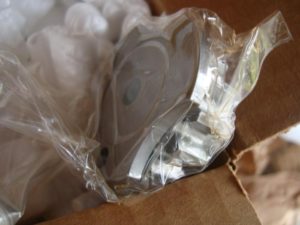
The infamous gear now in compliance with the scalloped edges. As explained by my Mechanic “This pic is of the infamous AD crank gear. You will see the scalloped flange. It used to be solid round. The idea of the AD is so you can confirm that the gear is flush and tight on the crank by being able to slip a feeler gauge into the scalloped area to confirm it is flush with the end of the crank...”
New Crank or Not?
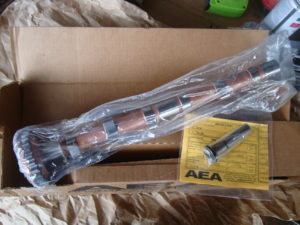 Mr. Don, my mechanic and I have been discussing reusing my existing cam and buying a new one. The plan was to buy a new one and if my existing came back with a yellow tag, we would sell it on eBay for someone looking for a used cam. Don had a conversation with the shop that did my existing cam shaft and the shop owner stated that the failure rate is negligible between new and resurfaced cams. The final point that was the clincher that made me decide to use the existing cam was that my existing cam is tried and true – we know it is good it already ran 900 hours without issue. Odds are that it will continue to perform just a good as a new one. In fact because it has already been stressed and found to sustain – it is just as likely to last as a new one.
Reassembly
The process of putting the engine back together was slow and careful. Each part after thorough inspection was then carefully put back into the engine case and properly fitted. The assembly took a couple of days and then installing the engine on the plane a few more days. This is not a process to be rushed.
Pulling the Dent
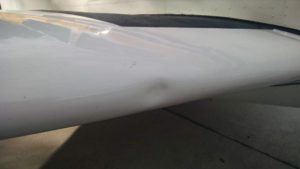
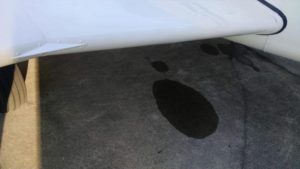
A chunk of the bird hit the leading edge of the right wing. leaving a golf ball sized dent. The mechanic used a drill and dent puller to pull the dent back out. Then some body filler and paint to smooth it out. he also repainted the leading edge so it was pretty much invisible.
Before:
After:
Plane all back together 1/1/2016
After three months of waiting, the plane is back together and looking good. The engine is running great and the dent is gone. Hopefully no more issues for a while.

