Day 1
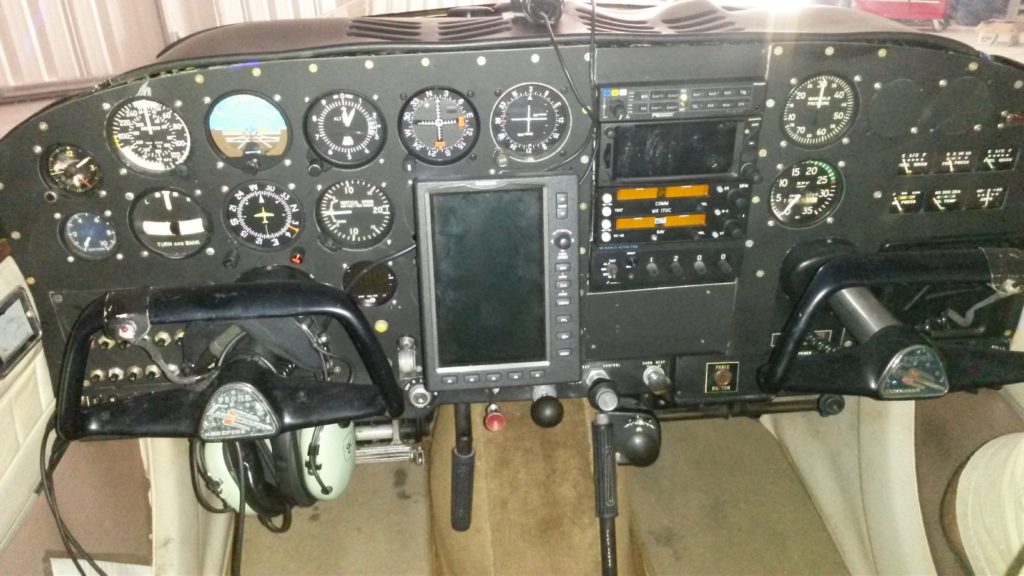
The worlds greatest Comanche 180 – Sunny Side Up is in the process of getting a new instrument panel. The original “Scatter dash” as we call it included some antiquated and slightly out of adjustment instruments. It was time for an upgrade.
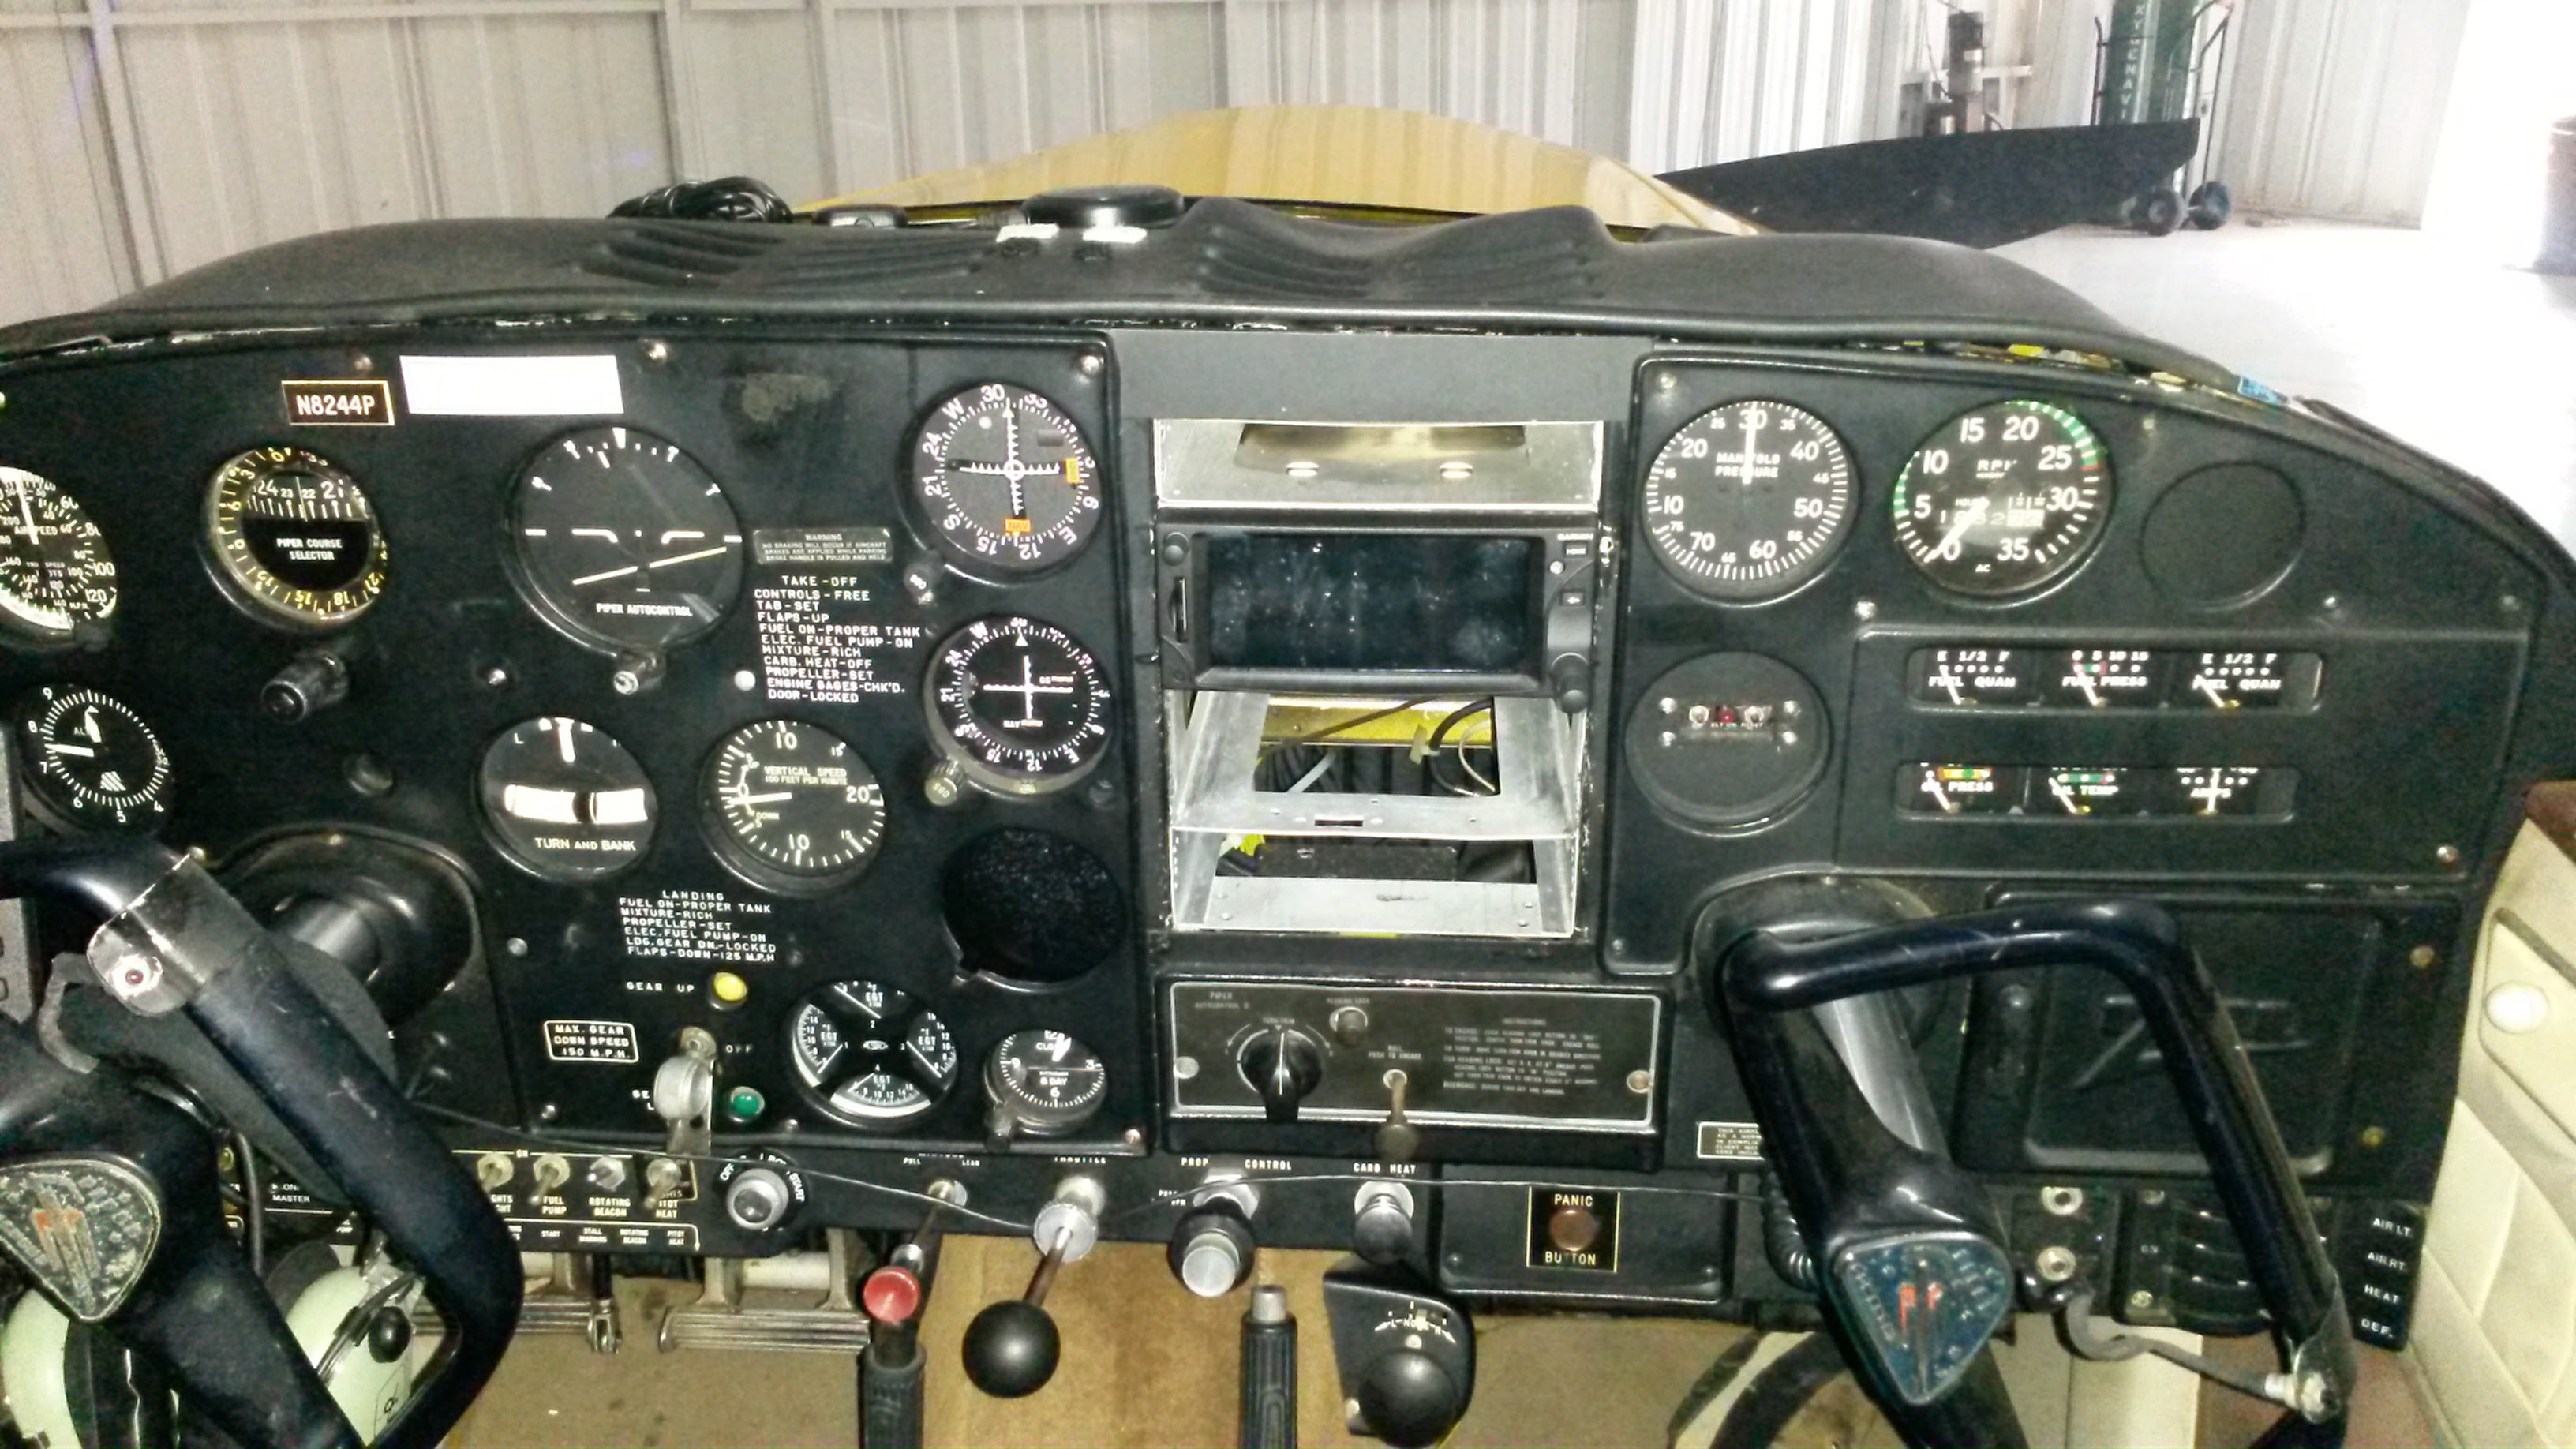
The original panel
Getting all the old instruments out was not too difficult. The attitude indicator and the directional gyro were enormous. These two instruments took up a good portion of the space behind the dashboard.
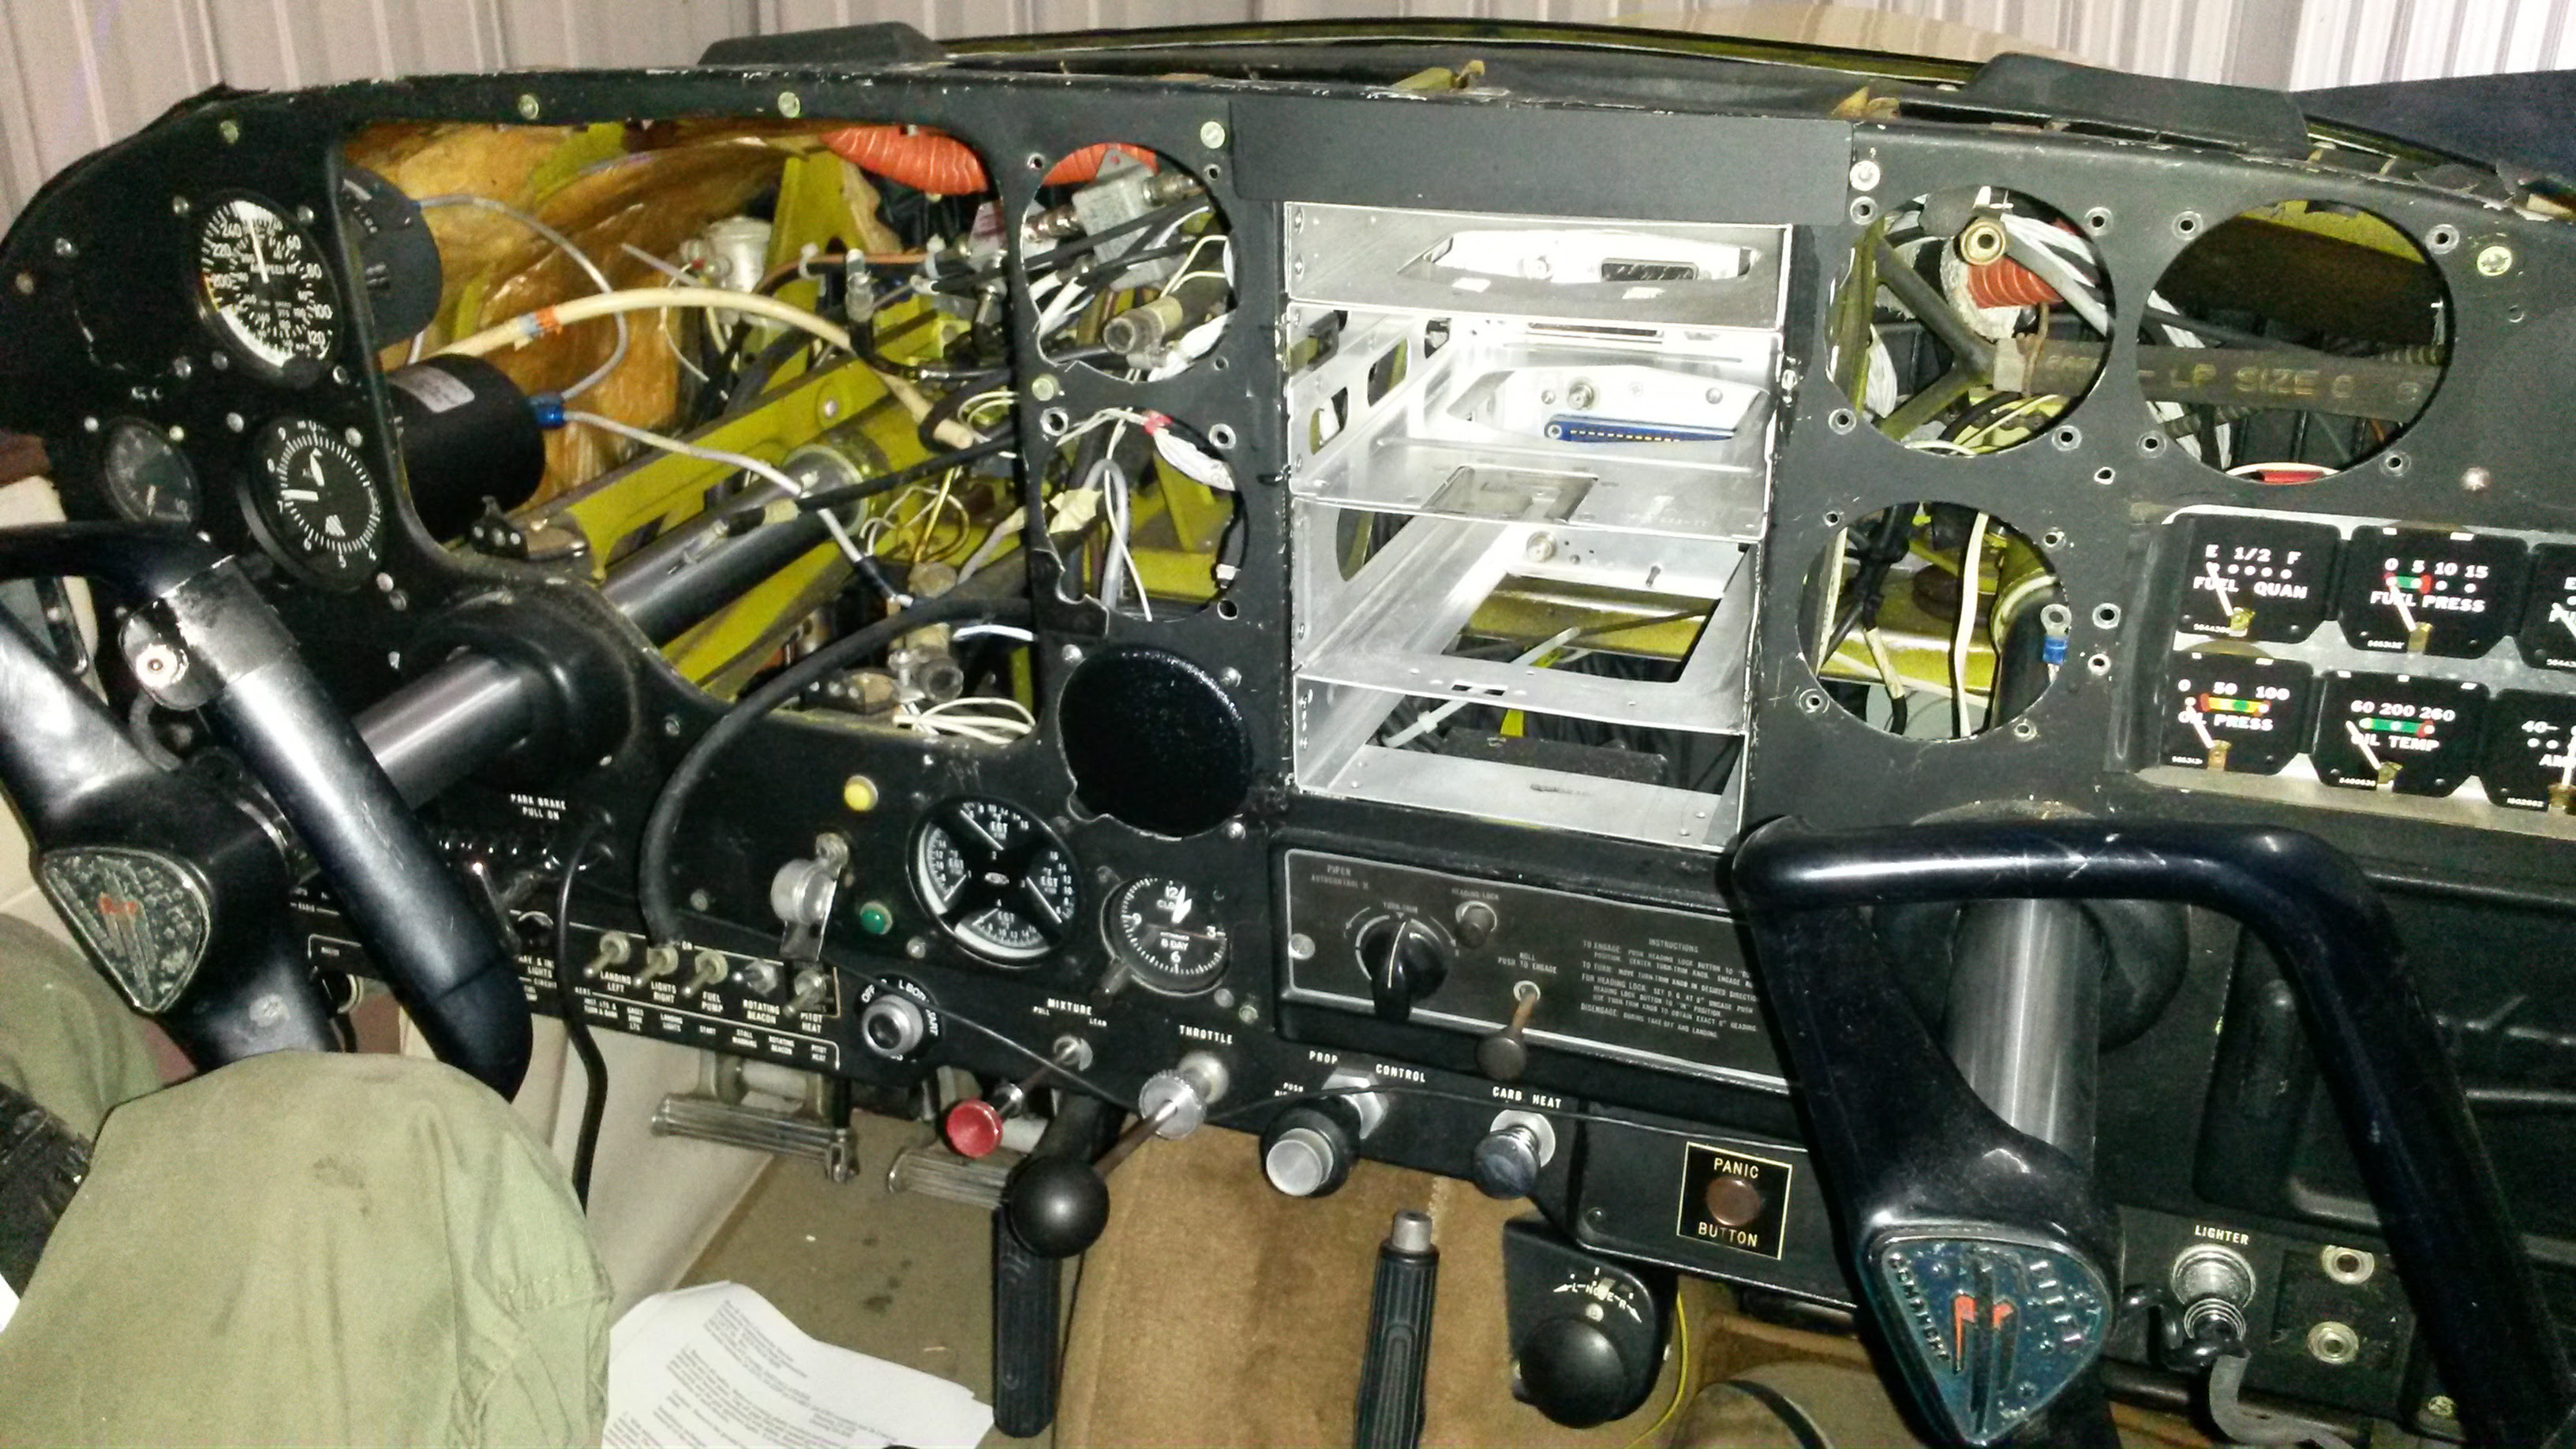
Starting to remove to old panel
The old autopilot a Piper Autocontrol 2 was a marvel of mechanical engineering. Almost fully mechanical with a mix of simple electronics to make a wing leveler that will follow a heading bug. The problem was that it would occasionally malfunction and try to put me in a hard right turn which almost resulted in a wing over. It was time for this very old technology to go.
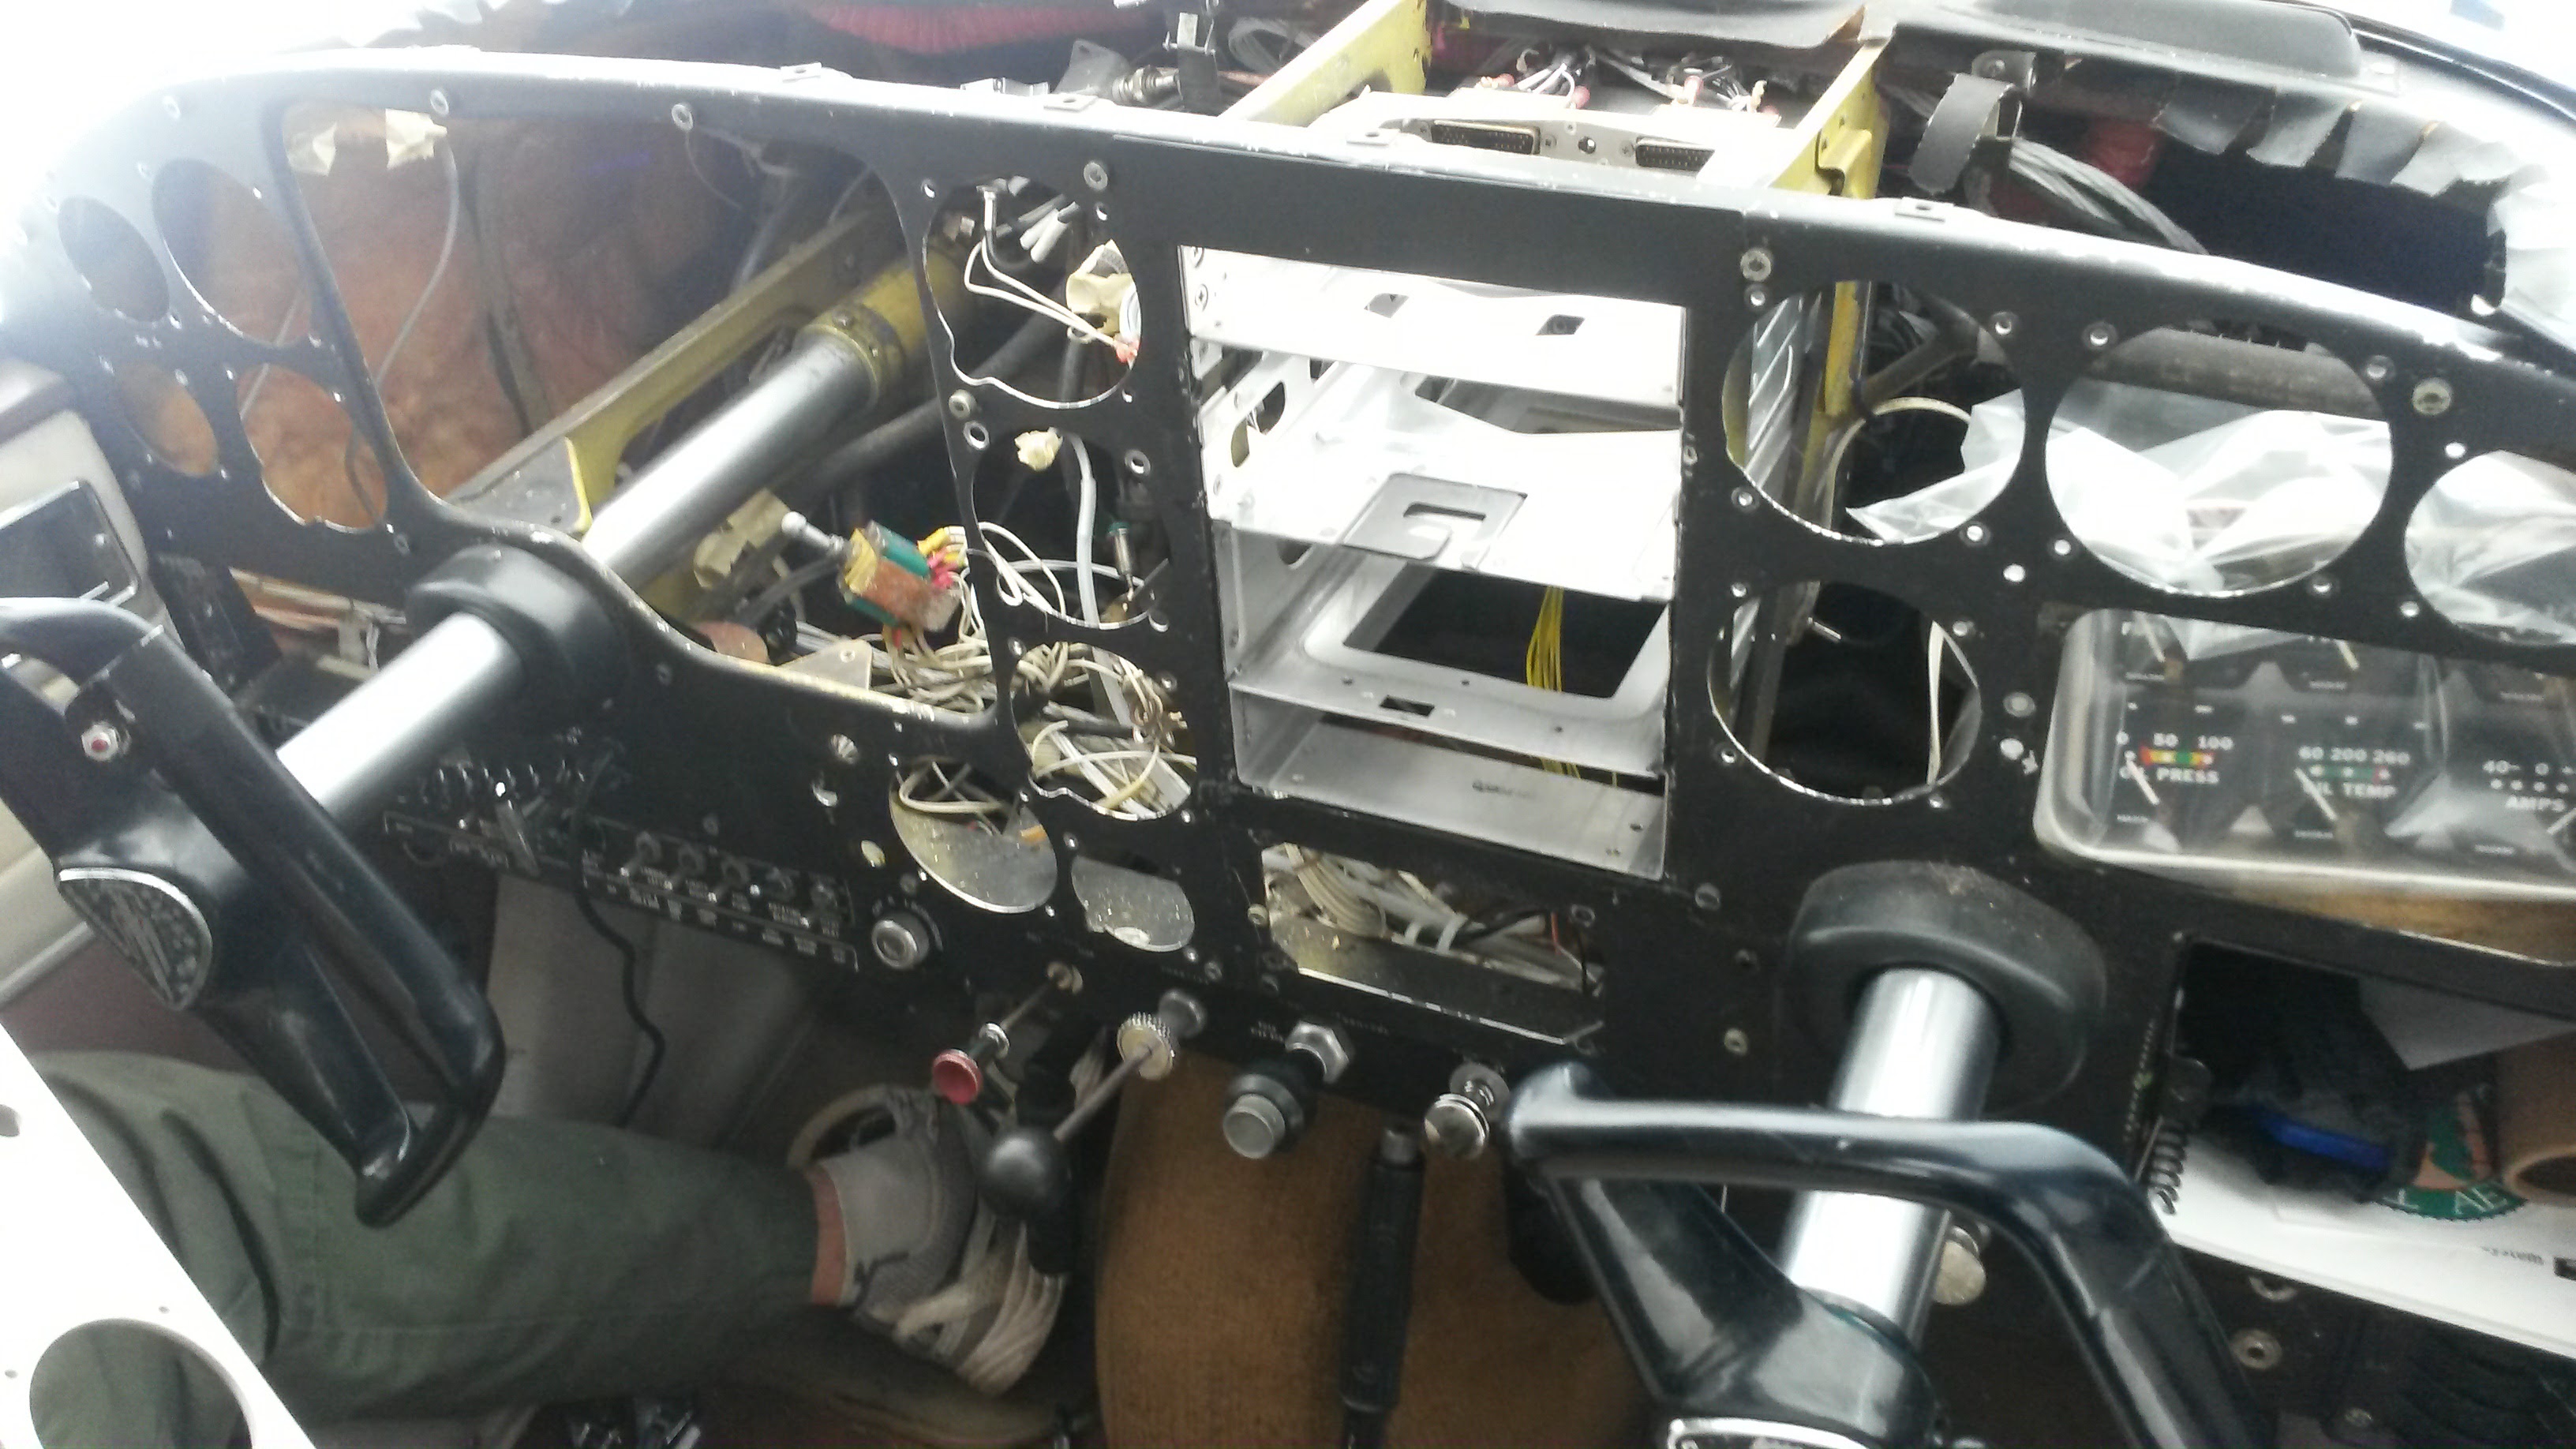
All the instruments out
Cutting the original panel was a bit nerve wracking. Once the cutting wheel spun up and was put to the metal there was no going back. I was not committed to the change. Much planning went into the cutting to make sure we did it right.
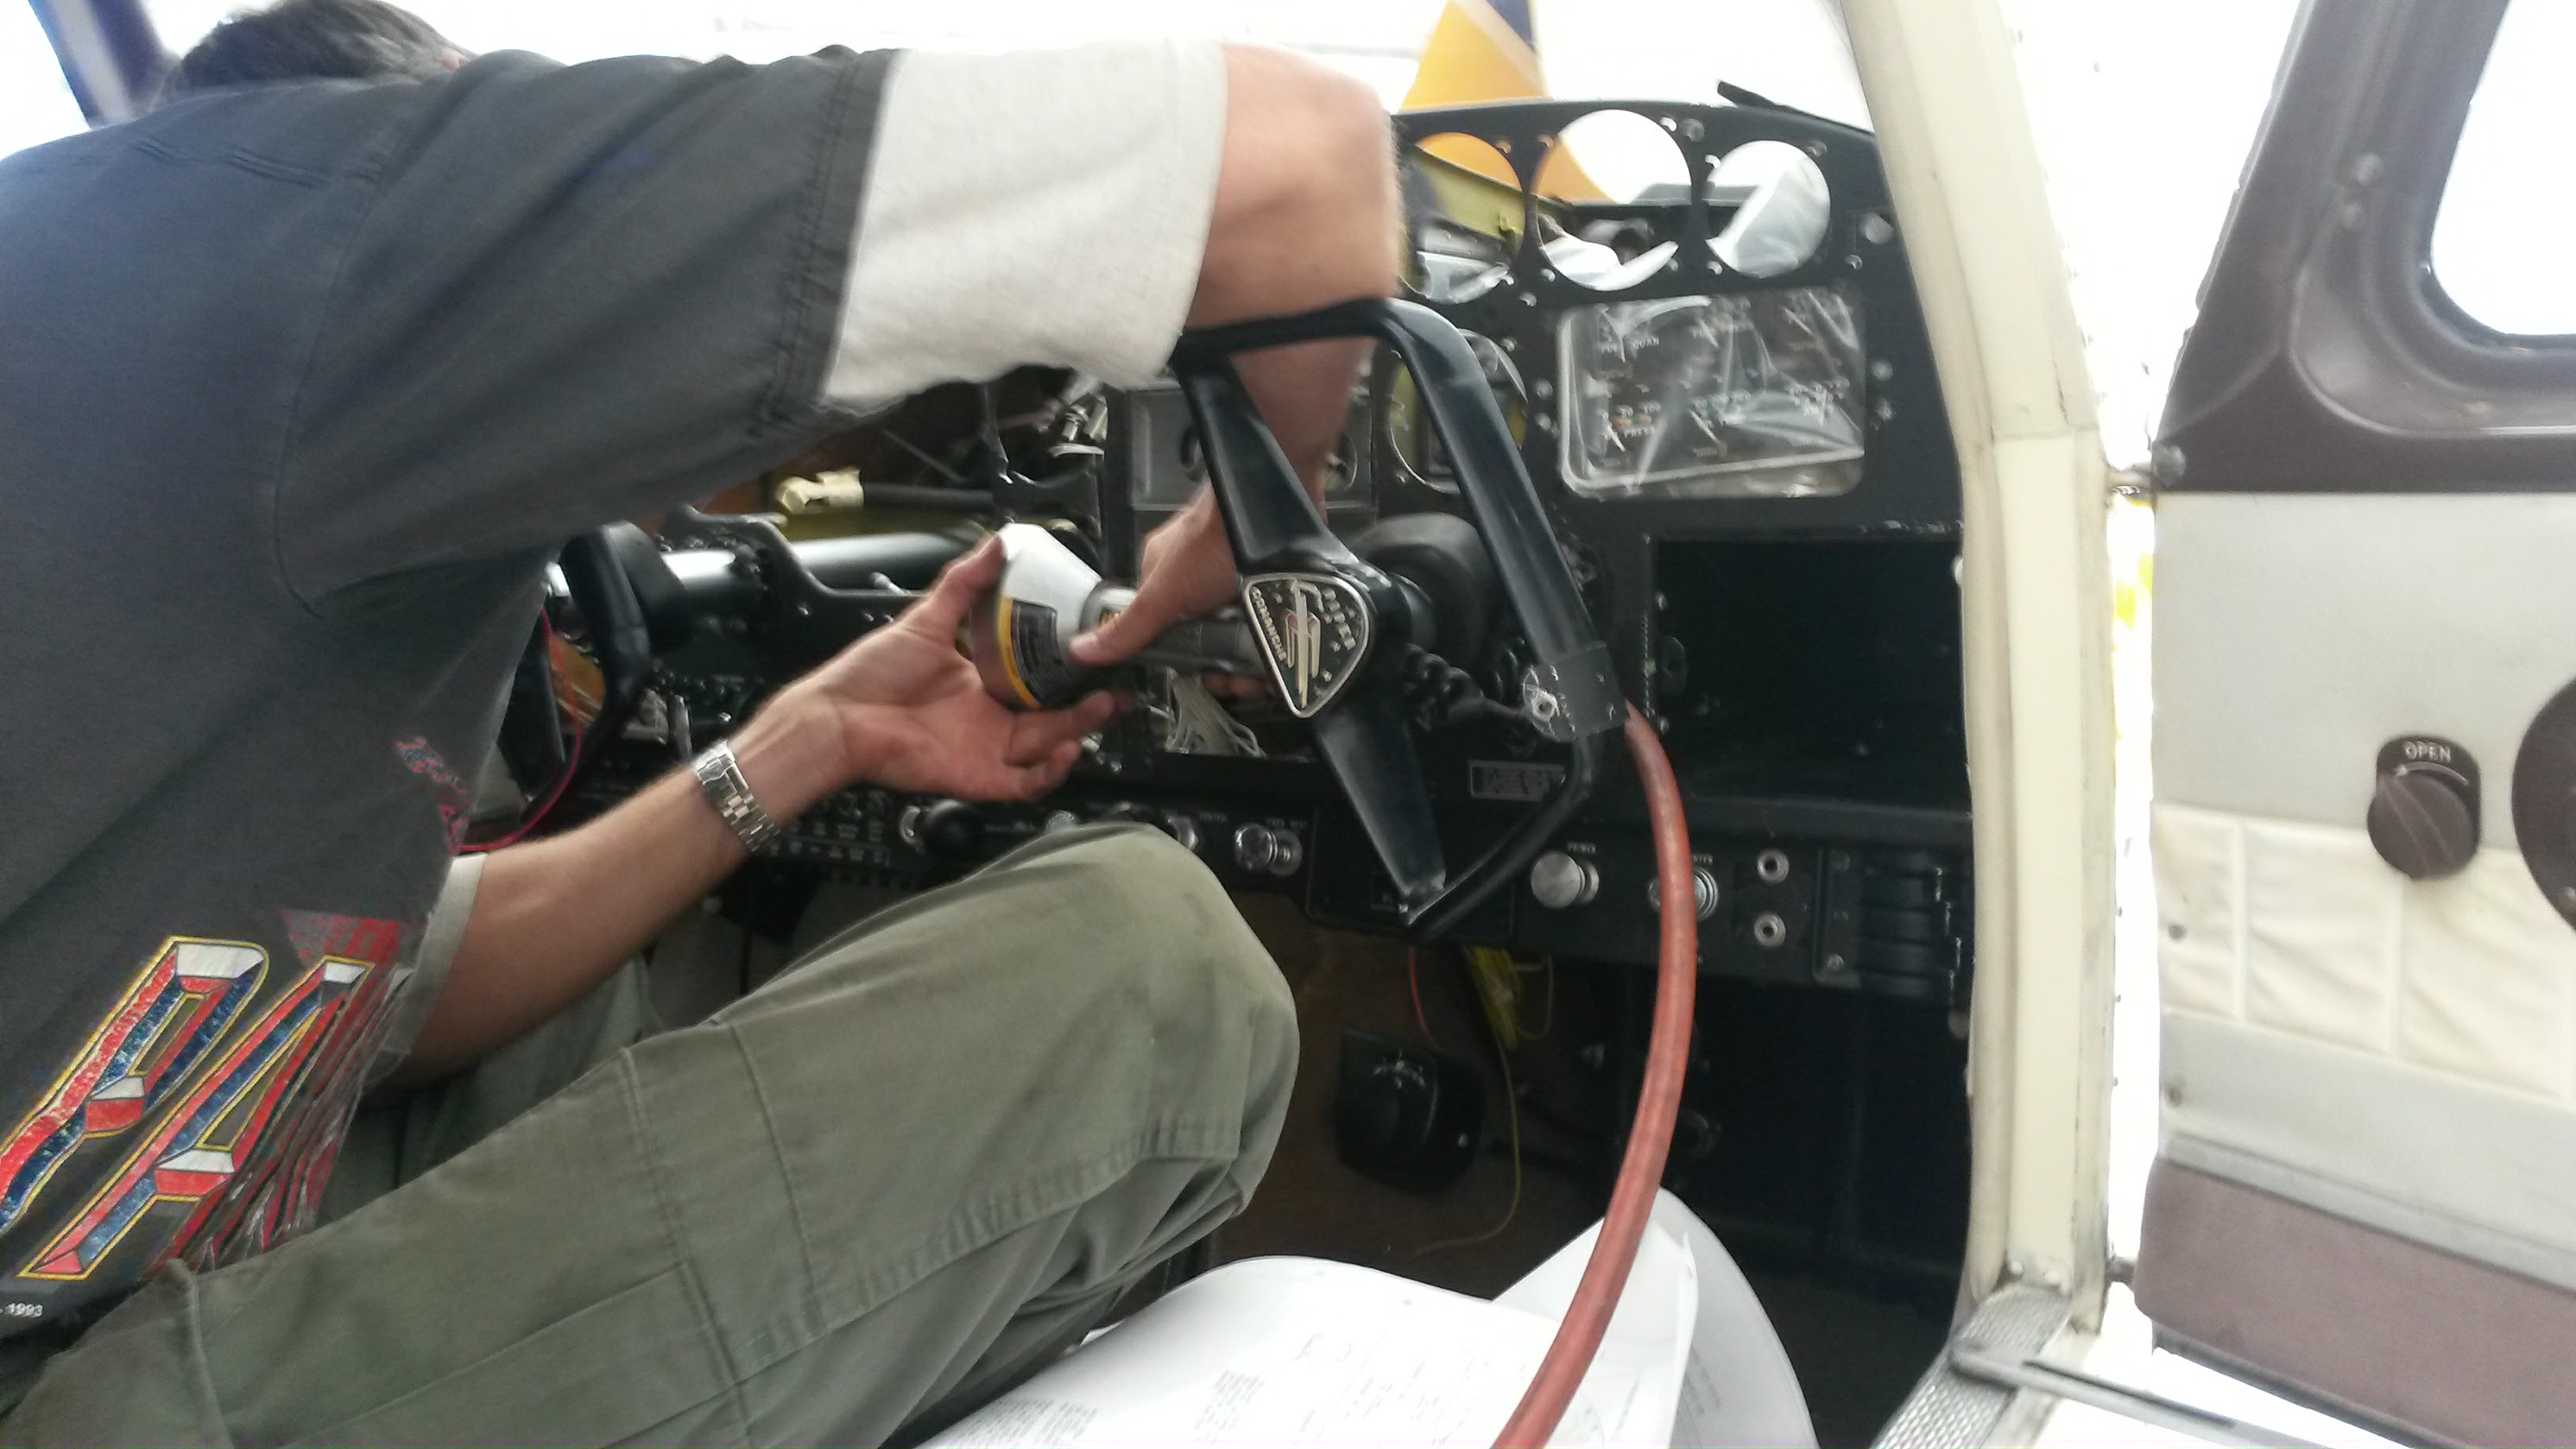
Starting to cut the old panel
Cutting the panel sprayed aluminum dust everywhere. What a mess it made. Following the directions in the STC paperwork, we cut away every bit required. I was aware we would have to tweak, but just not how much more lay in store.
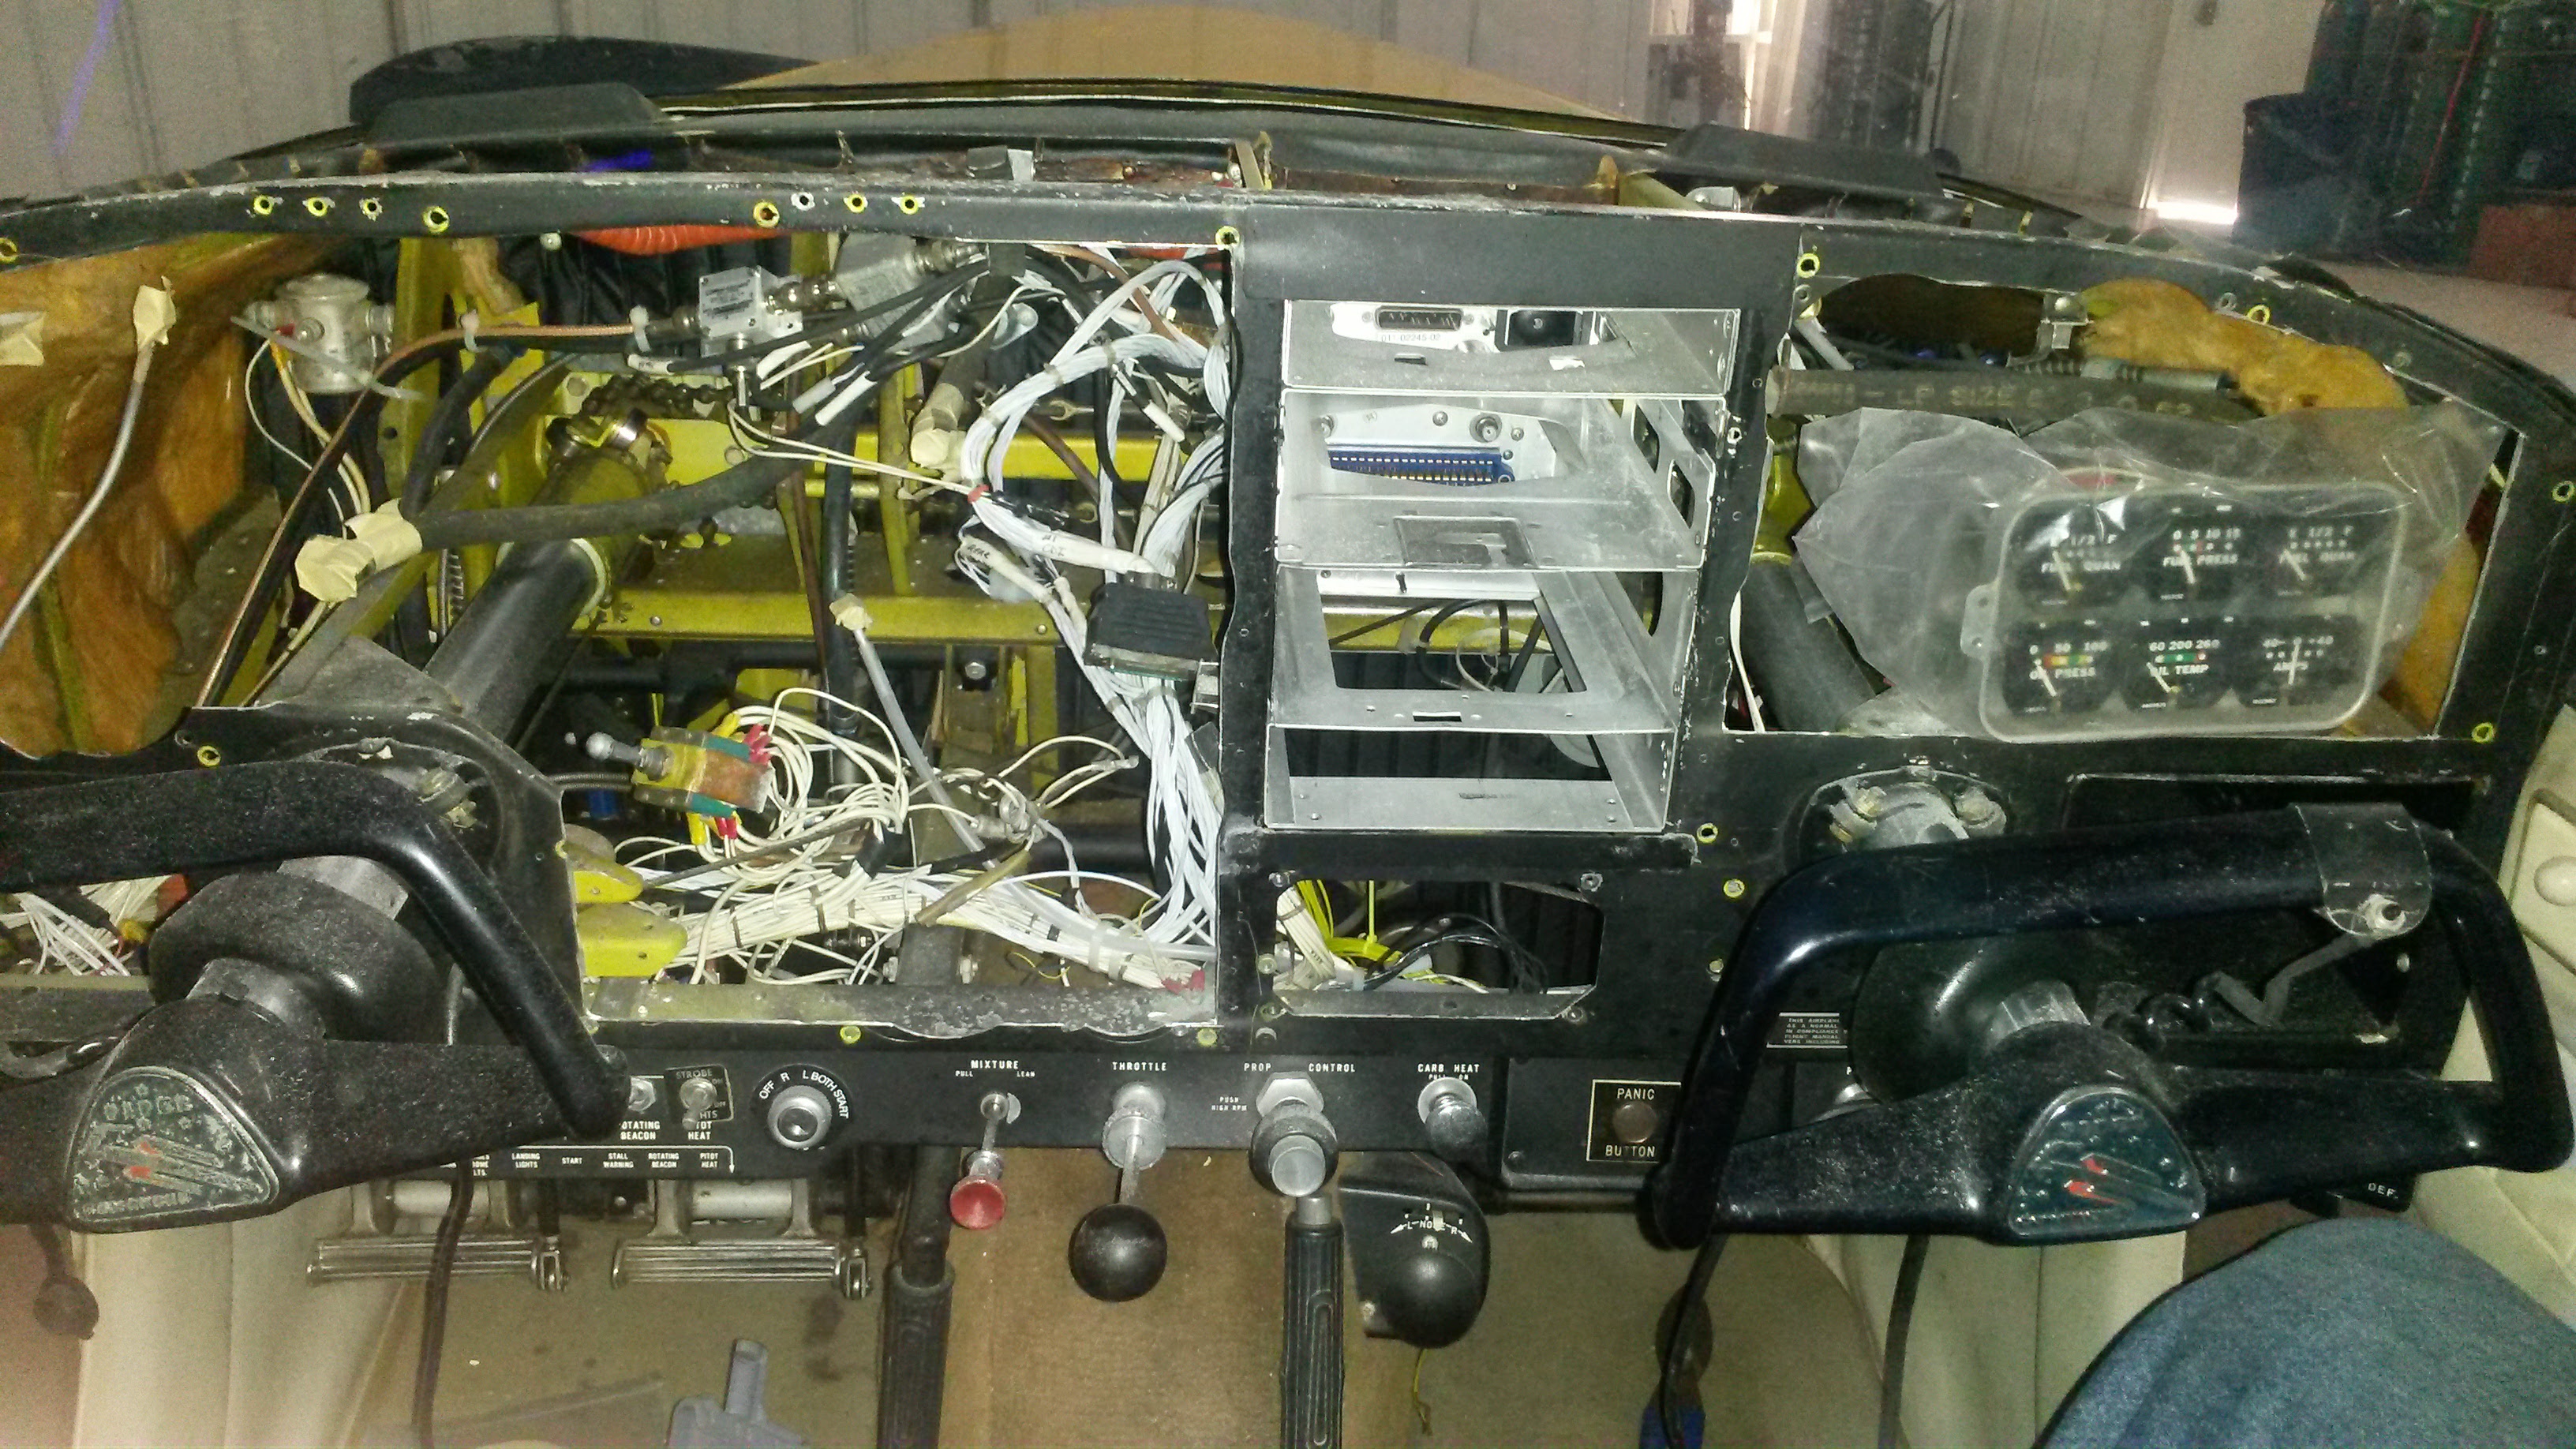
All the old panel cut away
Setting the new panels in place to check the fit gave me a false sense of completion. I began to get hopeful and think that there was not much left to do. That was a bad way to think as there were many slow and tedious tasks ahead.
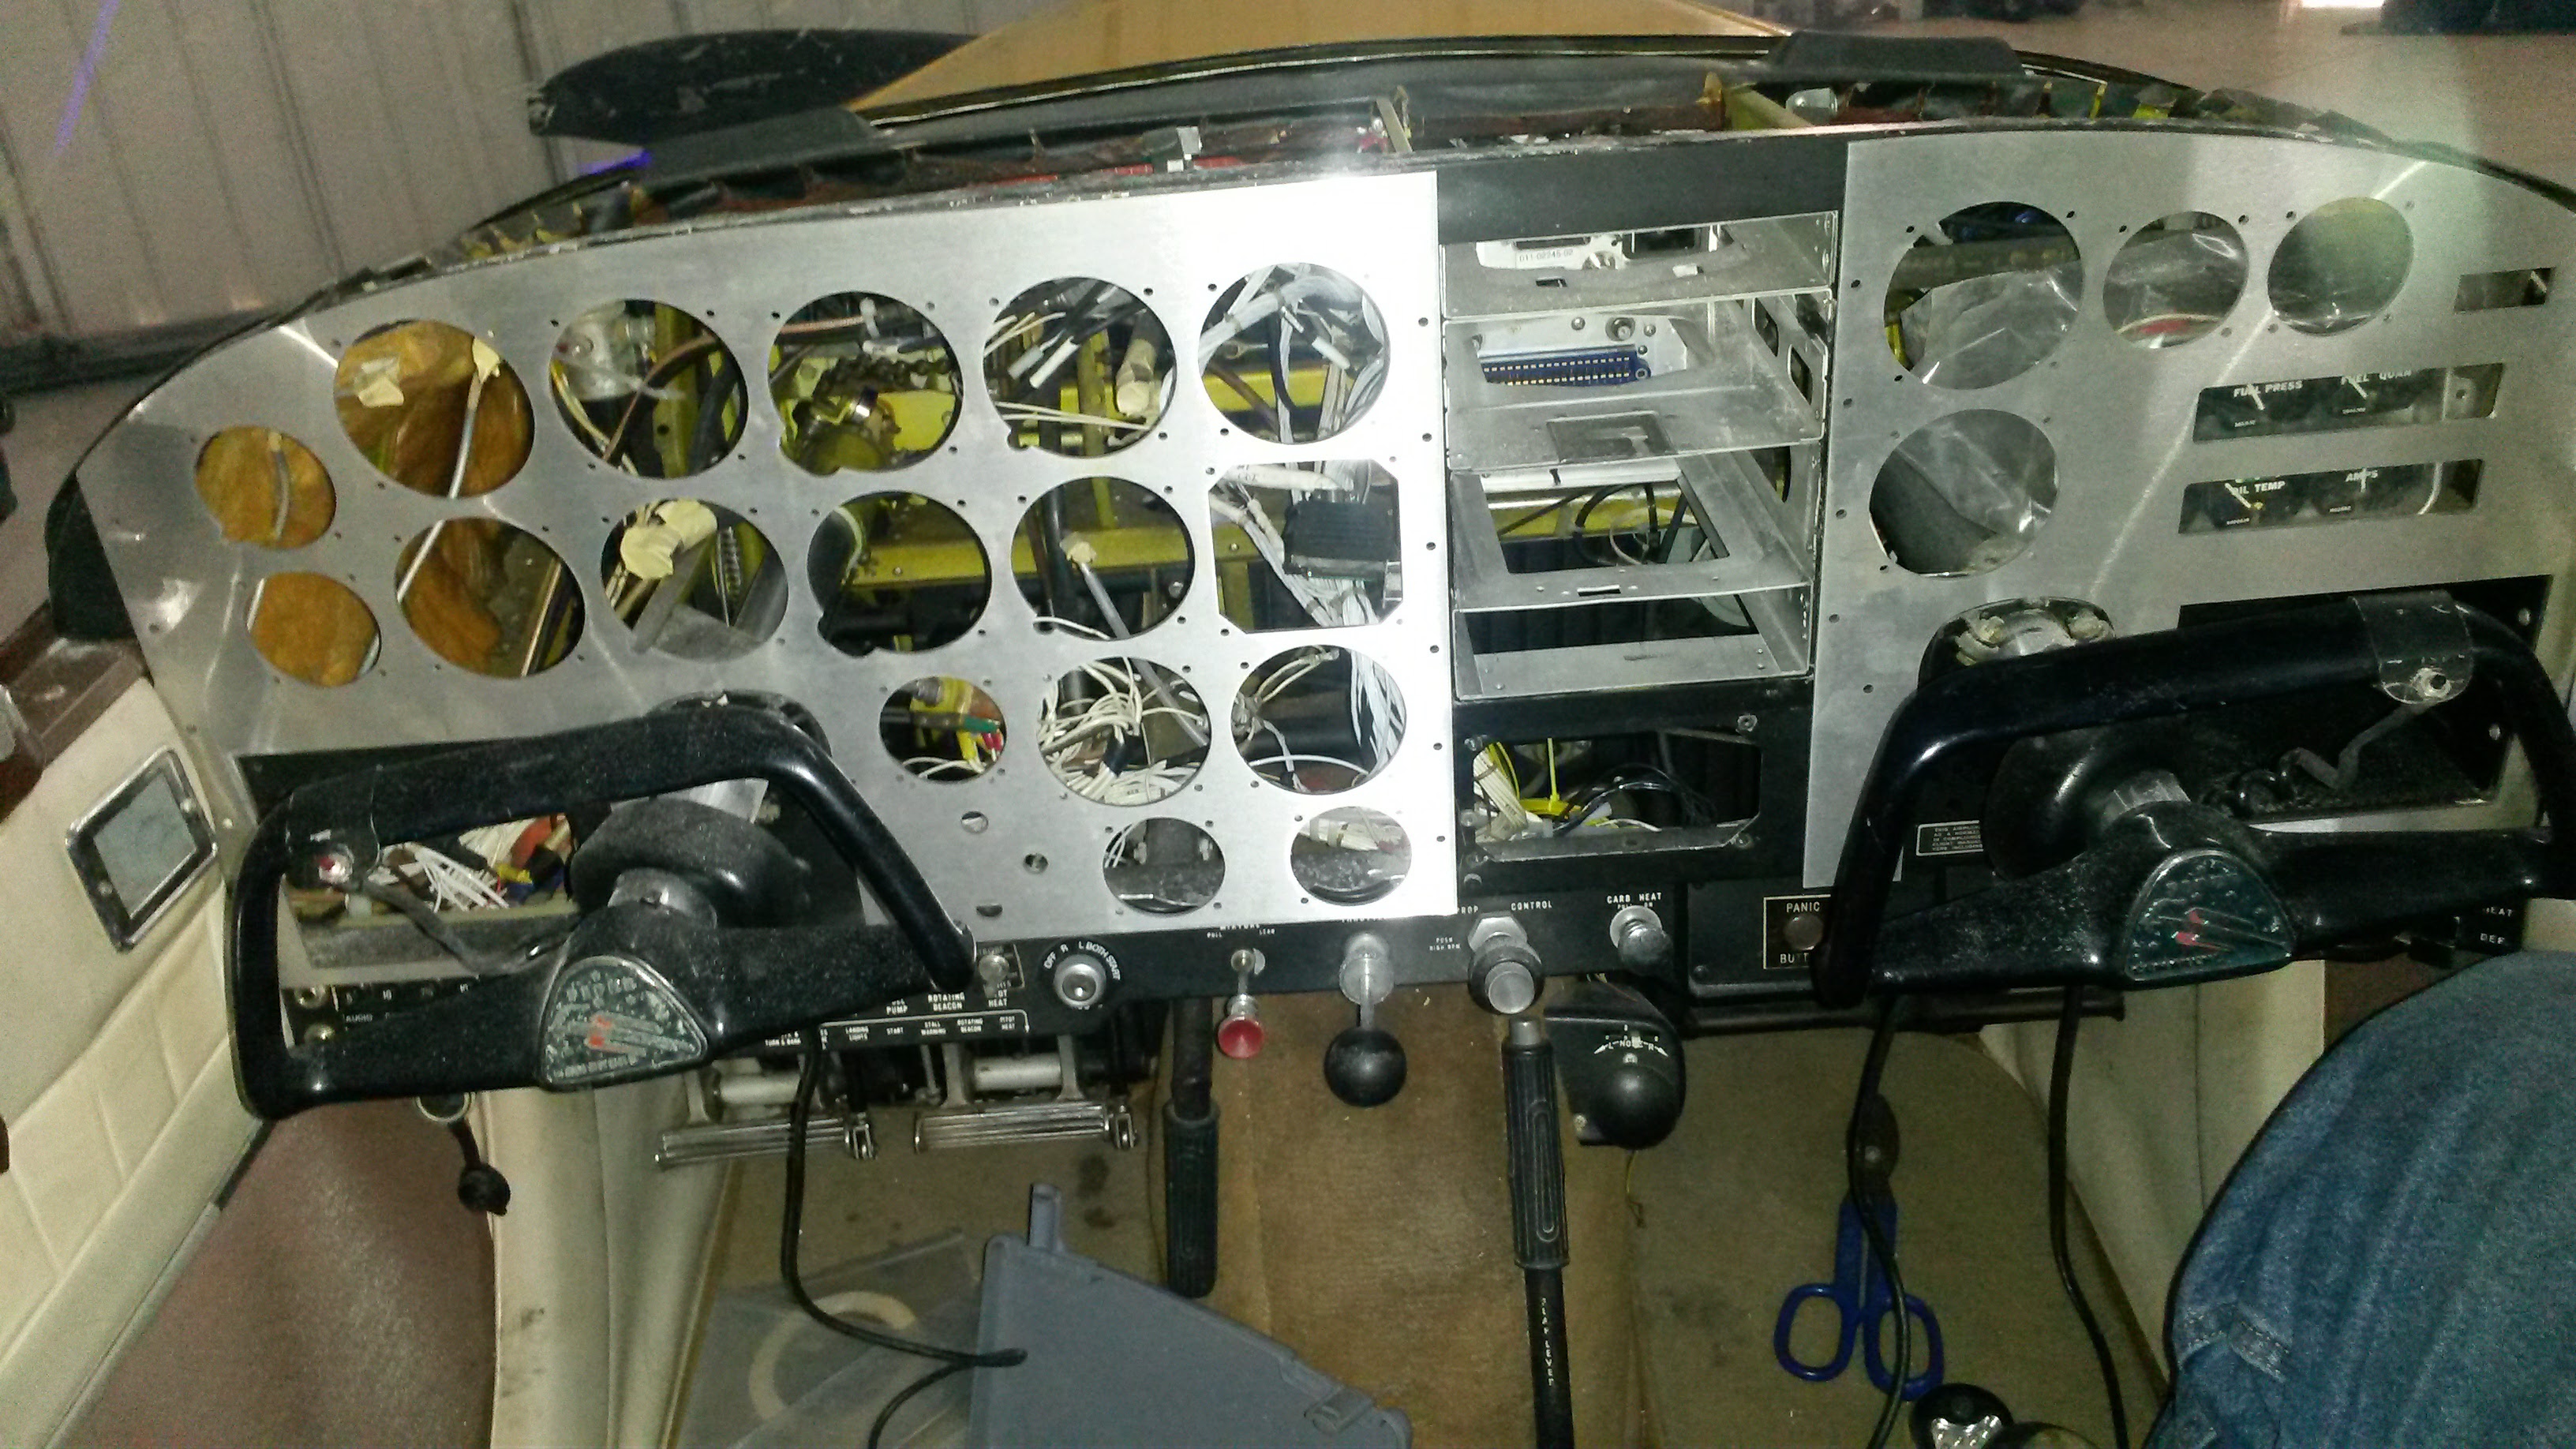
Checking the fit of the new panel
Day 2
Today was a day of little visible progress although much was done.
The fine tuning of the fit of the panel was done. This required a lot of re-trimming of the cut areas and tweaking some drill points. Once we got that all set, we had to drill several holes in the new panel and into the meat of the remaining frame. Then countersinking every hole and confirming fit.
One of the unforeseen issues is that there is no standard design for all the plumbing behind the instruments. The Comanche had a “scatter panel” until near the end of production and we are putting in instruments that were never in the plane before so we have to kind of make it up as we go. Well not entirely, we have looked at later models and are trying to mimic that plumbing as best we can and apply some common sense.
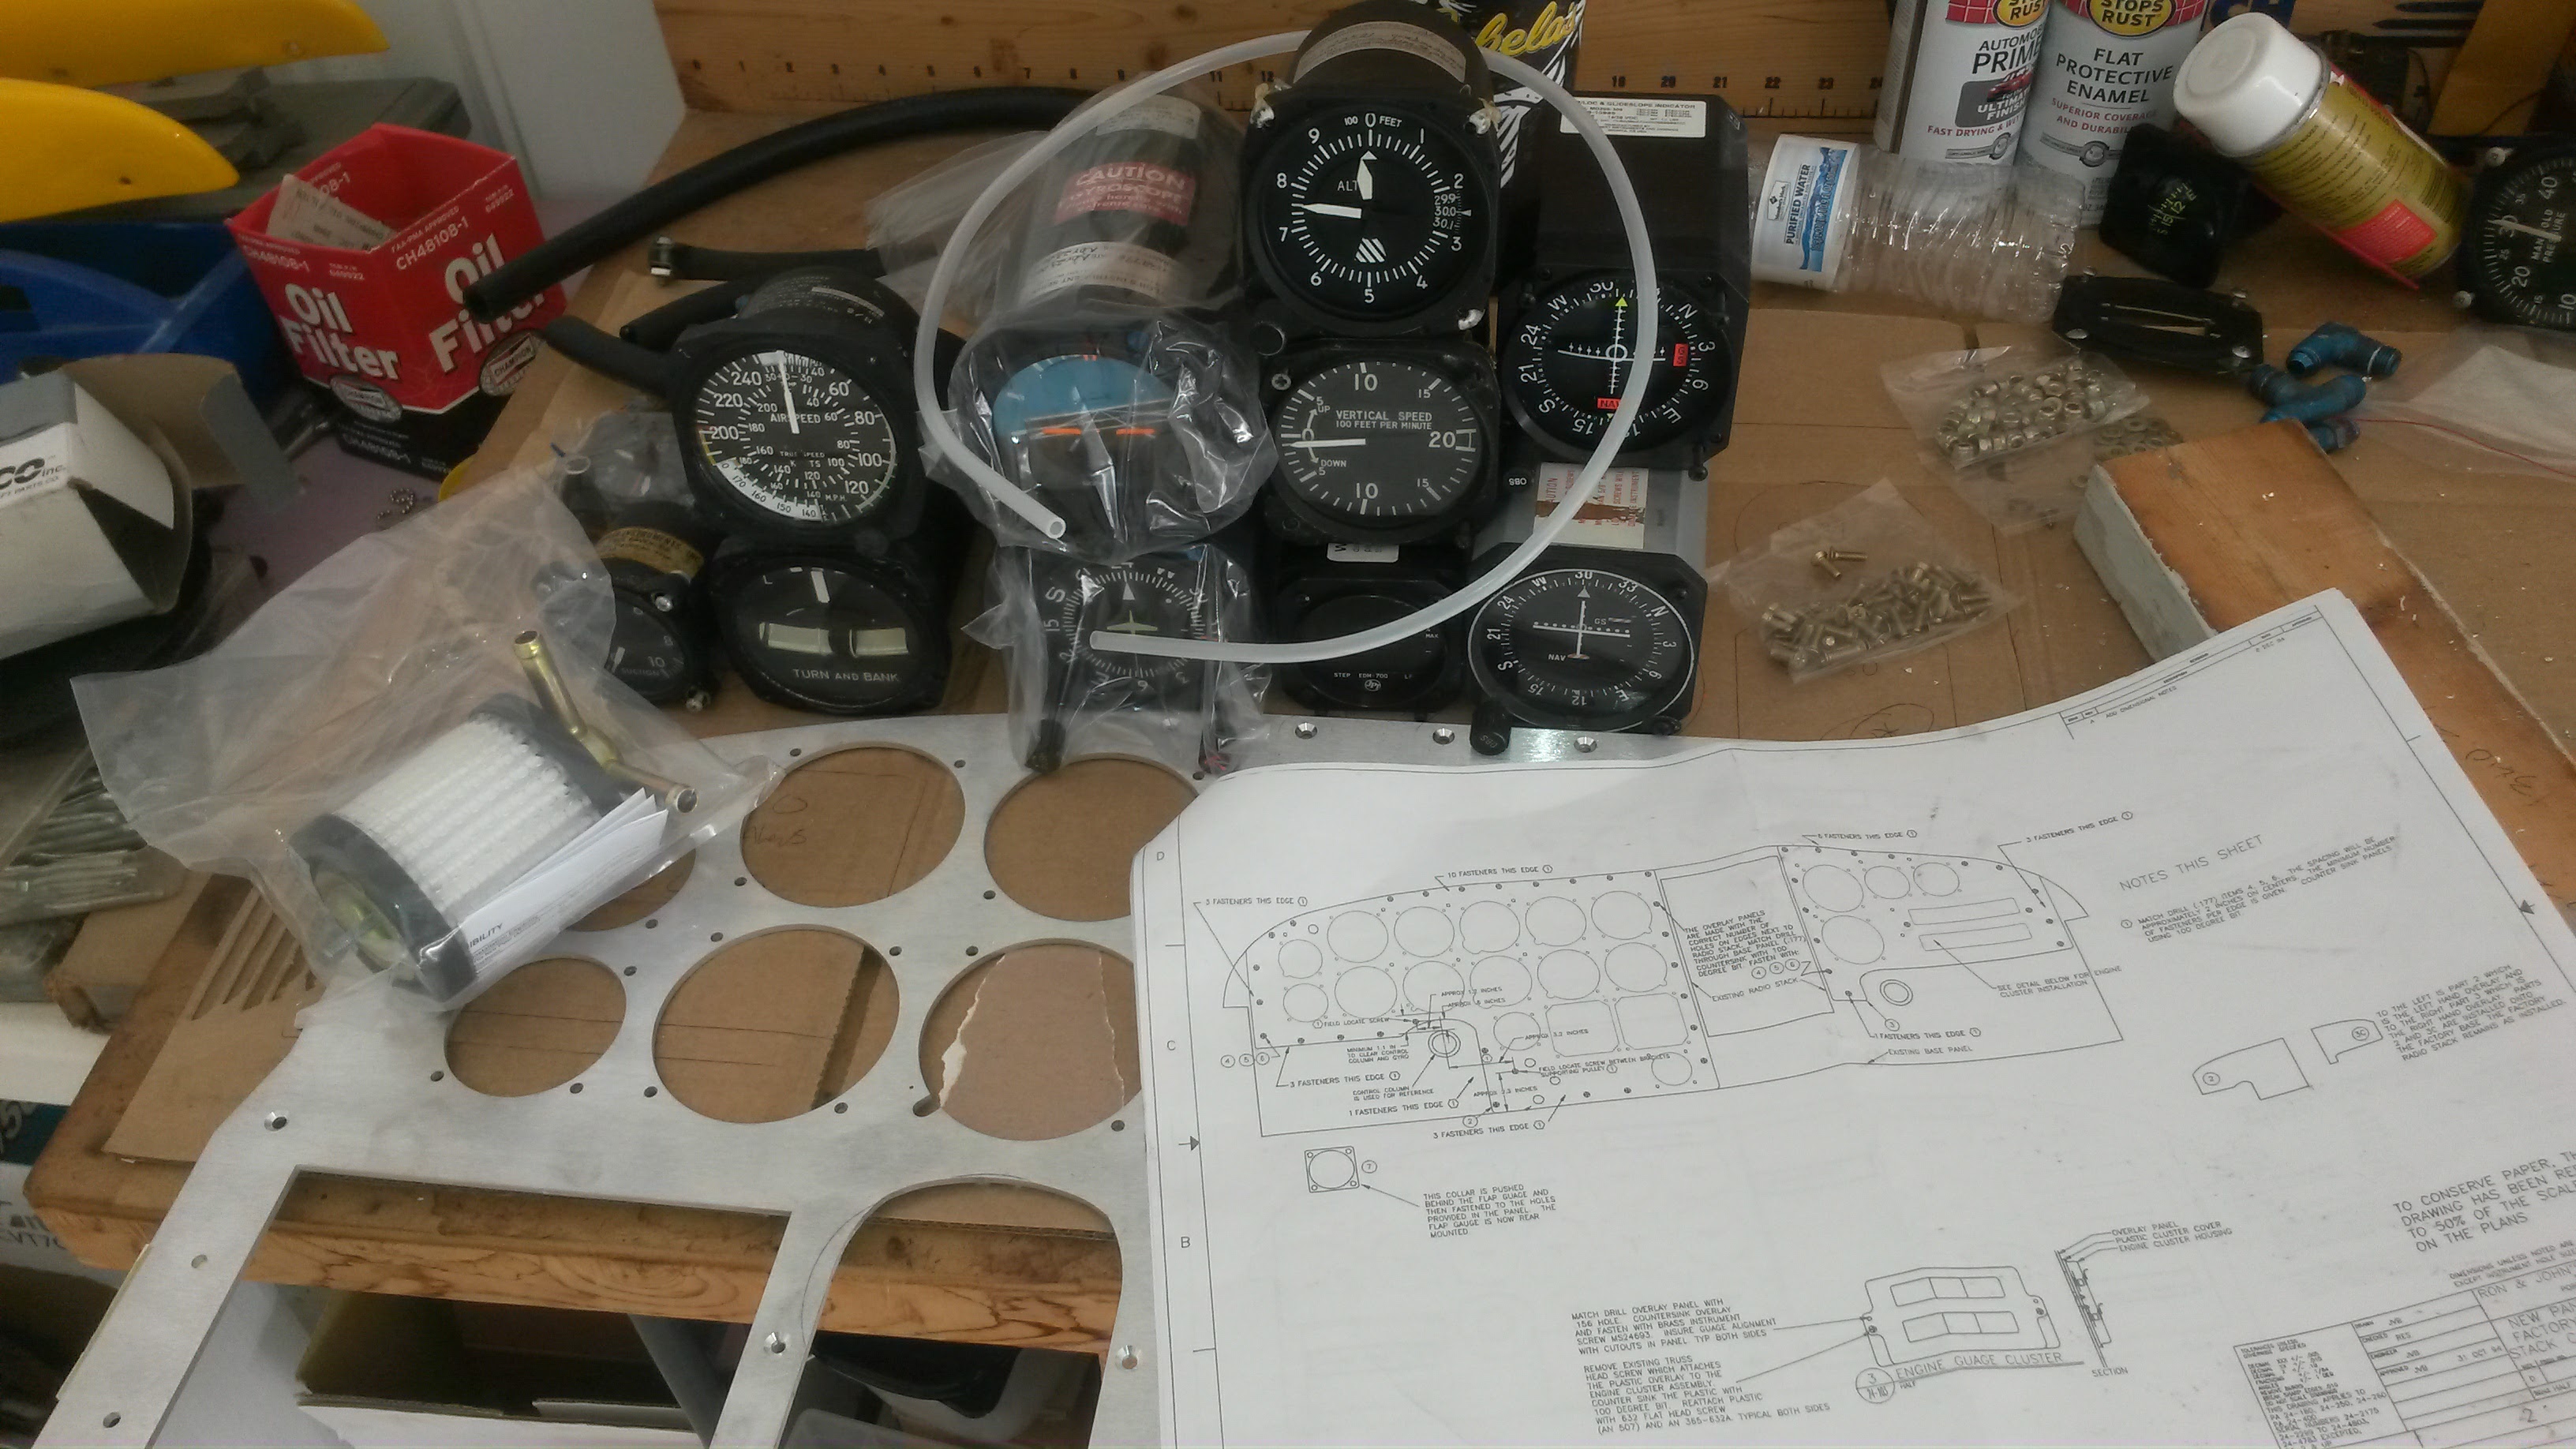
Checking the instructions, measuring the panel again and designing the plumbing for all the instruments.
Hours went into confirming the alignment of every screw hole. Notice the vacuum filter in the picture above? No such thing ever existed on this plane. Nope none. Had to make up our own plumbing to add it in as the new DG and AI require one.
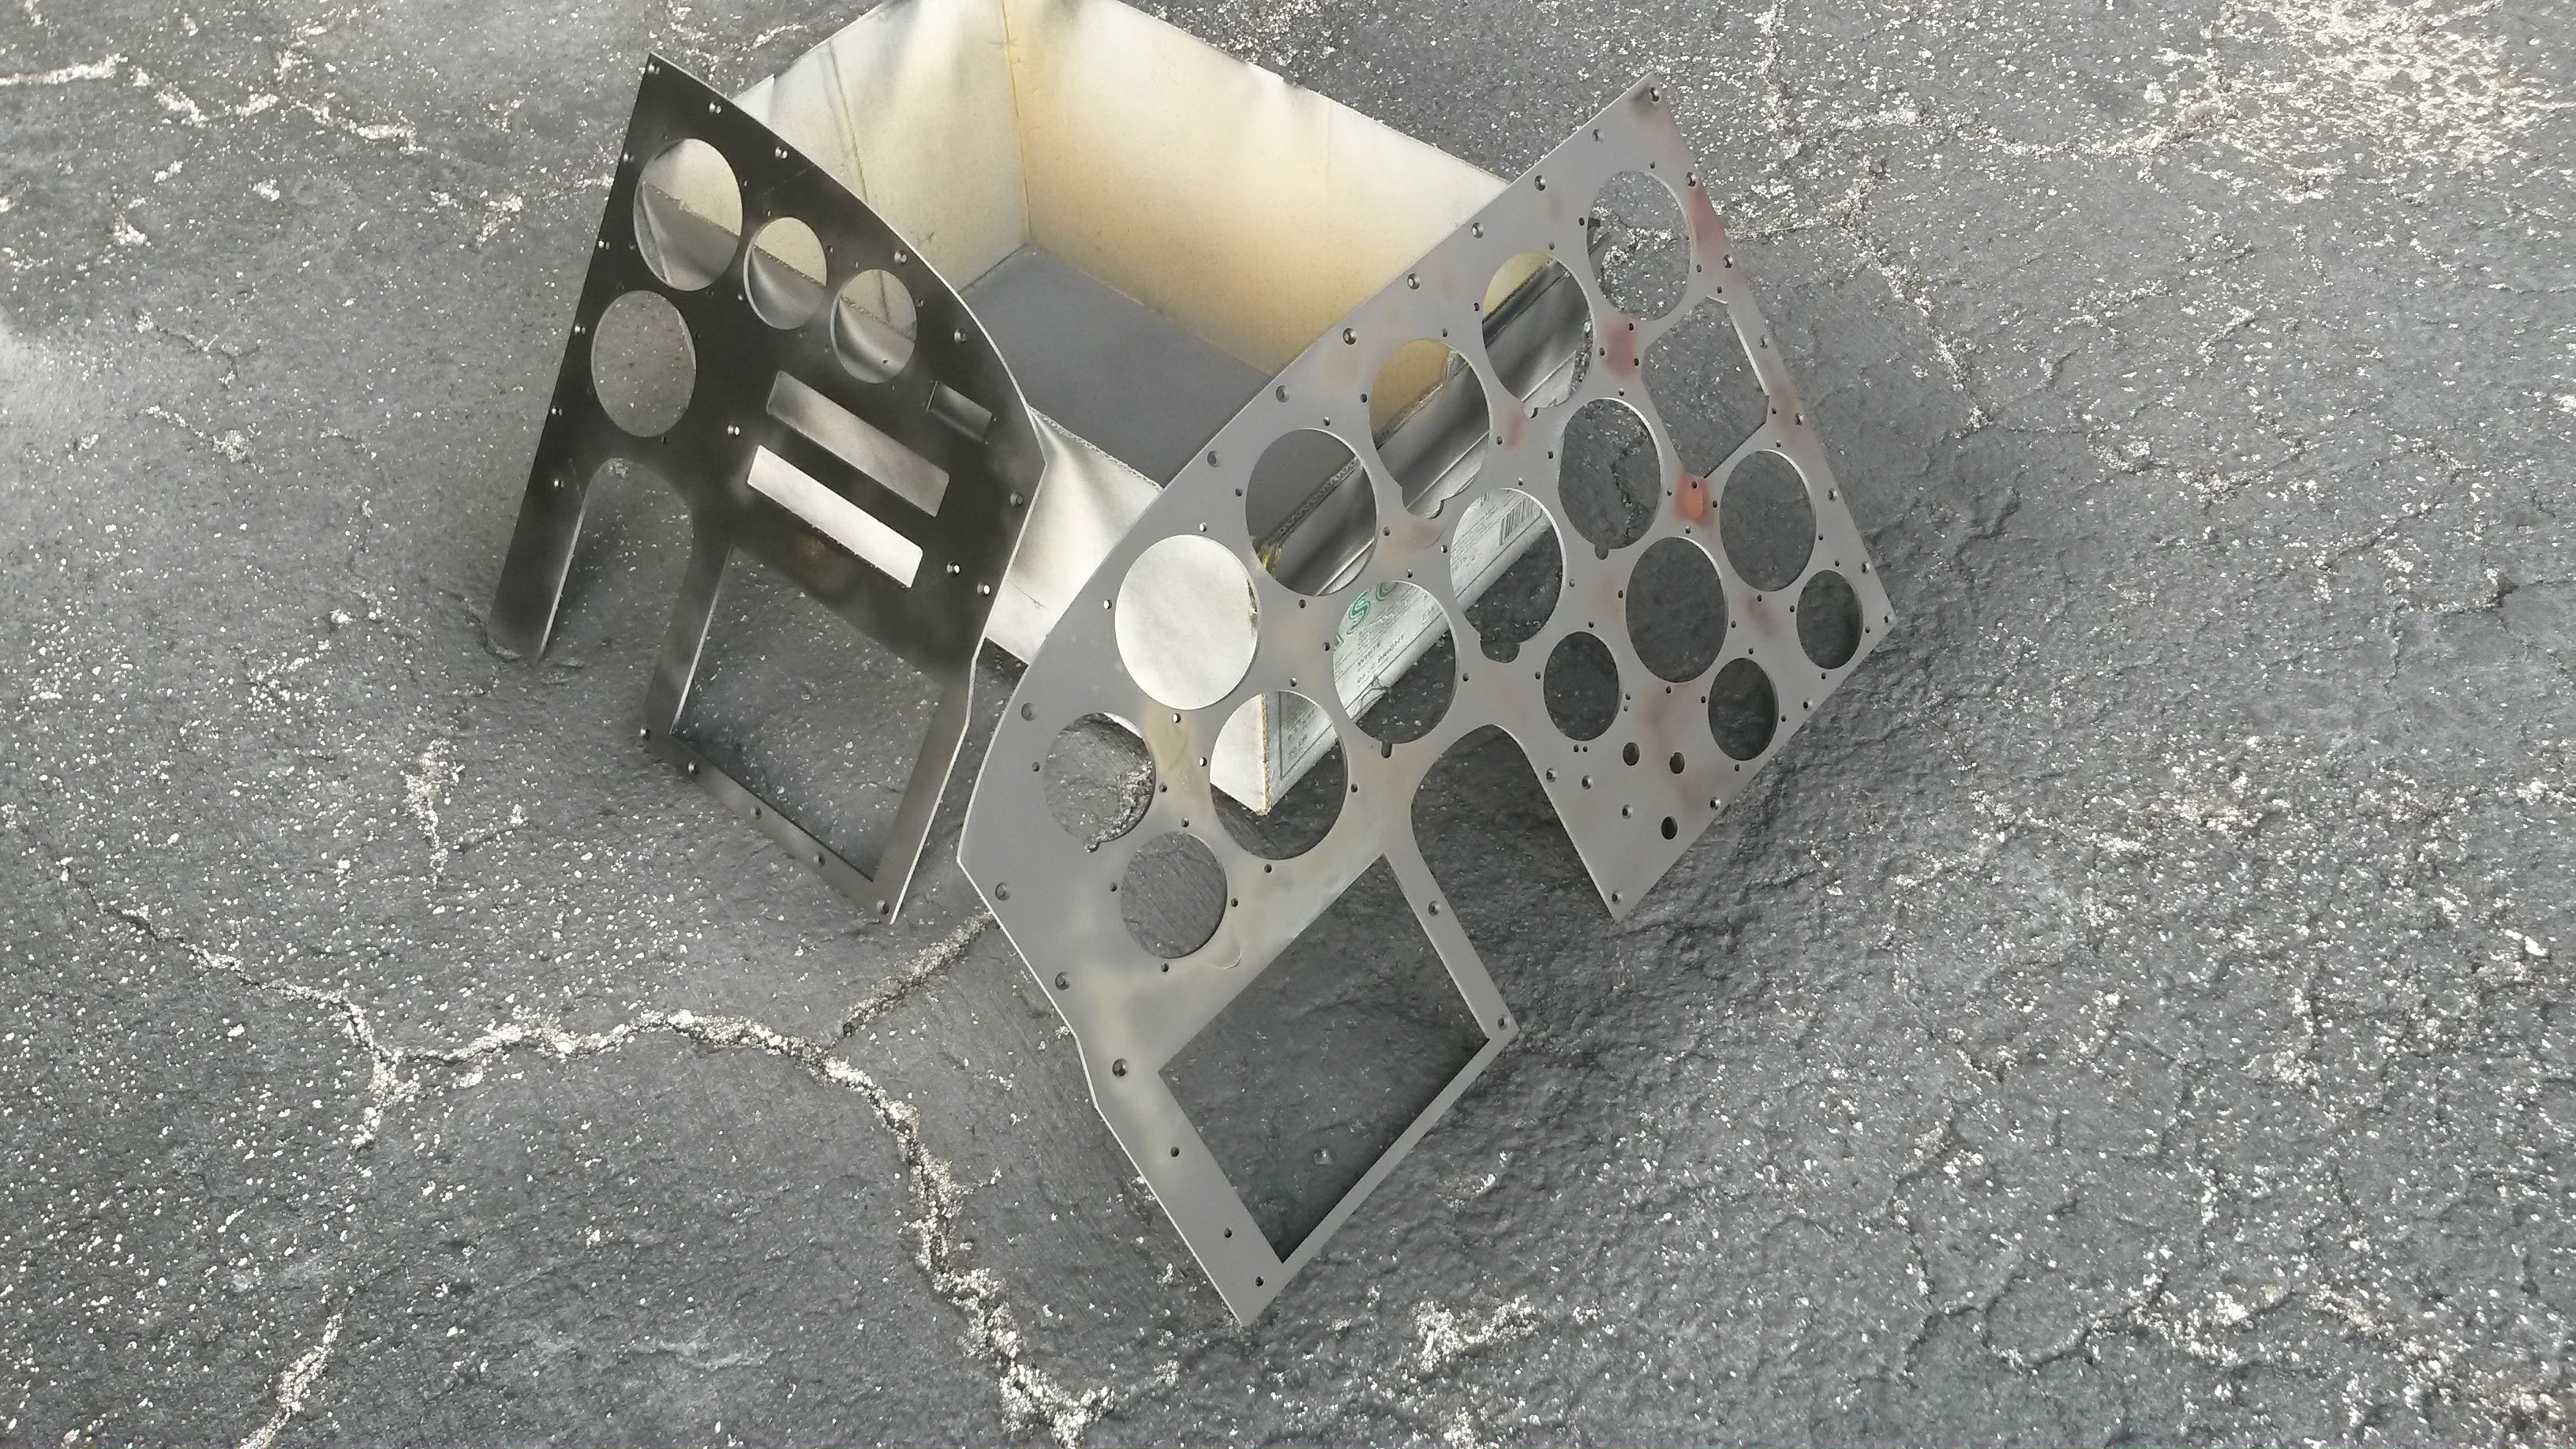
Painted the panel a classic flat black.
Day 3
More work on the panel today.
I spent three hours getting the right side panel finished up. There were lots of little details to get exactly right. Getting some of the screws into the ELT was an exercise in contortion. Those little holes were way up in the corner and reaching them was a challenge.
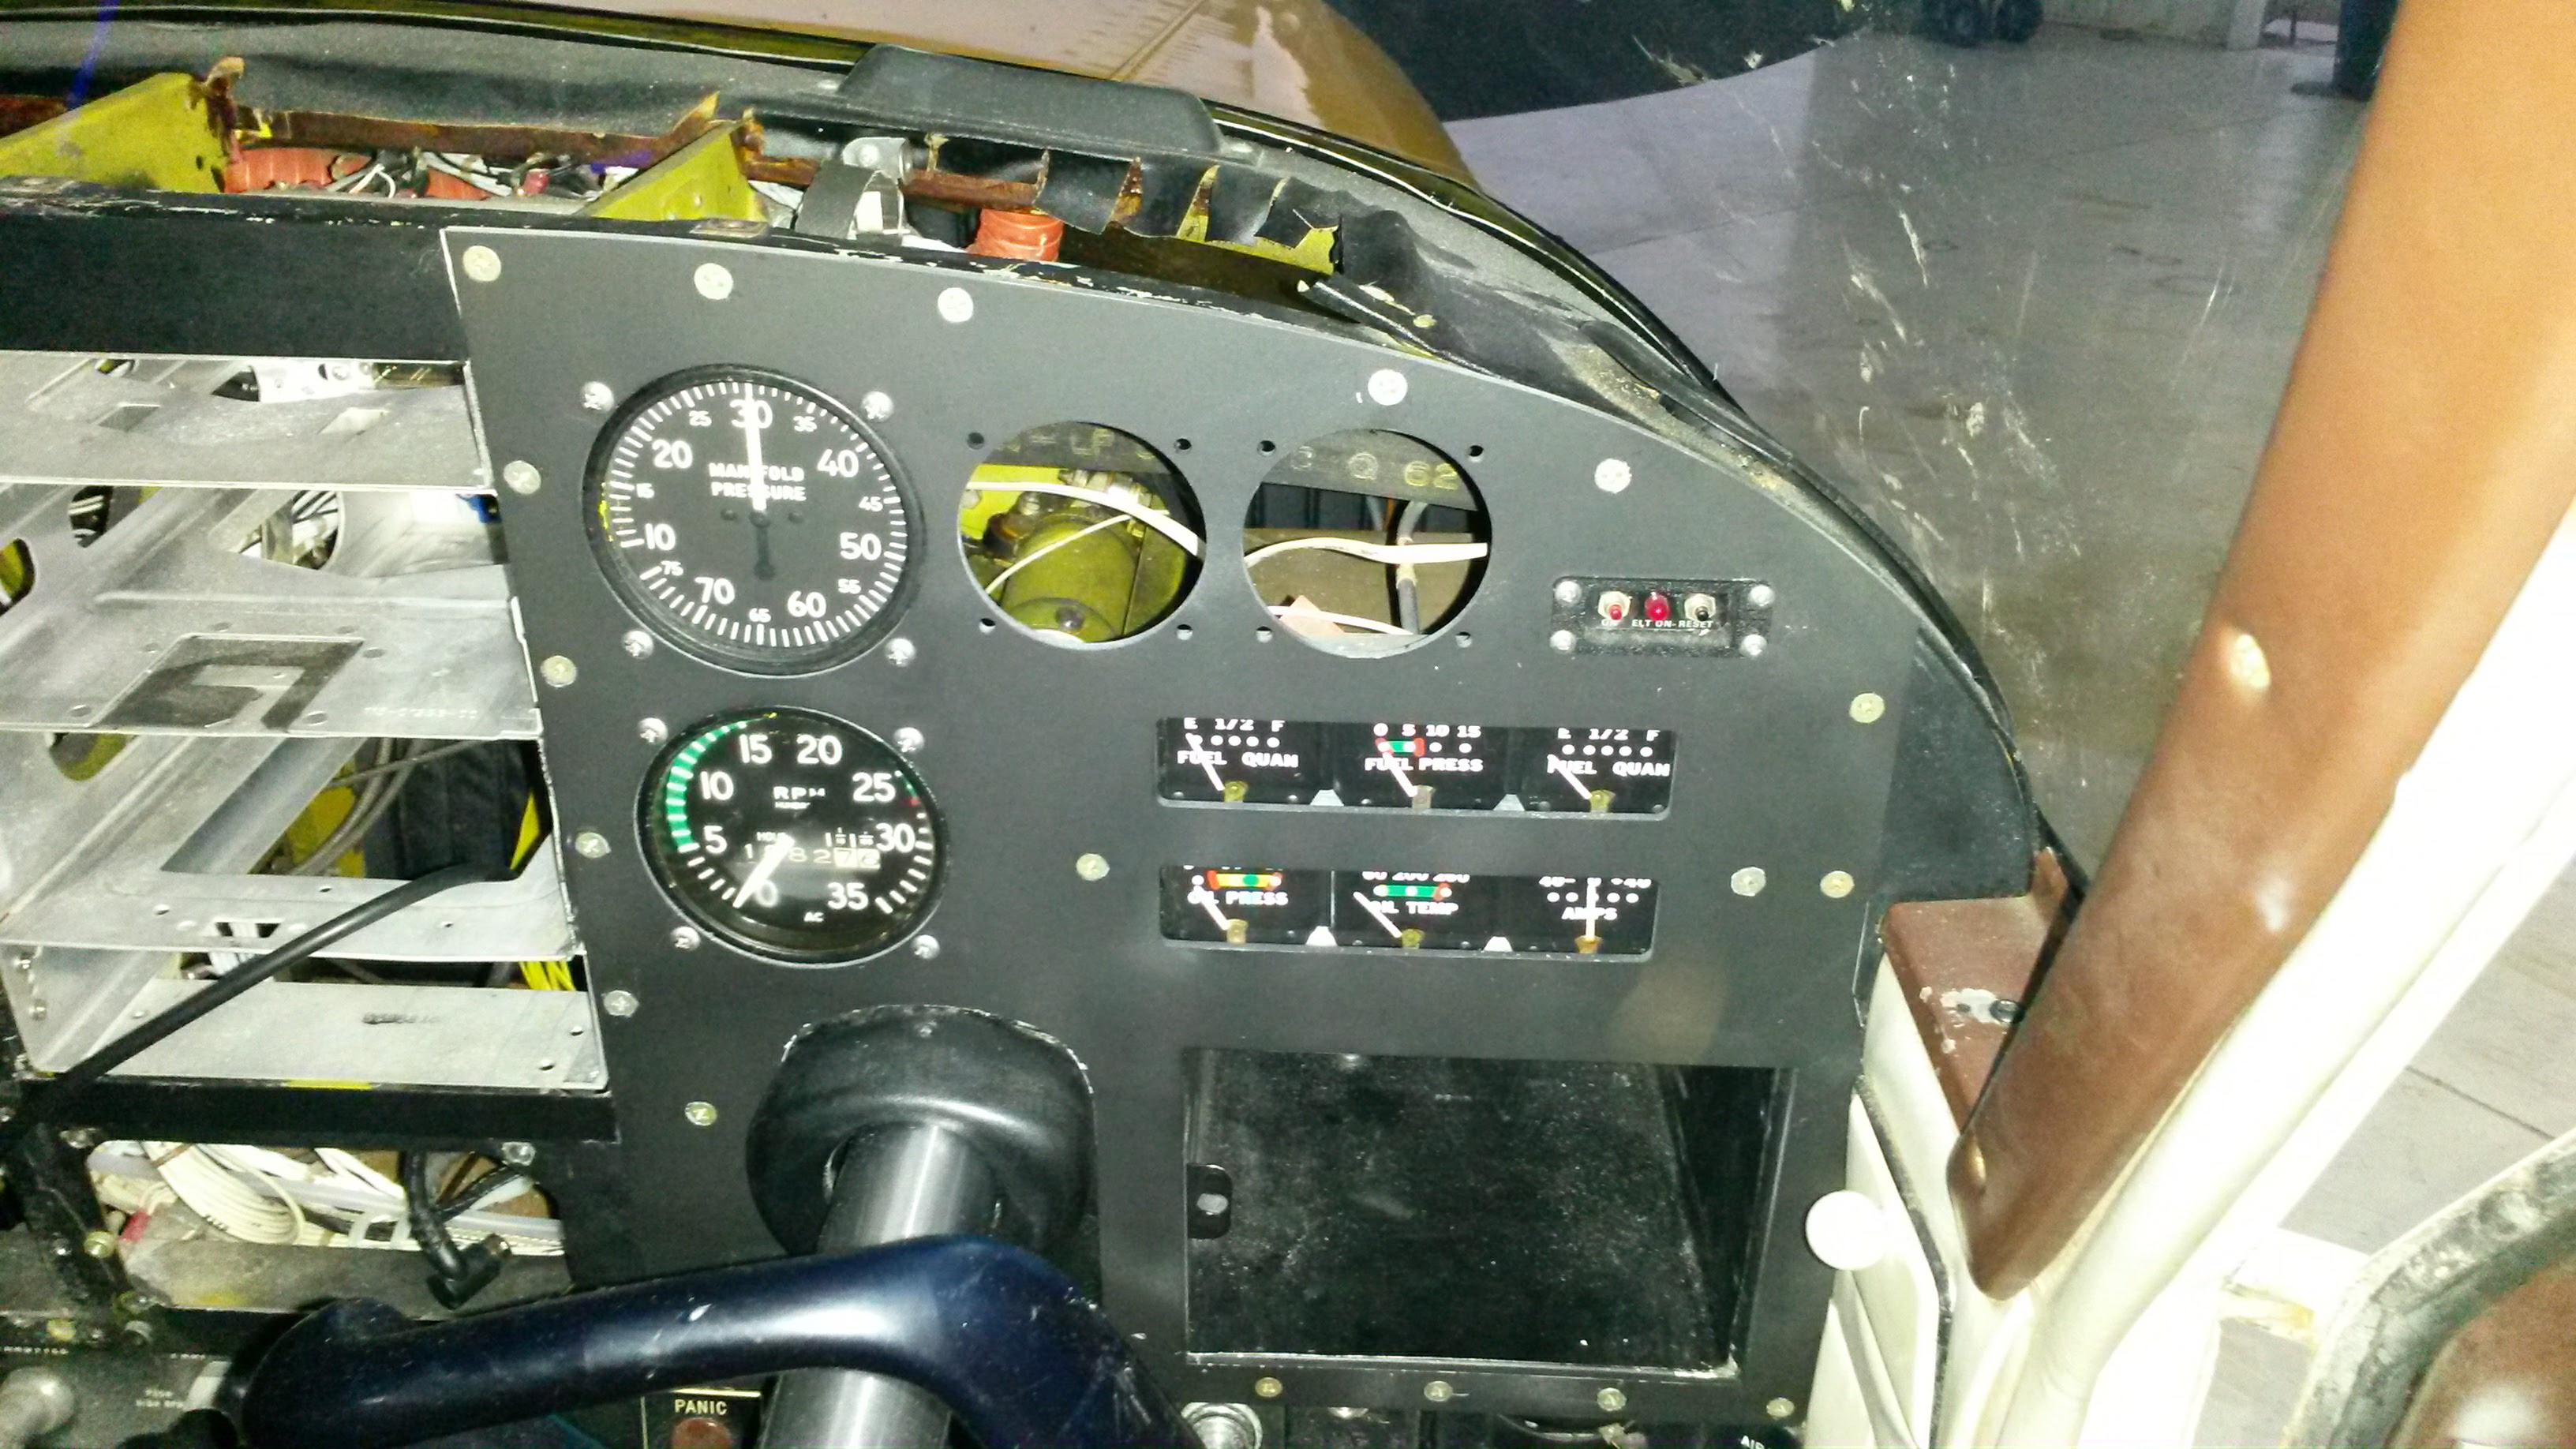
Right side is in
The two smaller holes are for some future updates.
The next biggest time suck was the breaker panel. Moving the breakers from underneath the panel, to the right side took a lot of concentration. Each breaker had to be removed individually from the bottom bus bar, rotated 180 degrees and then all the wires reattached and a new bus bar installed. Of course, there were those mystery wires the went to nowhere and a couple of the breakers were completely empty. Woof!
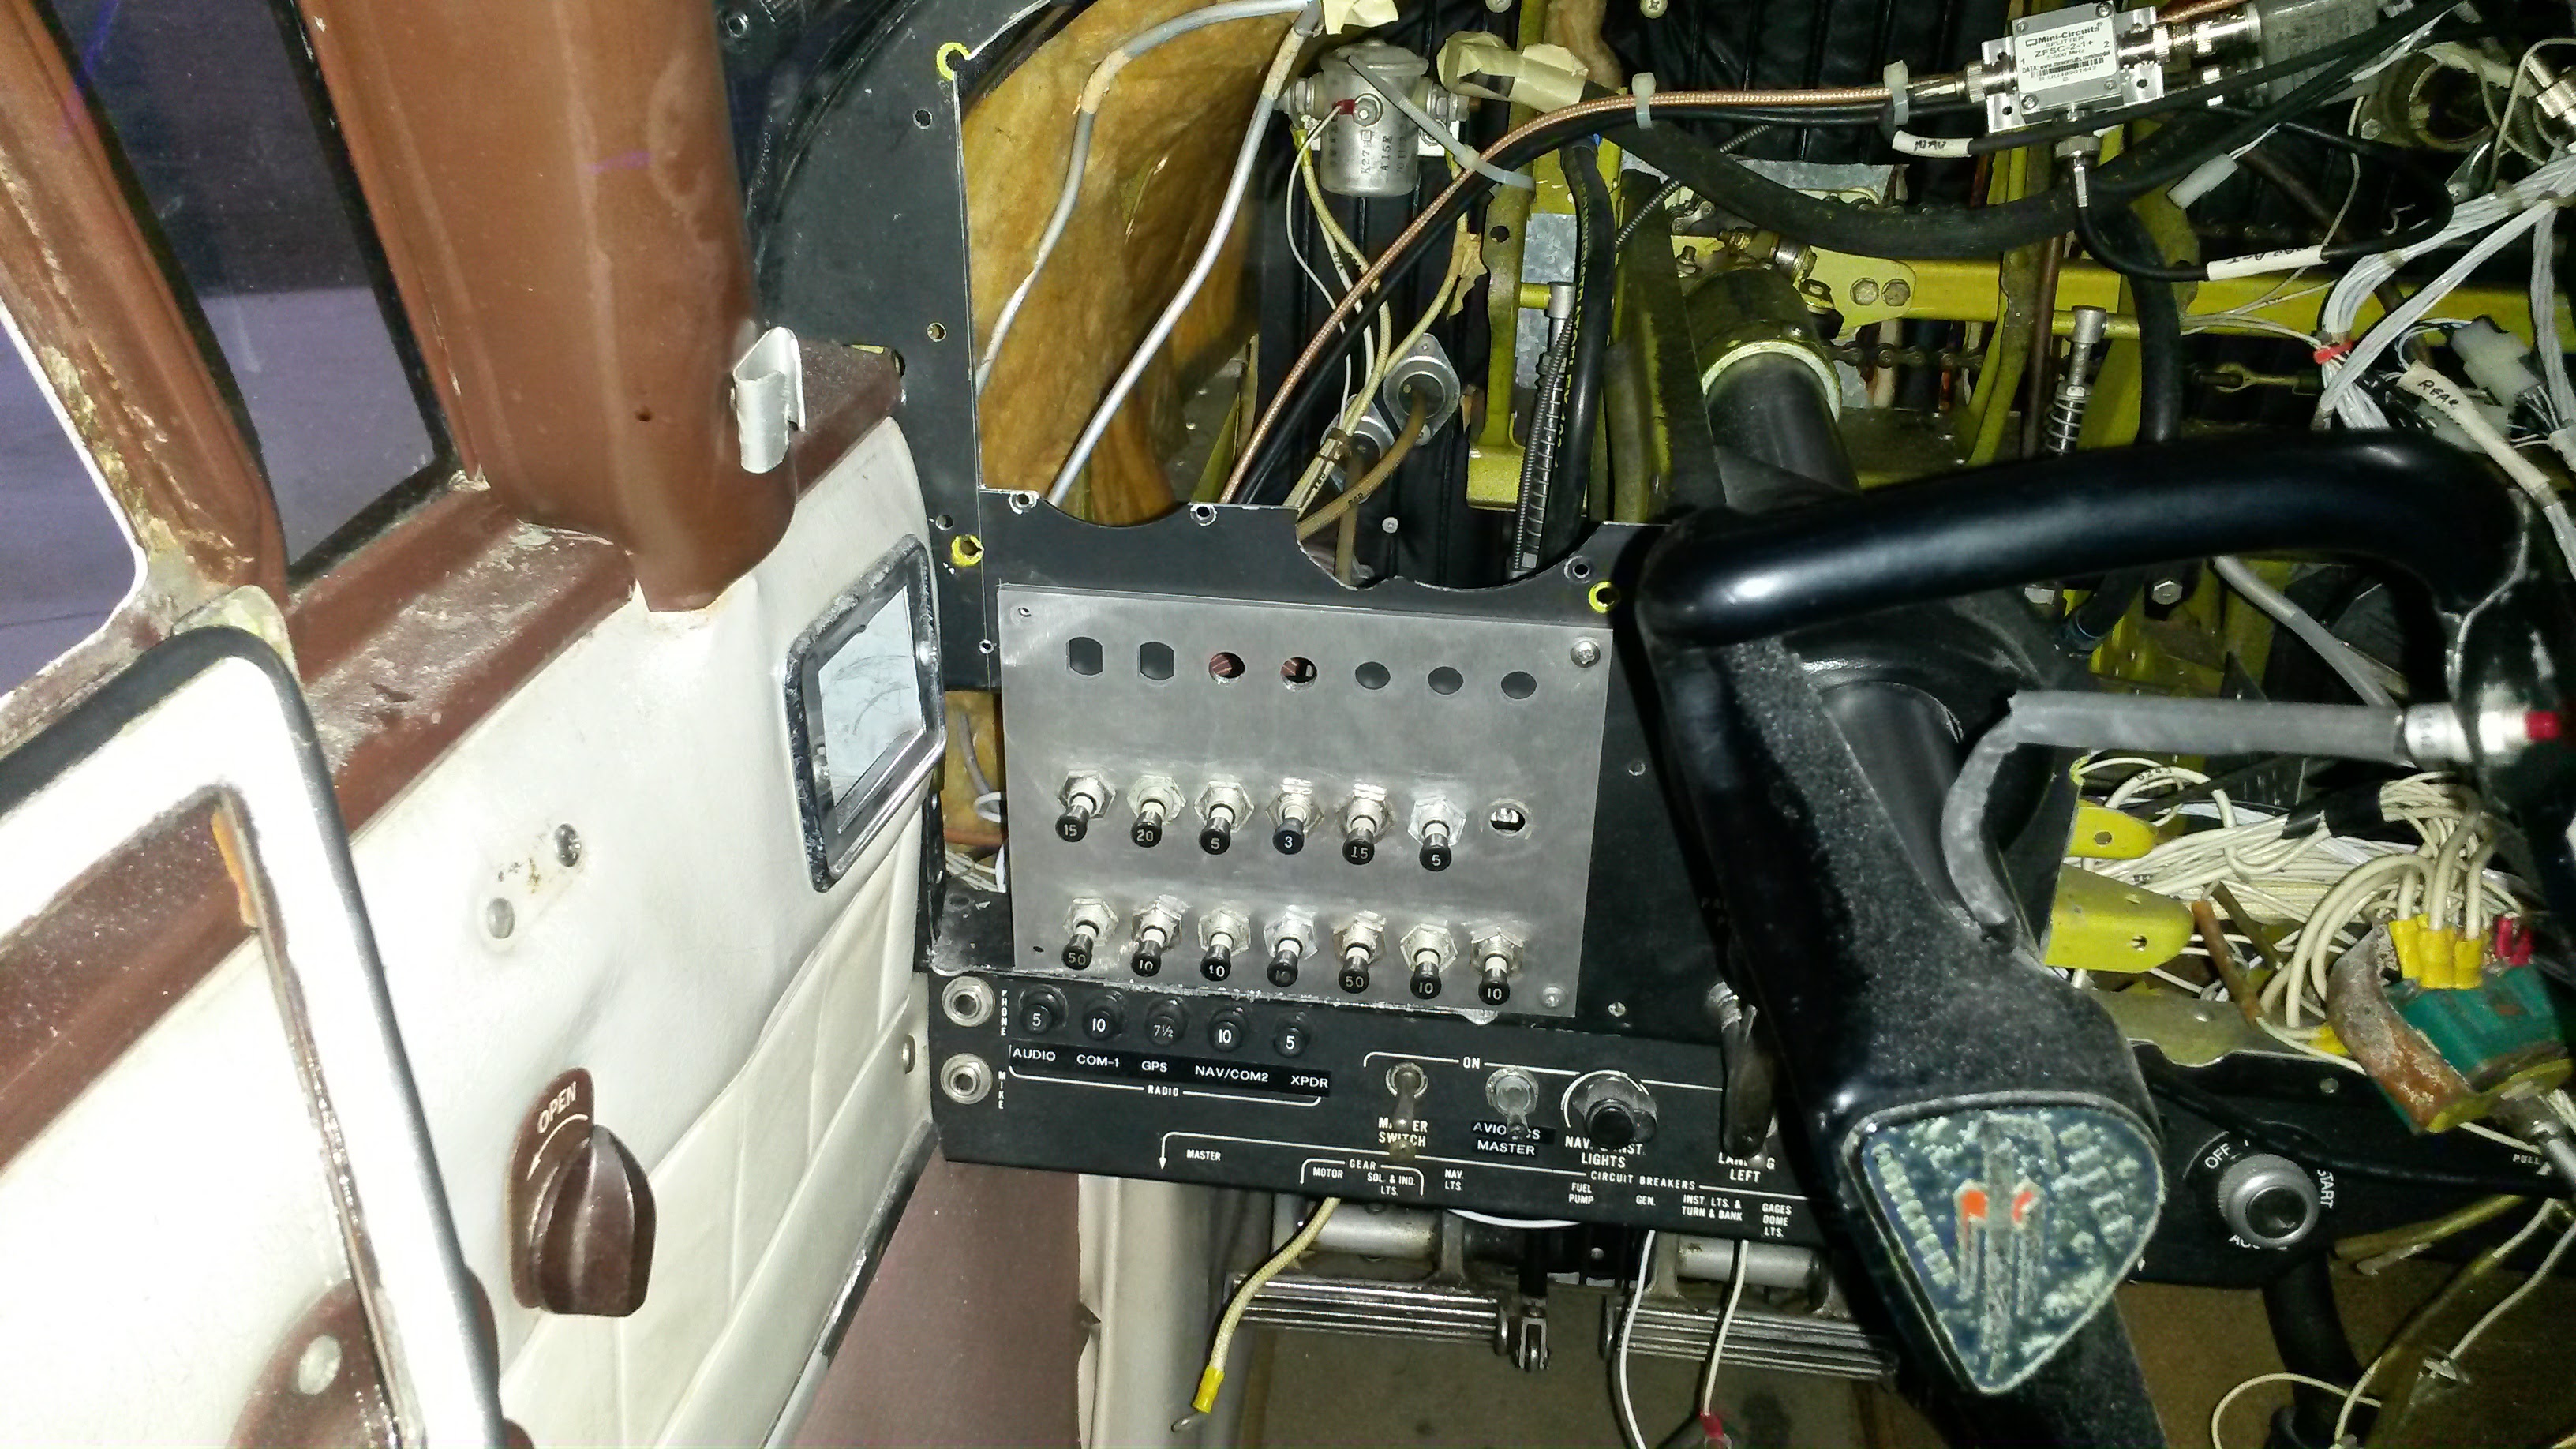
The breaker panel.
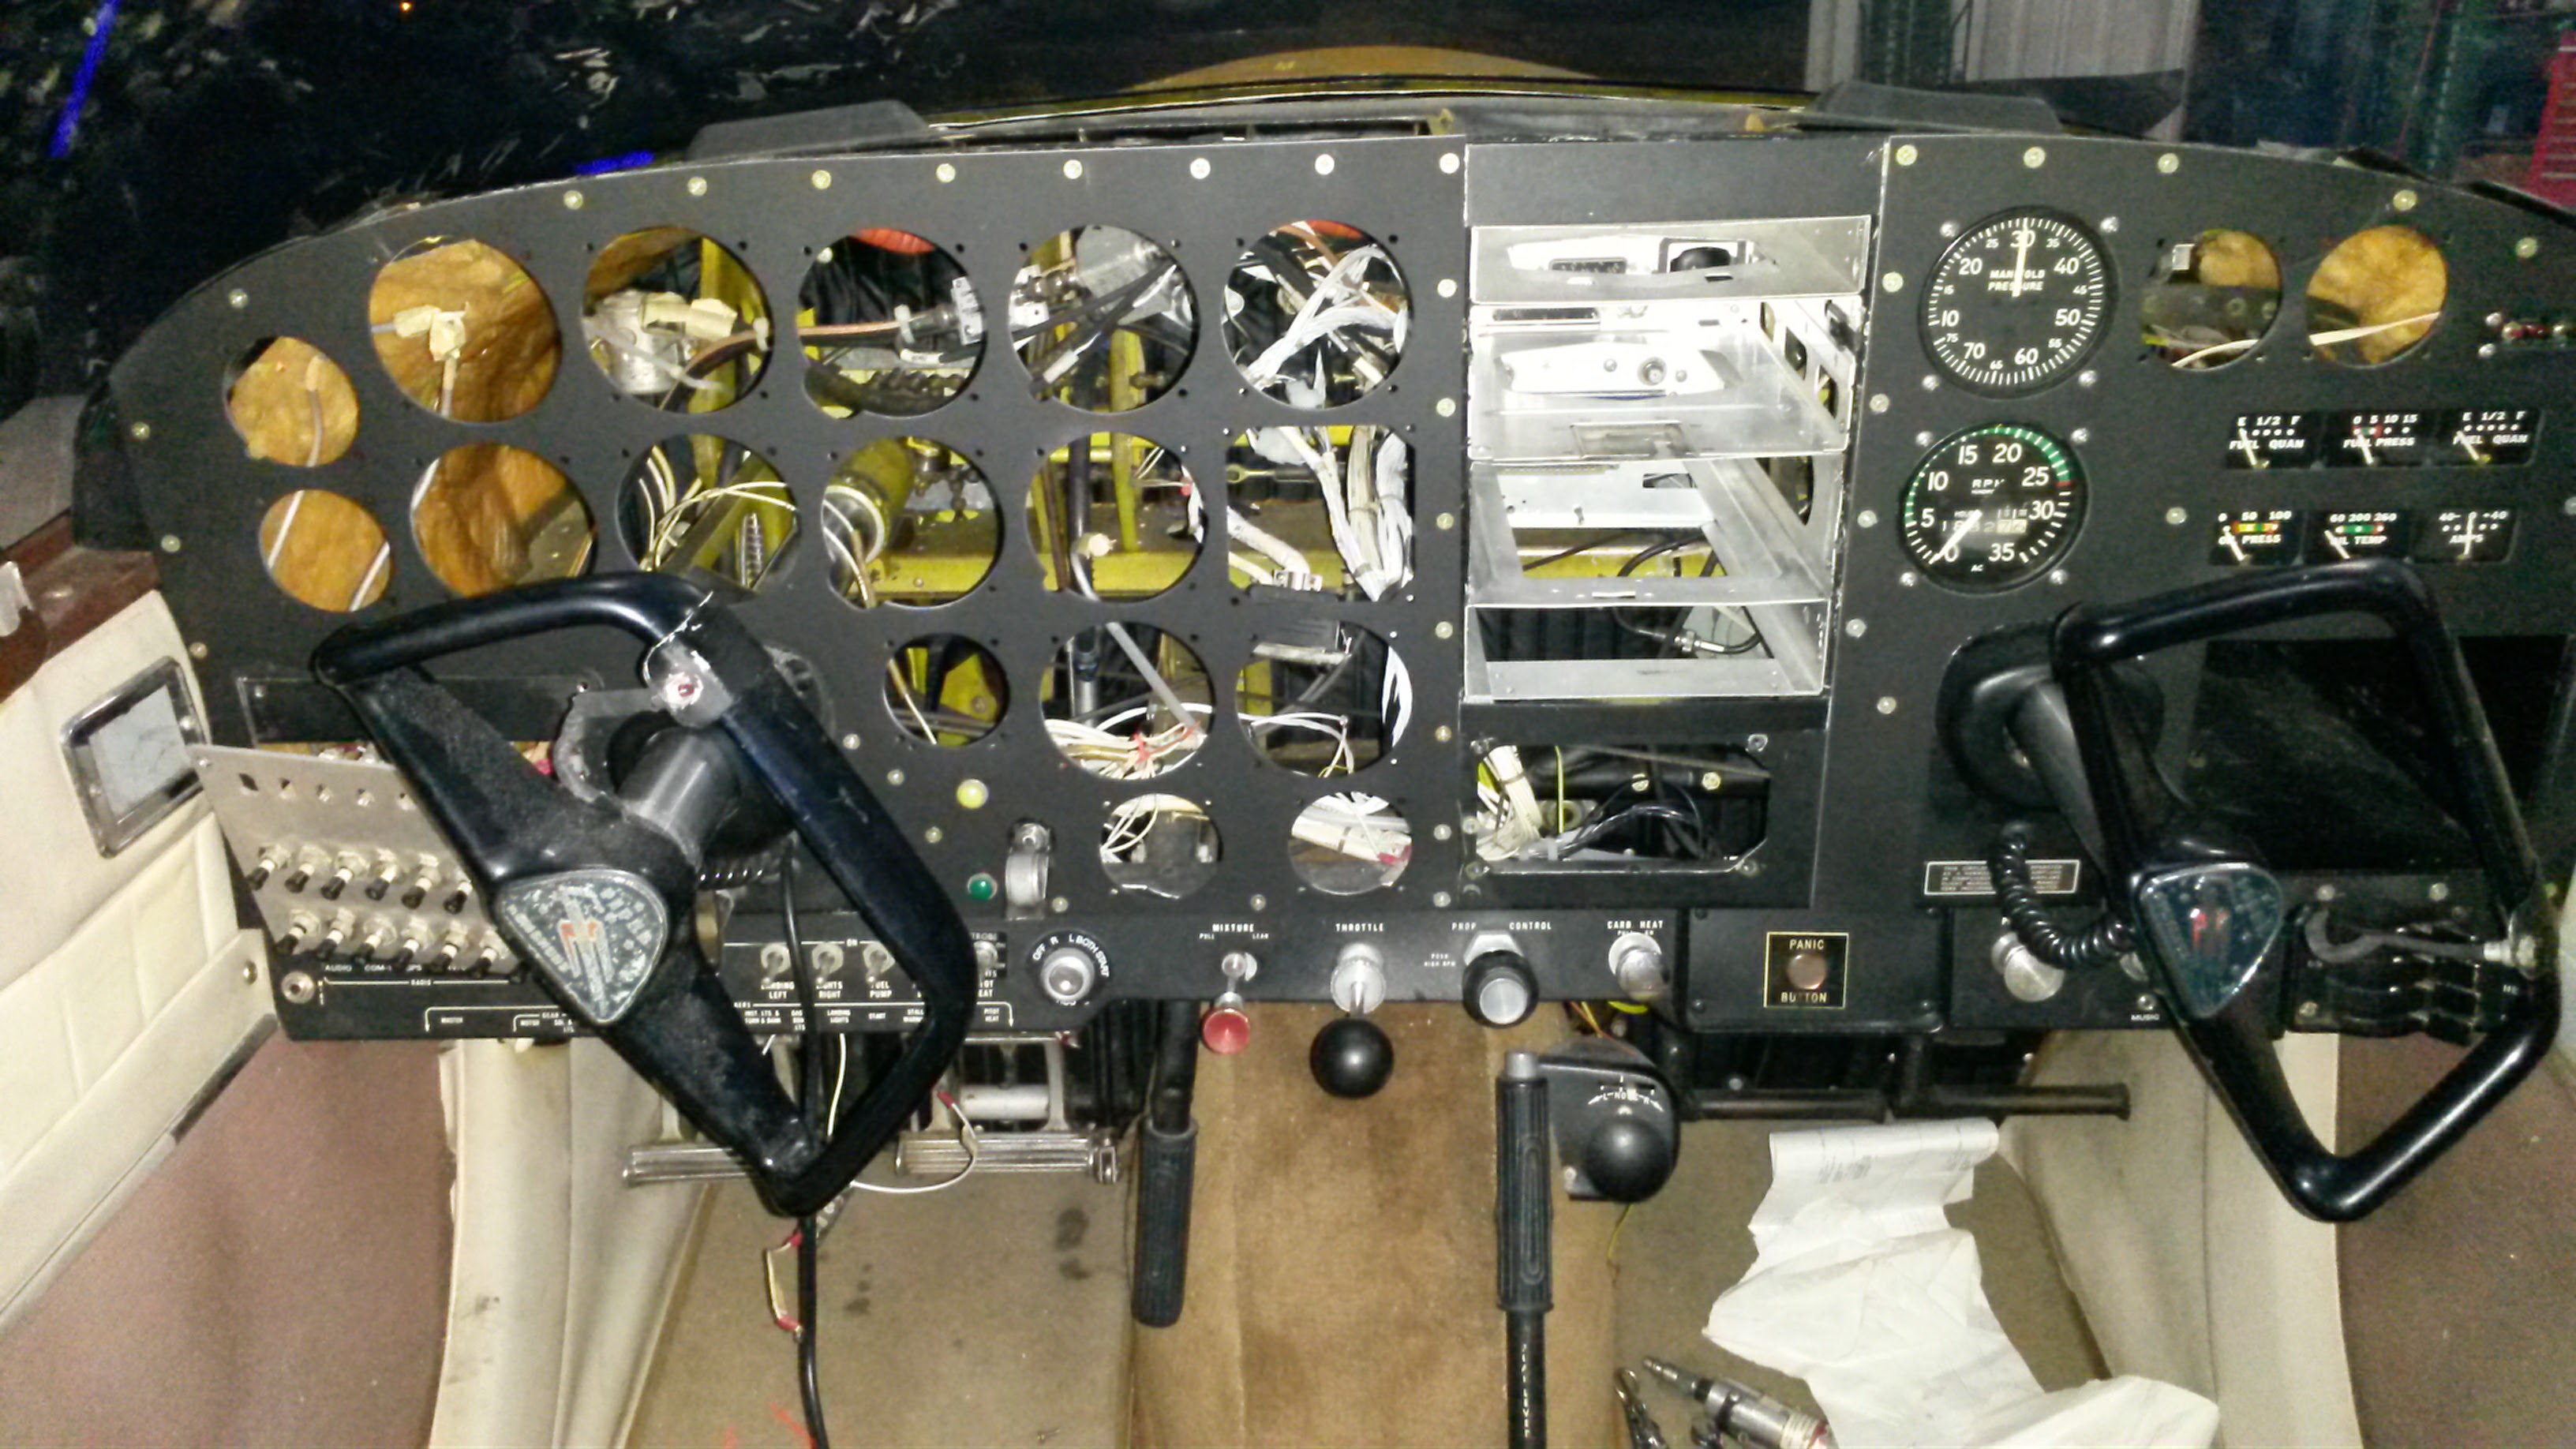
Left and right panel installed
Already tired, we finished up for the night by securing the left panel in place. The fit and finish was good, but it still needs a bit of trimming.
The next three steps
1. Secure all the wires behind the panel
2. Install the pitot system gages
3. Install the vacuum system
Day 4
Progress is measured in hours and inches right now. So many little tasks each requiring many small steps to achieve.
For example, We have this wire – not sure what it does. It has a 15 amp fuse that was blown plugged into it. Not sure how long it has been blown or what it does. Tracing it out has been a challenge. 
I spent the better part of 6 hours running all the plumbing for the gauges. The airspeed is connected to the altimeter, the altimeter is connected to the VSI. The airspeed also has the ram air from the pitot tube and the VSI is connected to the static port all the way in the tail of the plane. 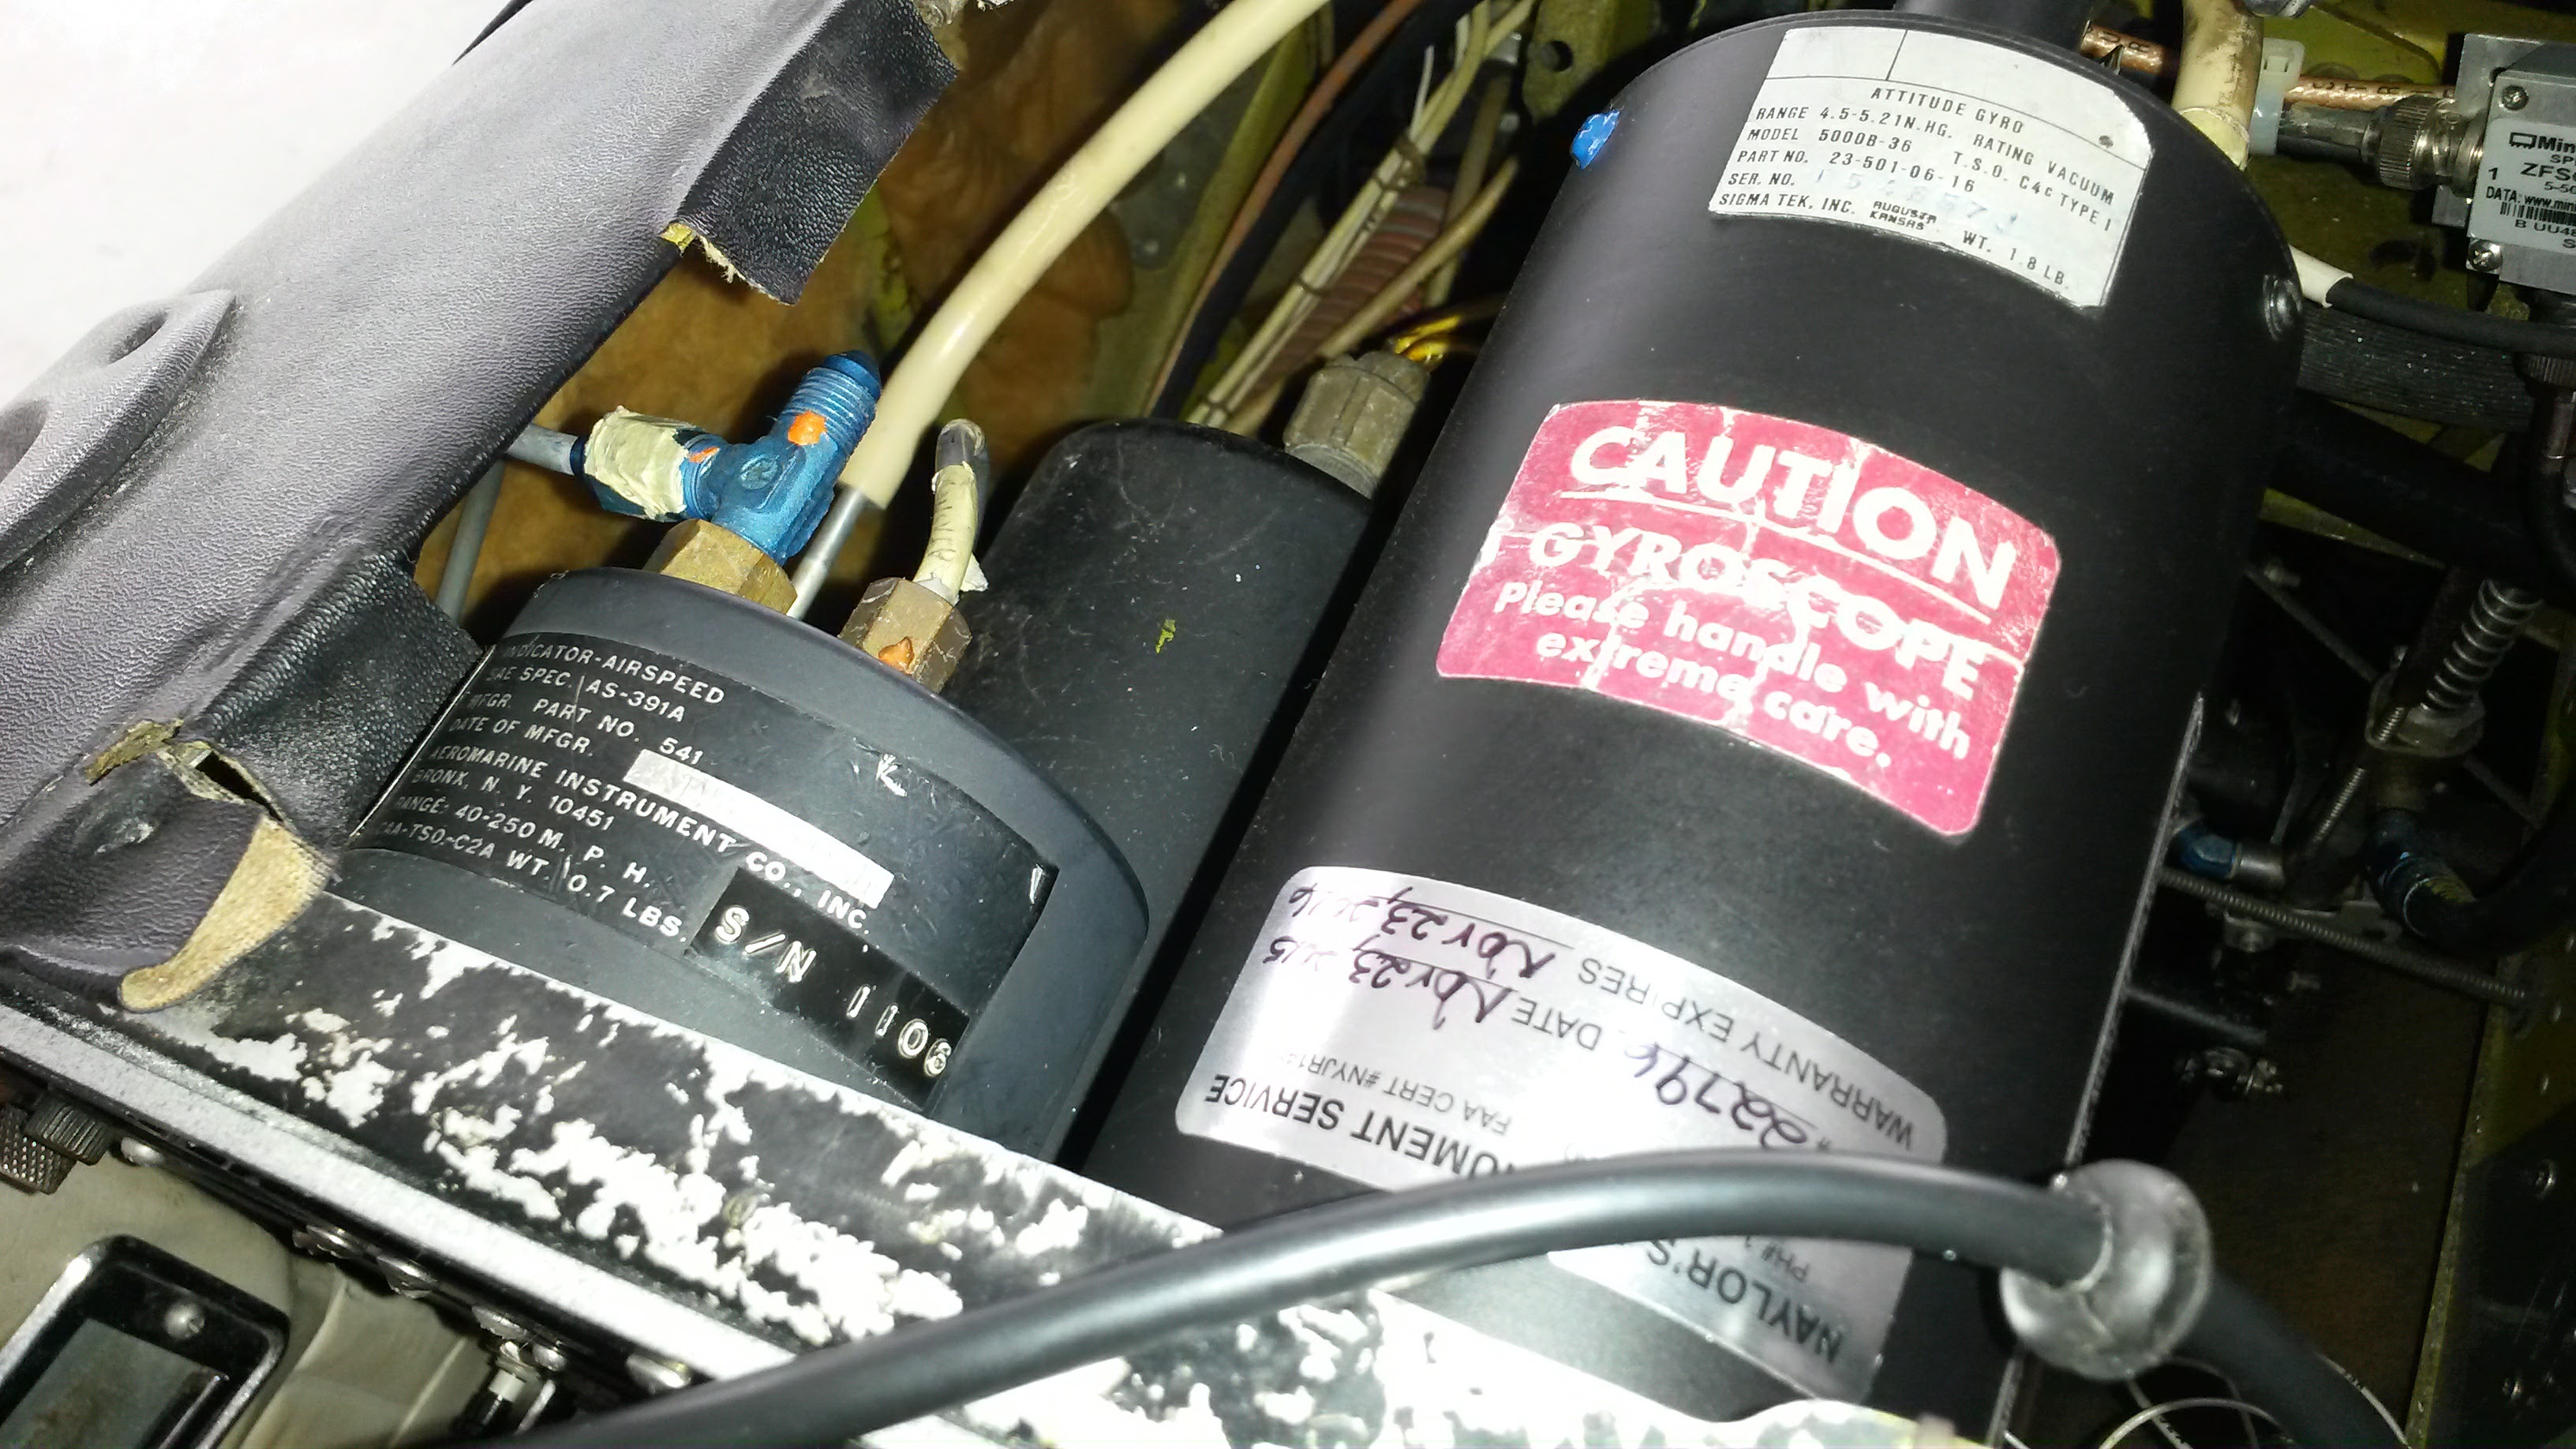
As I shared earlier the plumbing for the vacuum gauges was all new too. Each and every pipe and connection was new.
An interesting solution for the empty holes. The manufacturer sent all the holes cut from the panel. I took some strips of 40 gauge aluminum and made some strips long enough to go across the holes diagonally. Then I drilled and tapped them and secured them across the holes with #6 screws. Then I applied a glop of silicone and pressed the blank into the hole I then taped them in place to secure them until the silicone cures. 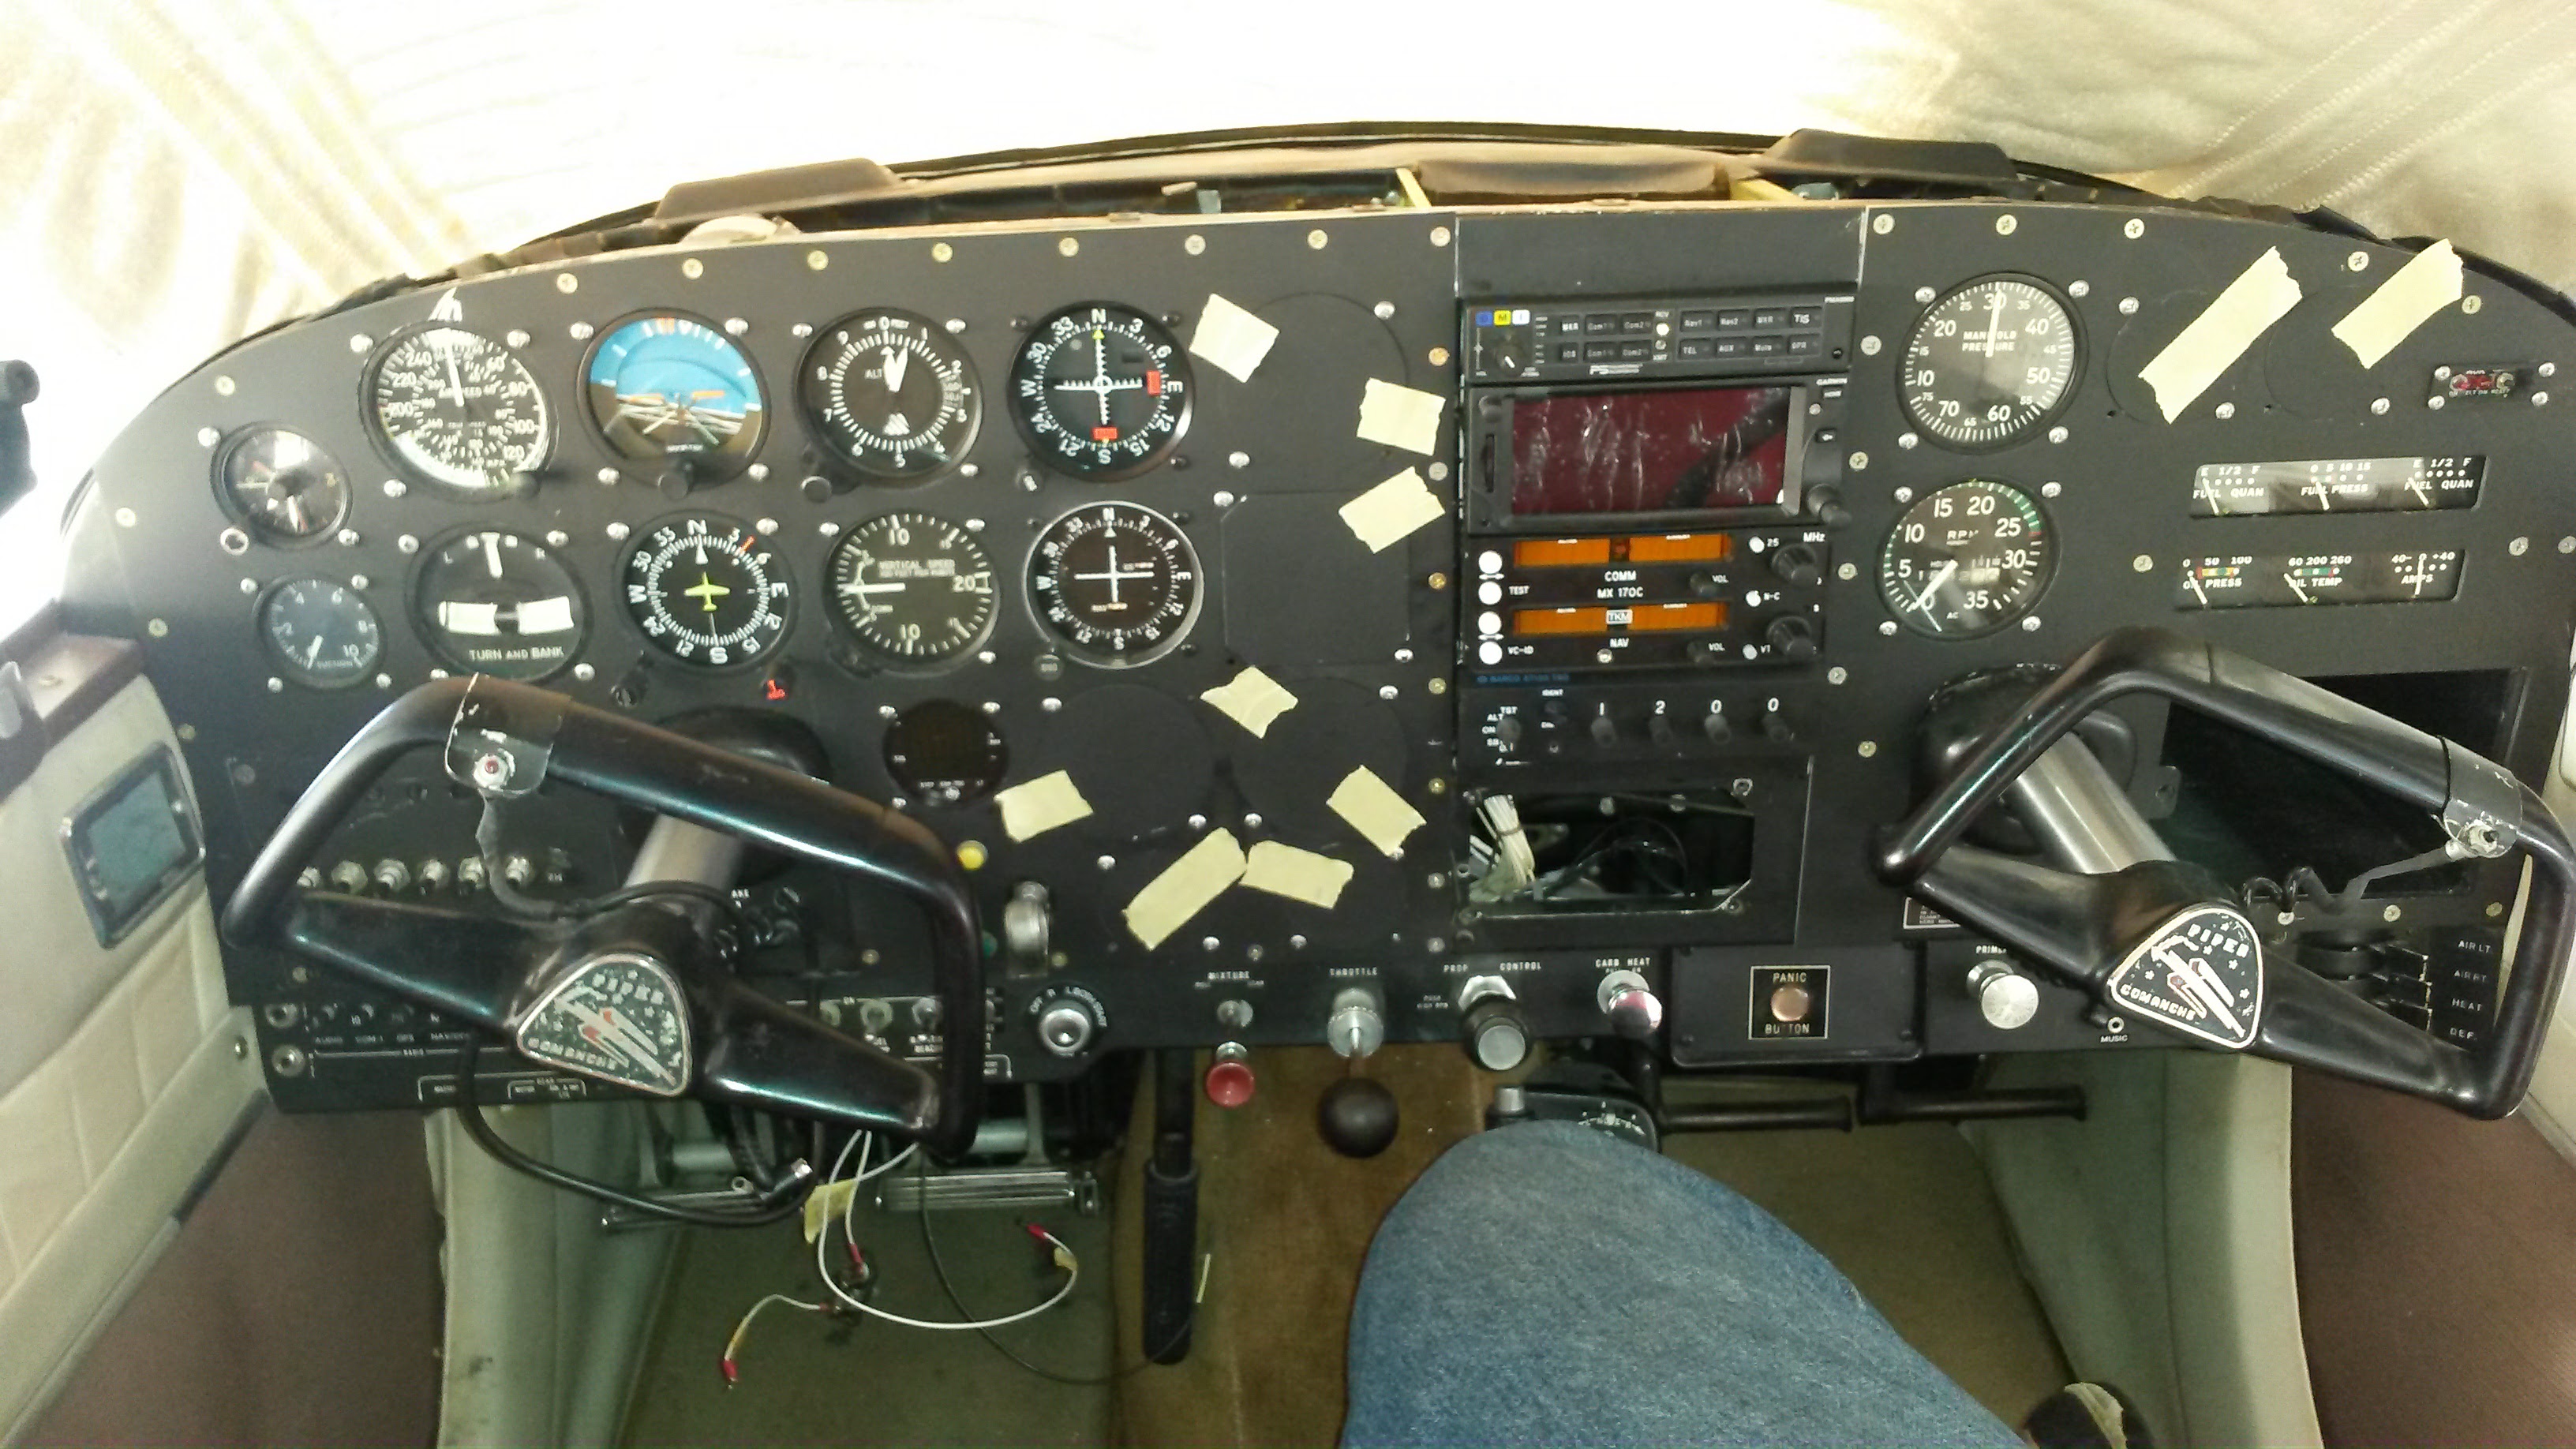
Tomorrow we have some final items to complete.
- attach power to the EDM700
- find the wire for the pitot heat (F2C)
- test all the circuits
- swing the gear
- install all the panel labels
- test the vacuum system
- test the pitot system
Day 5
Attaching the EDM700
We put the panel all back together and started testing. Some initial issues were the EDM700 kept reporting low voltage. We tried lots of things, and finally solved it by cleaning and adjusting the bus bar that connected the circuit breaker. Seems there was some film on the metal that was creating resistance and reducing voltage to the unit.
Finding the Pitot Heat Wire
Chasing the pitot heat wire has proven an exercise in futility. Even with a wire chaser, we were unable to find the end of the wire in the cabin. It seems we are going to have to run a new wire from the cabin, through the wing and out to the pitot tube heating element
Test all the Circuits
The gauges were also an issue. The amp meter read a constant discharge. A test with another amp meter showed no such thing. With a bit of adjustment we were able to get proper reading. All the instrument gauges read slightly differently and I thought maybe it was a grounding issue. I ran a new ground cable and it seemed to make it better, but not exactly the same as it was before.
Swing the Gear
One of the most important test we did, at least for my peace of mind, was a gear swing. My reasoning was that we moved and touched every single wire that connected the switches and lights that controlled the gear. I wanted t make sure it was all working properly. I am glad we did. The gear lights did not work and had to be replaced.
Test the Vacuum System
This was pretty easy. We pulled the plane out of the hangar and started it up. Within a few seconds the instruments began to spin up and I heard what can only be described as “kissy noises” coming from the panel. I felt around behind each instrument and found the loose connections and tightened the hose clamps a bit more to make them stay stable.
After many more hours we arrived at a functional product. Sure there are still a few things to do, including touching up my scrape at the top of the airspeed indicator and adding all the labels. For now it is looking good and then final touches will happen over the next few weeks.

